Pretty Paper Roses, Make Them Now
Decorate Anything With Some Pretty Paper Roses
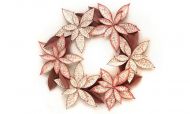
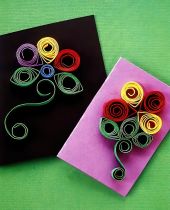
Yellow roses are my favourite. They seem to add cheer to any occasion. Weddings, anniversaries, parties or any celebration can be made better with these little paper rose accents.
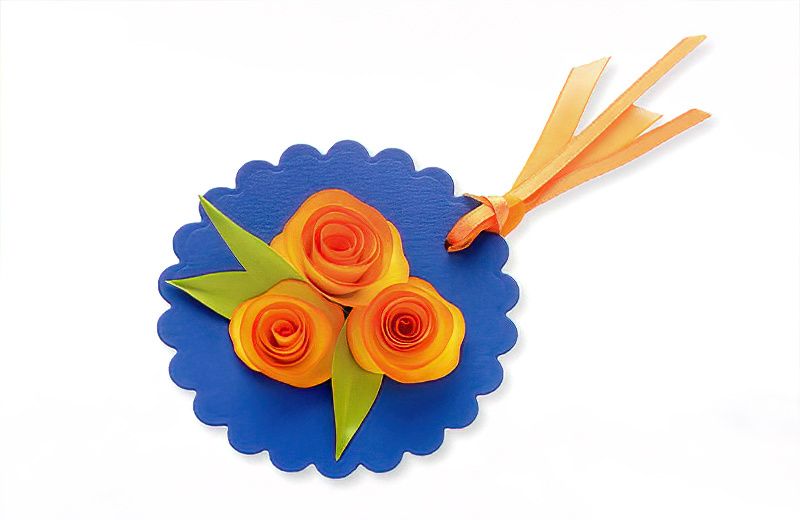
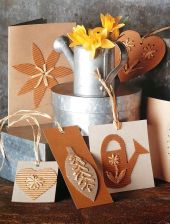
And if you give them as gifts or as gift tags or name tags. People tend to keep them. So they make a wonderful keepsakes.
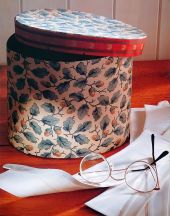
How about making a Christening Keepsake Box with these pretty paper roses on top.
It doesn't require any special tools and the paper is just coloured office paper. So once mastered, you will be making paper roses for everything. Try a few experiments with different papers and different flower styles and make a post on the Society of Makers and let us see the results.
What Do We Need to Make Paper Roses?
- Basic papercraft tools
- Yellow paper, A4
- Green paper, 5 x 7.5cms or 2 x 3 inches
- Orange inkpad
- Quilling tool or cocktail stick or similar
- Note block or anything you want to decorate
- Blue card
- Corner rounding punch

Paper Rose Template
Don't get bogged down with copying the template as pictured above. Really you can just freehand it. In fact free handing is better because all of the paper roses you make will be slightly different sizes and shapes, just like nature.
So the image above is really just a general guide on what you are trying to draw.
How To Make Simple Paper Roses
Step One
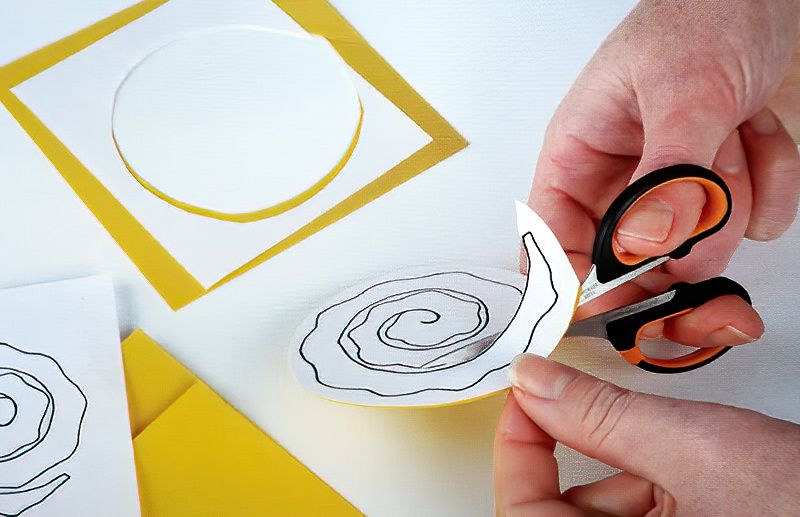
If you want to make your own template, draw the rose spiral onto a piece of cardboard. Maybe an old cereal box. Cut it out and then you can just trace around it over and over.
You can print out the design or just copy it on to the yellow paper using a pencil. Hold your printouts in place with a little piece of masking tape. Once you have the design in place, cut it out using a small pair of scissors.
Cutting The Paper Rose Pieces
Step Two
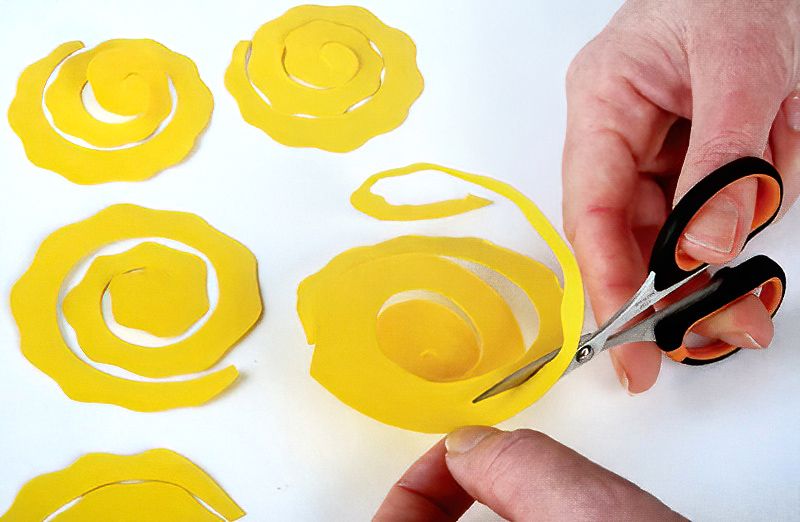
Don't follow the lines too closely as we actually want subtle variations on each spiral. Just like nature. The wavy outside edge with be the tips of the paper rose petals. The inside of the spiral will be where we glue the paper rose down.
Make The Paper Roses Look More Realistic
Step Three
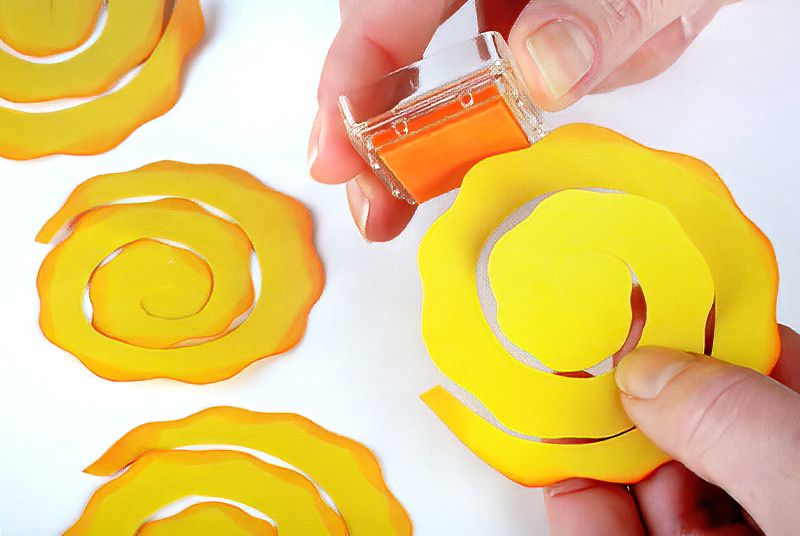
Once we have our wavy spirals, we want to ink the outside edges with the orange ink pad. Remember the outside edge will be the tips of the paper rose petals, so we just need to ink the outside edge of the spiral.
Dab the ink pad lightly around. Don't forget to do the reverse side also. As these paper roses are three-dimensional, we need to ink both sides of the paper. But just the wavy outside edge of the spiral.
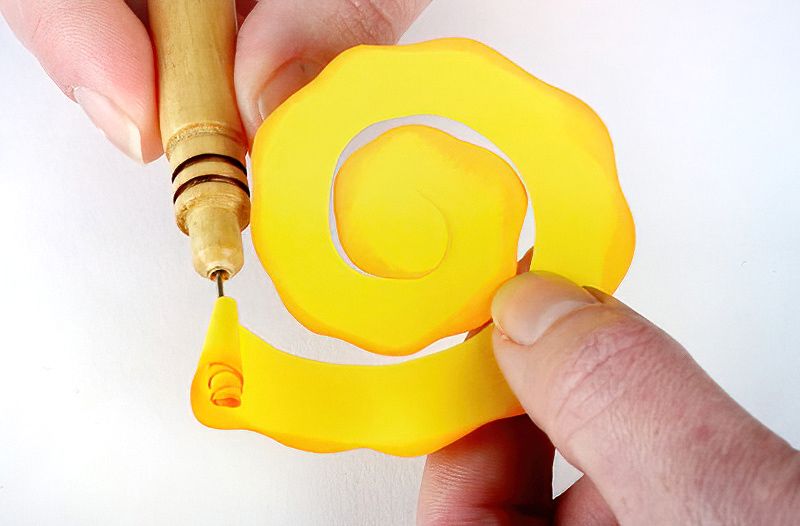
Spiralling The Paper Roses Is Exciting
Step Four
A quilling tool has a slot in the end. If you like making these or have many you need to make, a quilling tool might be worth the small investment.
If you are practising, you can just use a cocktail stick and just make sure to wrap the spiral tightly. Coil the spiral from the outside of the spiral into the centre. The centre of the spiral will fold up and be where we glue the petals.
Remember the wavy outside edge you inked is the tip of the paper rose petal.
When you finish winding, remove your tool, the spiral will naturally try and spring open and unwind. This is ok, we will glue it in place next.
Final Assembly Of The Simple Paper Roses
Step Five
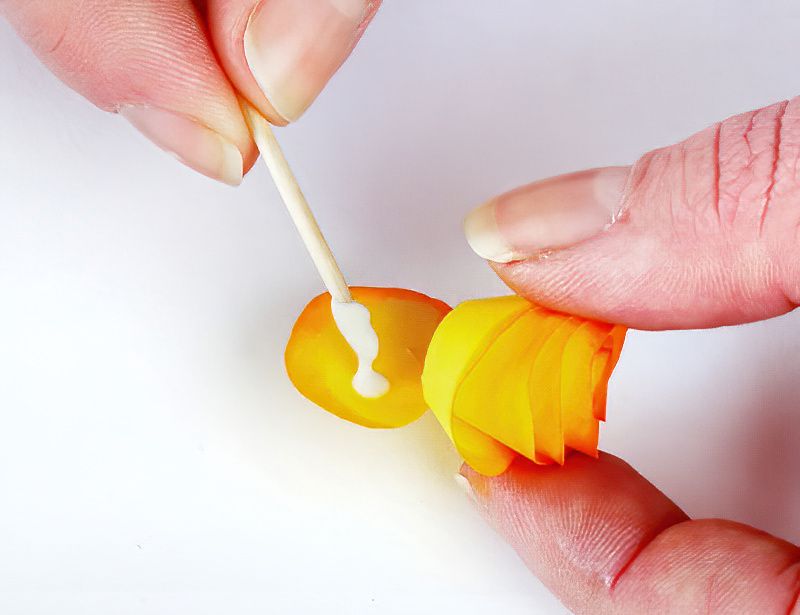
So practise your winding a little. When ready, wind up the spiral and when you get to the centre circular tab piece of the spiral, apply some white glue here with a cocktail stick.
We use a cocktail stick because it enables us to be more precise with our glue application.
With glue on the centre of the spiral, fold down and hold in place the spiral of petals. Hold until you are confident the glue has taken hold.
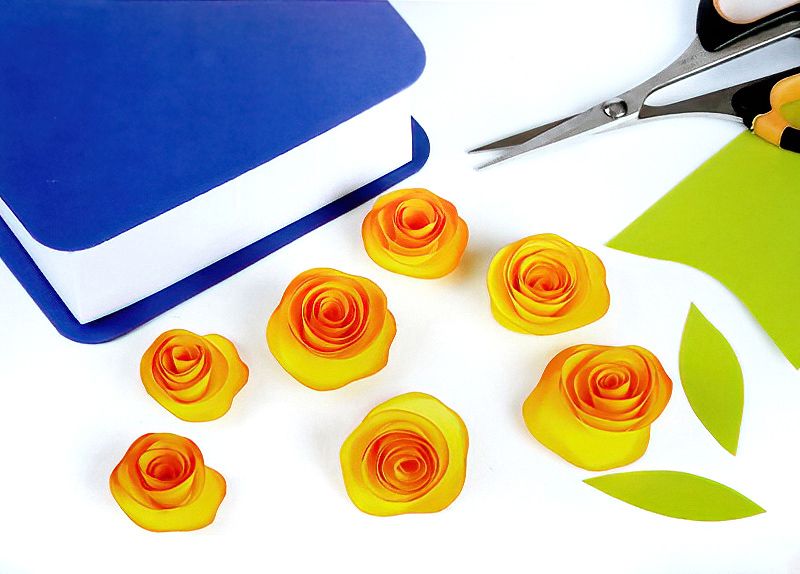
Now repeat this process of making paper roses until you have four large and three small roses for our design.
Now We Can Decorate Using Our Homemade Paper Roses
Step Six
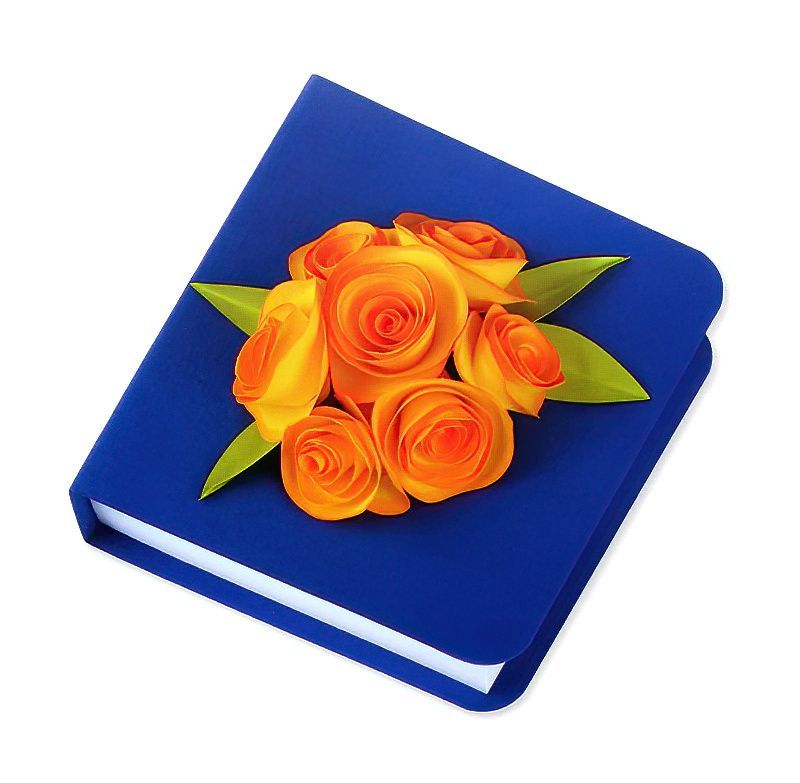
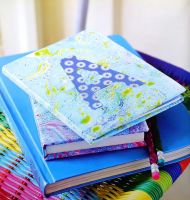
Here I have a block of note paper and wanted to just make a little cover. The paper roses will decorate the cover of my block of note paper.
Score the blue card to make it fit, like a book cover. Blue the blue card cover to the base of the note paper block.
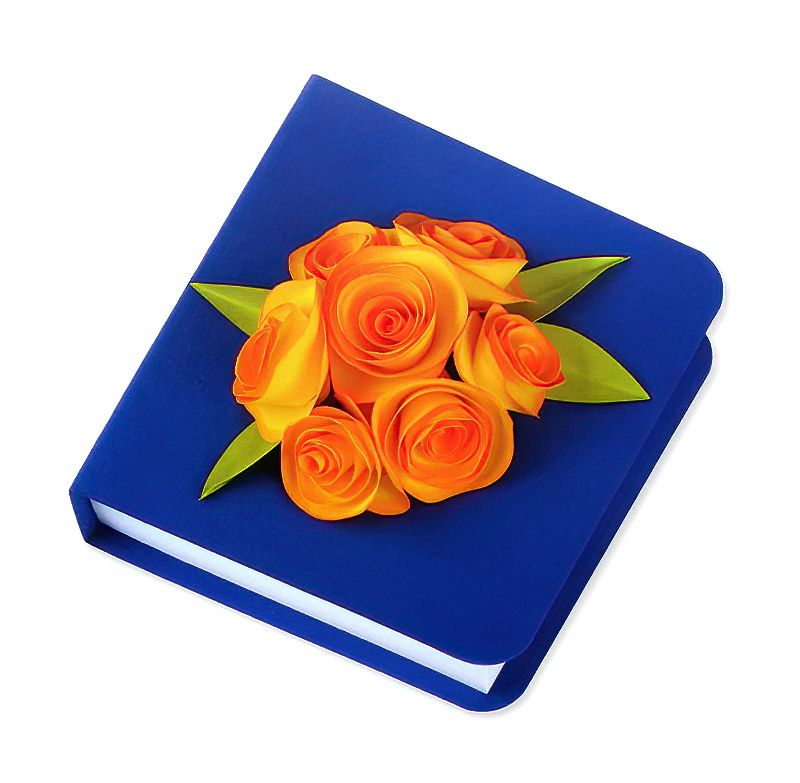
Glue the roses to the centre of the blue card cover. Make a pleasant arrangement, but we are not quite finished yet.
Cut four leaves from the green card. Just make simple leaf shapes and once cut out crease down the centre to make the paper leaves look more realistic.
Glue the leaves in place too and wow, we're finished.
Paper Rose Conclusion
On first look, this does seem like a more advanced project. Really it isn't. A little slip here and there and some imperfections, actually just make the end results look more interesting.
The other good thing is that, if they look complicated to make, then when you present them, people always think you have slaved over creating that special gift just for them.
This is why I stick these pretty paper roses on everything :)

