Endless Variations And Very Smart, Make A Gilded Lampshade
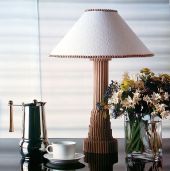
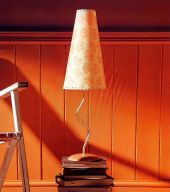
It is really fun and easy to personalise and decorate your own lampshade for your home. All you need to get is a plain parchment paper lampshade and a few simple crafting materials to add your own personal design. You can decorate your lampshade with any design that you like, in any colour that you like.
I have chosen gold for mine. I have also made a lamp base on one of my previous posts for if you are interested in looking at that also.
List Of Items Needed To Make A Gilded Lampshade
- Plain Parchment Paper Lampshade
- Shellac Varnish in Amber Colour
- Stencil Paint in Gold
- Masking Tape
- Stencil Brushes
- Tracing Paper
- Pencil
- Stencil Cardboard
- Craft Knife
- Cutting Mat
Painting A Parchment Lampshade With Shellac Varnish
1st Step
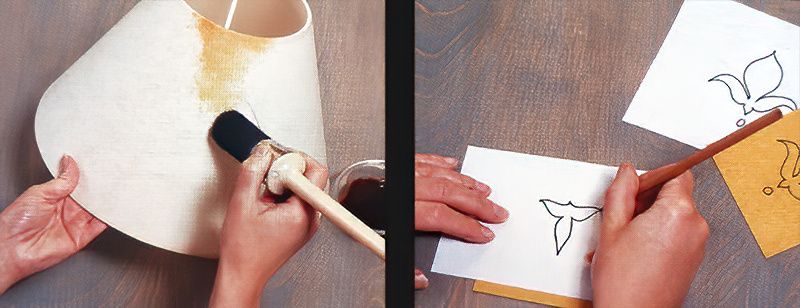
Begin by using a large rounded stencil brush to stipple a blotchy coat of the amber shellac varnish onto the parchment lampshade. Try to do this as evenly as possible while it still remaining blotchy. Then leave it to dry for around half an hour.
2nd Step
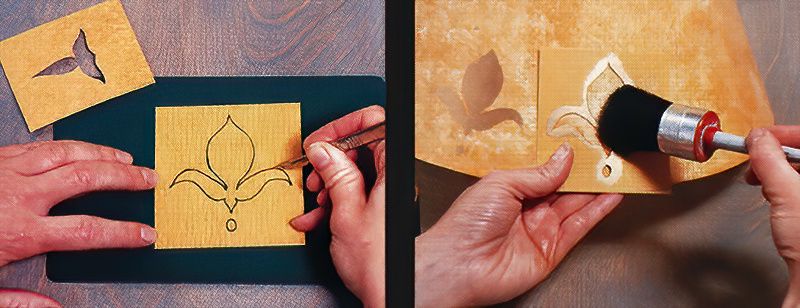
Next, print out or photocopy your chosen design, and trace over it with tracing paper and a pencil. Then transfer the design onto the stencil cardboard.
It's fun to make a gilded lampshade.
Stencilling On To A Lampshade
3rd Step
Next, cut out your stencil shape using a craft knife on a cutting mat. Be careful when cutting, move slowly to avoid slipping, as it is good to cut your stencil design as cleanly as possible.
4th Step
Now, lightly mark the positions where you would like to place your stencil design around the lampshade. Then secure the first stencil to the bottom of the lampshade using masking tape, so that it doesn't move while you are using it.
Give your gold paint a stir, then use the stencil brush to stipple through the stencil. Try not to put too much paint on your brush at once. Once done, carefully remove the stencil and repeat for the other marked points.
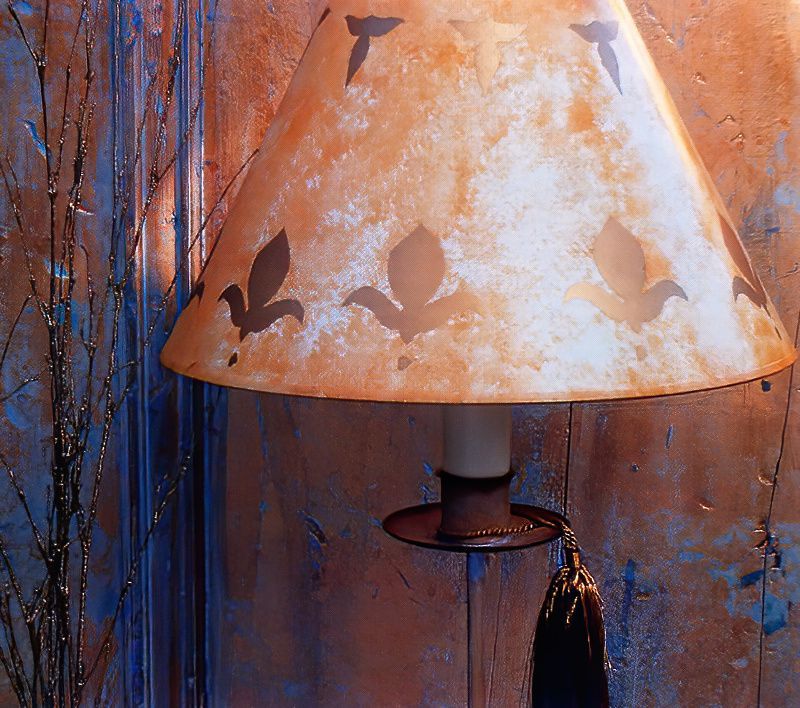
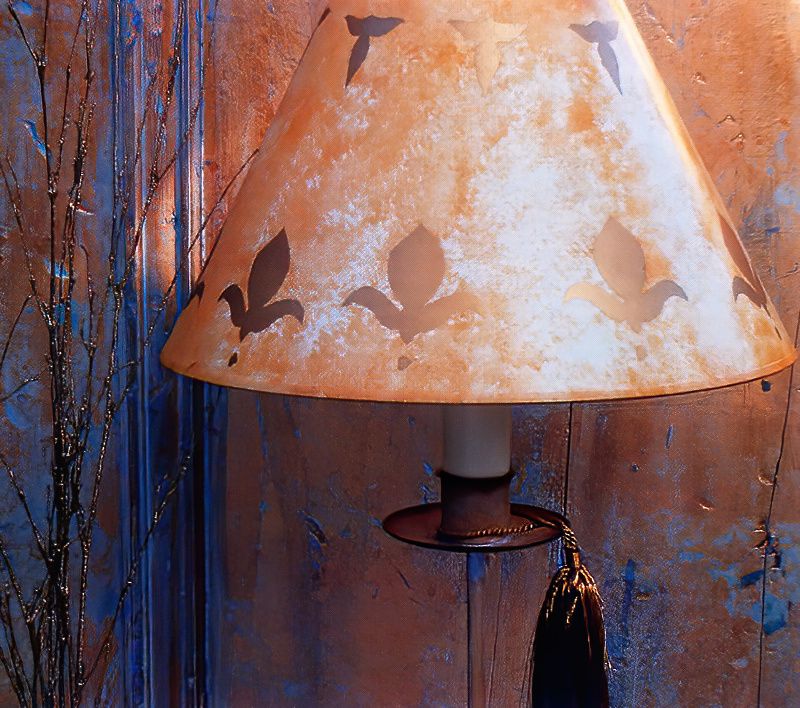
A Finished Stencil Lampshade
5th Step
Once you have finished stencilling the bottom row of your design, secure the second smaller stencil to the top of the lampshade with masking tape. Repeat the same way as you did with the bottom of the lampshade. Then leave the whole thing to dry thoroughly before use.
Make A Gilded Lampshade Conclusion
Now we know how to make a gilded lampshade, you can see the process is not that tricky. Have fun exploring other designs and looks and finishes and post your pictures in your own studio. Then comment below and let us see your creations.










.jpg)


