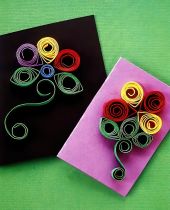
Why Not Make A Simple Paper Greetings Card, It's So Much Nicer
I really love making special homemade cards for my family and friends. I have found that you can make something really simple, but pretty with leftover inexpensive pieces of paper. Some might even be scrap pieces. I don't like to waste anything if I don't have to.
All that you need to make this card is a selection of papers and some jute twine. The essential oil element is completely optional. If you choose to use it, pick any fragrance of your choice. I have found that perfume can work quite well also.
So let's make a really simple paper greetings card and give it to someone we care about.
List Of Items Needed A Simple Paper Greetings Card
- Olive Oil
- Essential Oil
- Kitchen Paper Towels
- Calligraphy Paper
- Green Sugar Paper
- Paper Glue
- Watercolour Paper
- High Tack PVA Glue
- Fine Jute Twine
- Scissors
- Pencil
- Craft Knife
- Cutting Mat
- Metal Ruler
- Bodkin
Making Scented Paper
1st Step
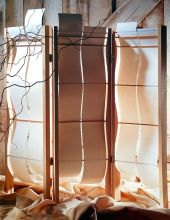
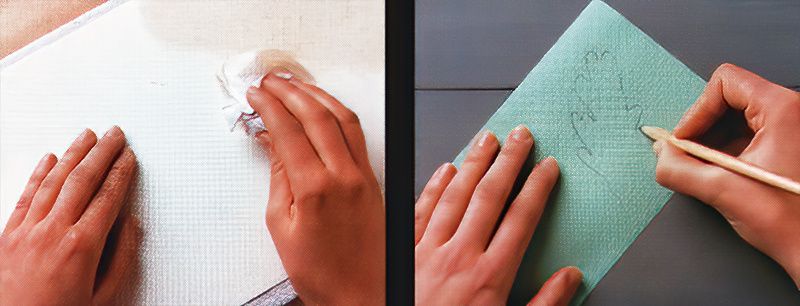
Start by adding some essential oil of your choice to some olive oil, this is an optional step. Then working on a protected work surface, use some kitchen paper towels to rub the olive oil and essential oil mixture over a sheet of calligraphy paper. Do this until the paper is translucent and then leave it to dry.
2nd Step
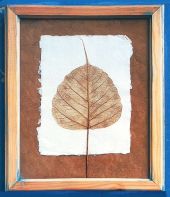
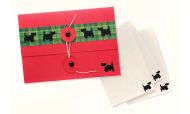
Now, cut out a piece of green sugar paper to create the front of the card. Then with a pencil, draw a leaf shape one third away down from the top. This is an oak leaf, but any decorative leaf of your choice would work also.
Making The First Card Layers
3rd Step
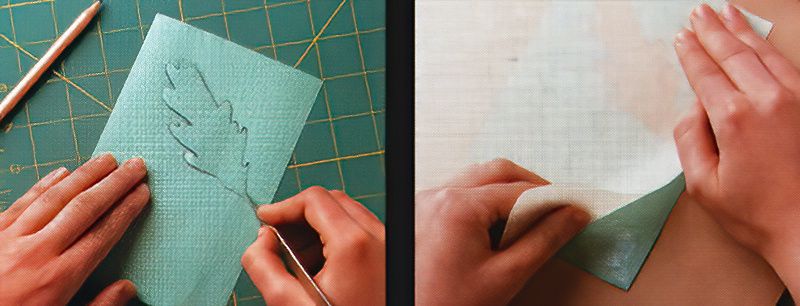
Then carefully cut the leaf shape out using a craft knife on a cutting mat. And put the leaf shape to one side for a moment.
4th Step
Next, glue the oiled calligraphy paper on top of the green sugar paper. Do not worry that the oil will cause uneven sticking, this adds to the intended mottled effect. Leave the card to completely dry, press it between a set of heavy books, protecting the books with a couple of layers of kitchen paper towels.
Making The Front Of The Card
5th Step
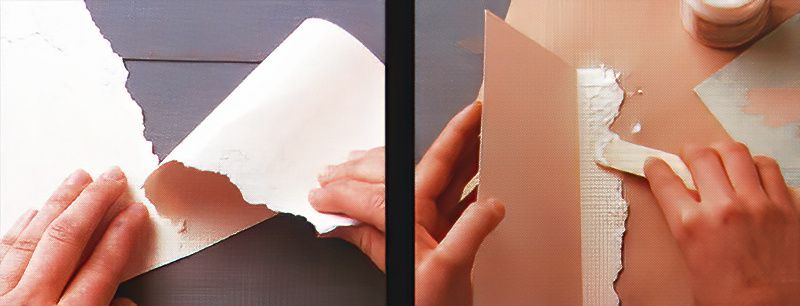
Next, score down the centre of a piece of watercolour paper with the back of the craft knife against the metal ruler, and fold it to make the actual card. Then tear away most of the paper on one side of the fold to make a deckled edge to the simple paper greetings card.
6th Step
Now, cut the scented oiled paper to the same size as the green paper. Add glue to the top two thirds of the torn edge of the folded watercolour paper. Then glue down the layered green paper and scented oiled paper in place, which will create the front of the card.
Adding More Paper Layers
7th Step
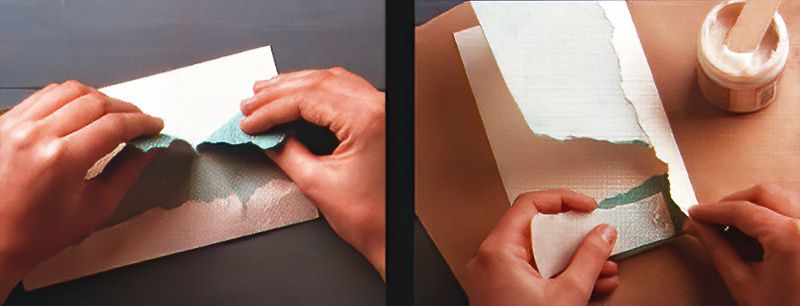
Now, tear across the front of the simple paper greetings card, just below the ends where the glue is and remove the bottom third of the card.
8th Step
Next, cut a piece of green paper and a piece of scented oiled paper to git the width of the card, around half of the height of the gap left below the scented oiled and green paper. Then tear across the top and glue down the green paper to the inside of the card along the bottom, and the scented oiled paper to the torn edge.
Finishing The Layered Simple Paper Greetings Card
9th Step
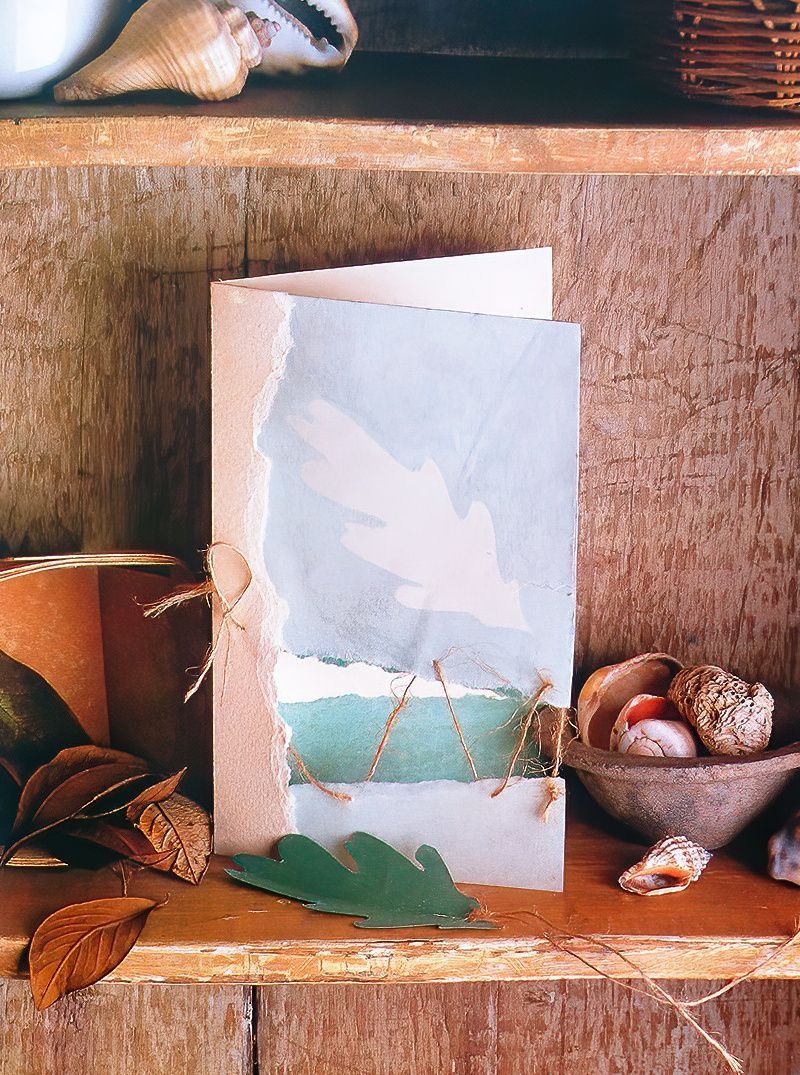
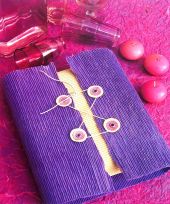
Then make holes in the front of the card using the bodkin and thread through some jute twine to join the upper and lower parts of the card. Then tie a simple knot at each end. For the gift tag, make a hole in the leaf shape and attach a piece of jute twine.
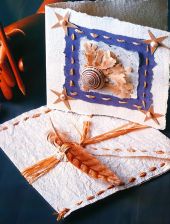
And there we have it. We have finished our simple paper greetings card and isn't it special. I make these at Christmas with lovely pine oil and they always have the wow factor. So now you know how, get to work and think of some fun variations of a simple paper greetings card you can make yourself.


.jpg)