Who Doesn't Love A Paper Windmill?
Paper windmills appeal to all ages and both boys and girls. Easy and fun to make and endlessly customisable. Fun to play with, running around on a sunny day. Or just make a few and plant them in the lawn or flower pots for an instant animated display.
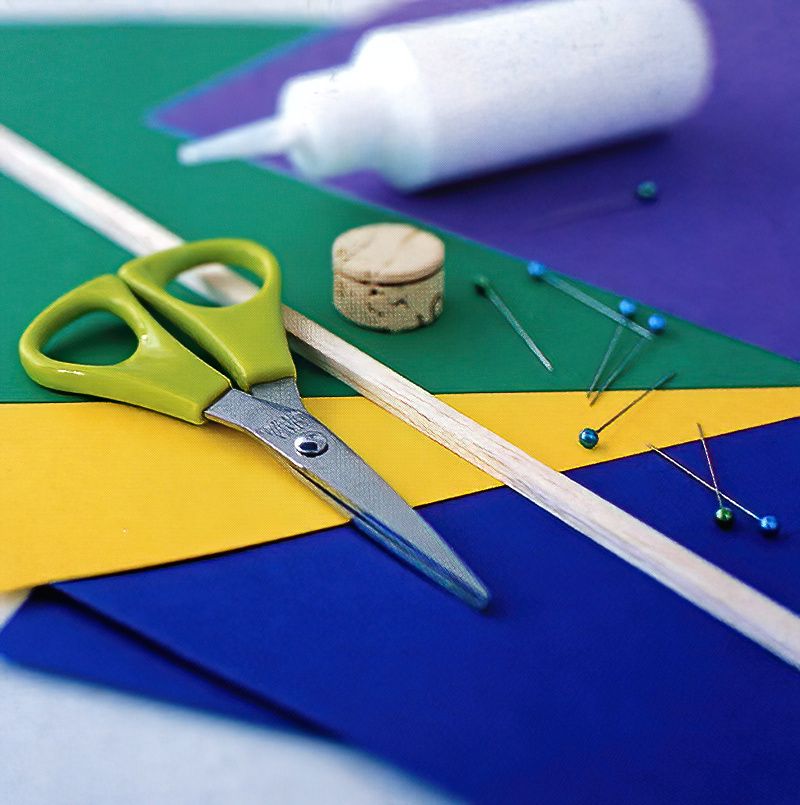
What We Need To Make Paper Windmills
- Two different coloured paper squares, approx 20cm square
- Glue
- Scissors
- Card for the centre
- Pins
- Small pieces of cork
- Stick approximately 30cm in length
First We Choose The Paper For Our Windmill
Pick contrasting colours so we can more easily see the windmill spinning. We use bold green, blue and yellow. But really you can use any colours you like.
Maybe use good quality wrapping paper covered in patterns for a more dazzling effect. Or maybe pick more softer and sophisticated colours if you are making a mothers day gift for example.
Start Shaping Our Paper Windmill
Now we have our two squares of paper, cut at 20cms by 20cms. Put glue all over the back of one of the sheets of paper and then glue it on top of the other sheet. Make sure they are all squared up evenly before the glue sets.
Lay on a flat surface and rub all over the paper layers, making sure there are no trapped bubbles between the sheets. Carefully spread the layers flat trying to reduce any wrinkles.
Leave the glued double layered sheets to dry.
Now, starting from each corner. Start cutting from the corner towards the centre of the square. Make a cut approximately 10cms long. Don't cut all the way to the centre.
Repeat the 10cm cuts from all four corners towards the centre of the square.
Now We Shape Our Paper Windmill
We need to fold the paper into blades for our paper windmill to work in the wind. The blades catch the wind and push the windmill around.
Now put square of paper with the cuts in front of you. Spin the paper so a corner is pointing at you. Then lift the left side of this corner and bend it up and towards the centre of the square.
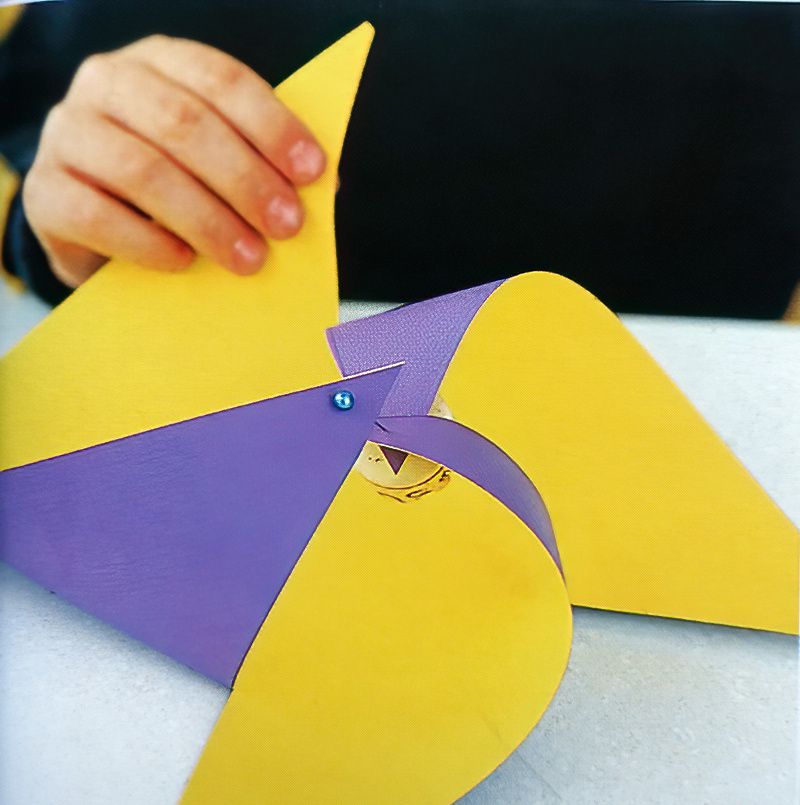
Turn the paper and fold the next left-hand side corner point, up and towards the centre to meet the other point. Hold the centre points with your fingers. Repeat this for all the corners.
Make sure you have the matching side of each corner bent up and towards the centre.
If it is easier, you can poke holes in the four corners before folding. And poke a hole in the centre of the square.
Secure Your Paper Windmill Blades
Now get an adult to help you secure the blades. Push a pin through the points of all the corners at the centre. Make sure the pin goes through all four points.
Hold a cork at the back and push the pin through the corners and through the centre of the square and through the cork on the back.
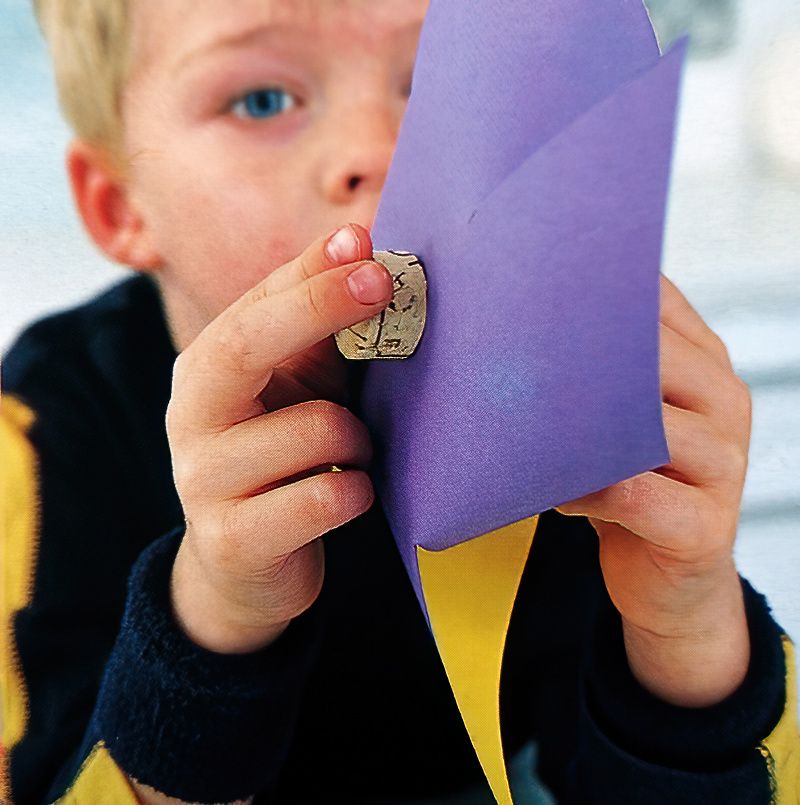
Now use strong glue or ask an adult to hot glue gun the cork to a strong stick. Allow the glue to dry. Finally glue a disc of card over the front of the windmill in the centre. We do this to hide the end of the pin and make the windmill look nice.
If you don't want the circle of card in the centre, you don't need it. This is your paper windmill, make it exactly how you want to.
Now you know the basic idea, you can make paper windmills at and size and any colour you like.





.jpg)
