Make a Halloween Witch Hat
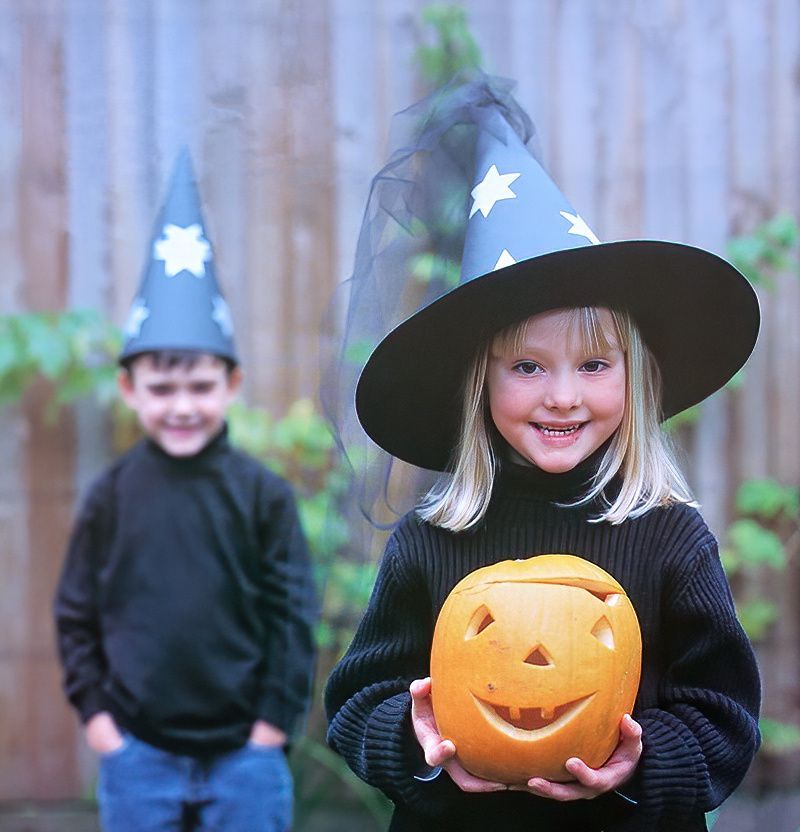
Dressing up is really fun and Halloween is a great time of year for parties and dressing up. So let's make a spooky Halloween Witch Hat. We can use black card and decorate with some fun silver stars and black netting for a spooky effect.
What We Need To Make A With Hat
- Black card
- Pencil
- Tape
- Scissors
- Stapler
- Star shaped cookie cutter
- Glue
- Black netting
How To Start Making Our Witch Hat
We need a large piece of black cardboard. Now we need to cut out a semicircle from the card. The semicircle needs to have a diameter of approximately 60cms.
For an easy way to draw this semicircle with a 60cm diameter. Find a piece of string slightly longer than 30cm. Pin one end of the string in the centre of your card. Wrap the other end of the string around a pencil and just hold it in place.
Now whilst holding the string tight, drag the pencil around a large semicircle.
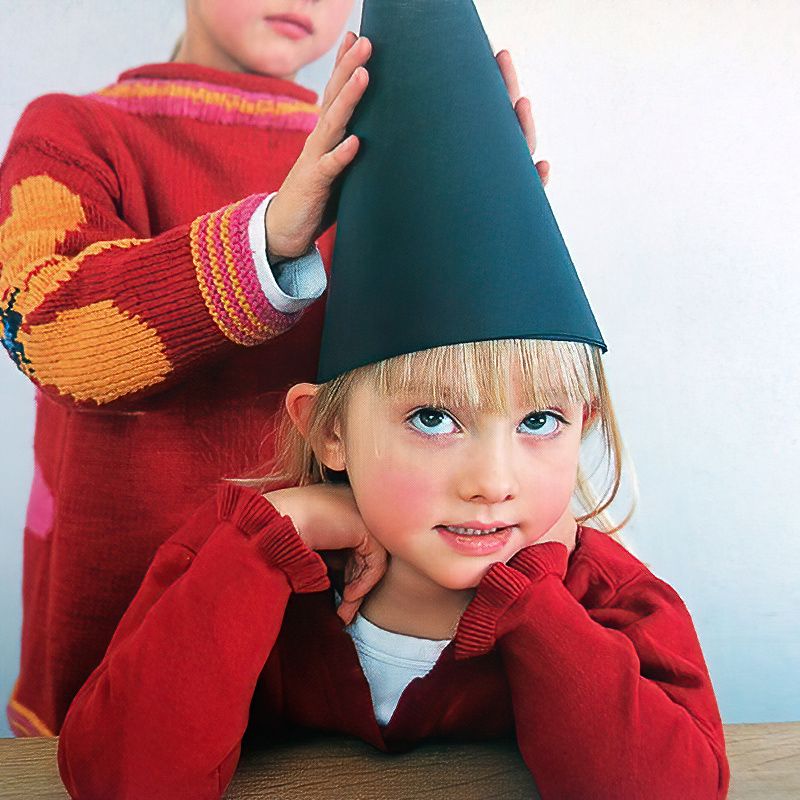
Now cut out the semicircle and roll it into a cone shape. Wrap the cone shape around your child's head to get the right size. Then when it fits nicely, pop some tape on the back to hold the shape. Now you have the shape, you can mark the cardboard overlap line with a pencil.
Now either glue the cone shut, make sure to hold it until the glue sets. Or use more tape to secure it. If your card is really springy, you can use some staples to hold closed your witch hat.
Let's move on.
Make A Witch Hat Brim
Now we can place our cone on some more black card and use it like a template to draw around. Draw all the way around the cone. Now we need a larger circle, so we are making a sort of ring donut shape. The larger circle should be approximately 8cms larger than the cone shape circle.
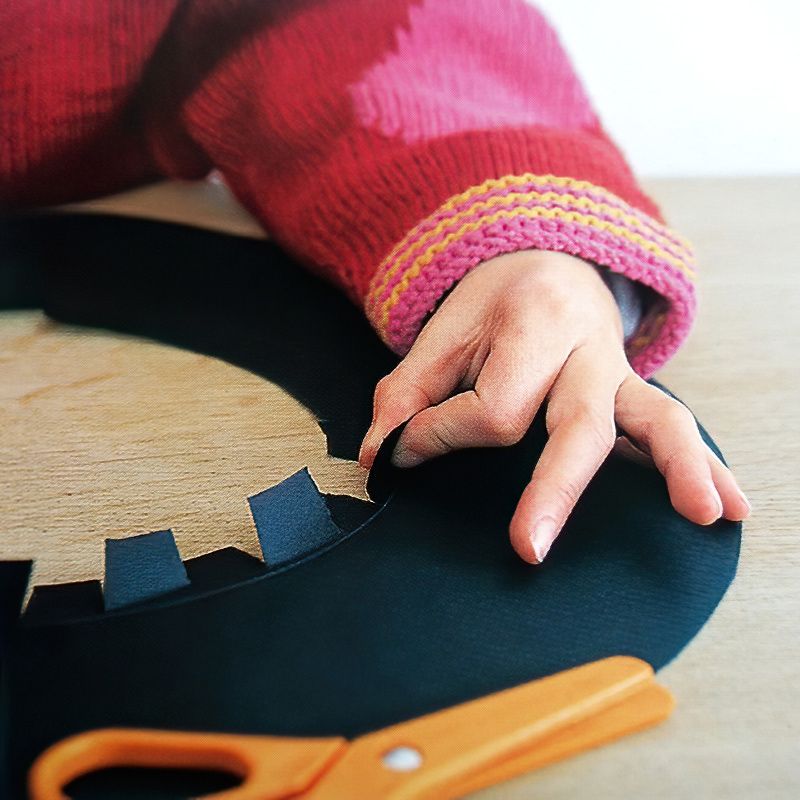
Now before you cut, we also need one more circle. Inside the cone shape circle you drew first, we need a smaller circle. This really does not have to be accurate or neat, because these will be the tabs like in the picture above.
So inside draw another circle roughly 2cms in from the cone shape circle we first drew.
Just draw the circles freehand or use the string trick we did before. It does not have to be perfect. A wobbly witch hat is probably best and most spooky.
Now cut out the brim. Cut around the biggest circle and the smaller circle. Now use scissors to cut the tabs from the inner circle.
Complete The Witch Hat
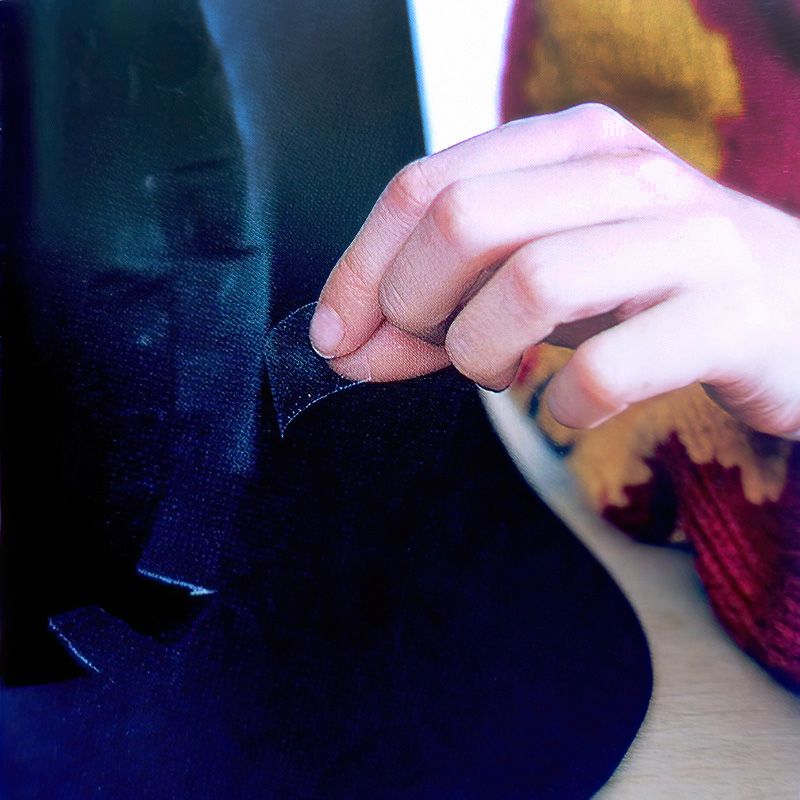
Once the brim and the tabs are cut. Lay the brim on the table top. Fold up every other tab. We don't fold all the tabs up because we want to tape the tabs to the cone and we need the space.
Now you can sit the top witch hat cone on top of the brim. Now turn it over and stick down the tabs of the brim to the cone. For a strong fit you can use glue. Be careful to hold it all in place as the glue dries a little.
Witches Hat Decorations
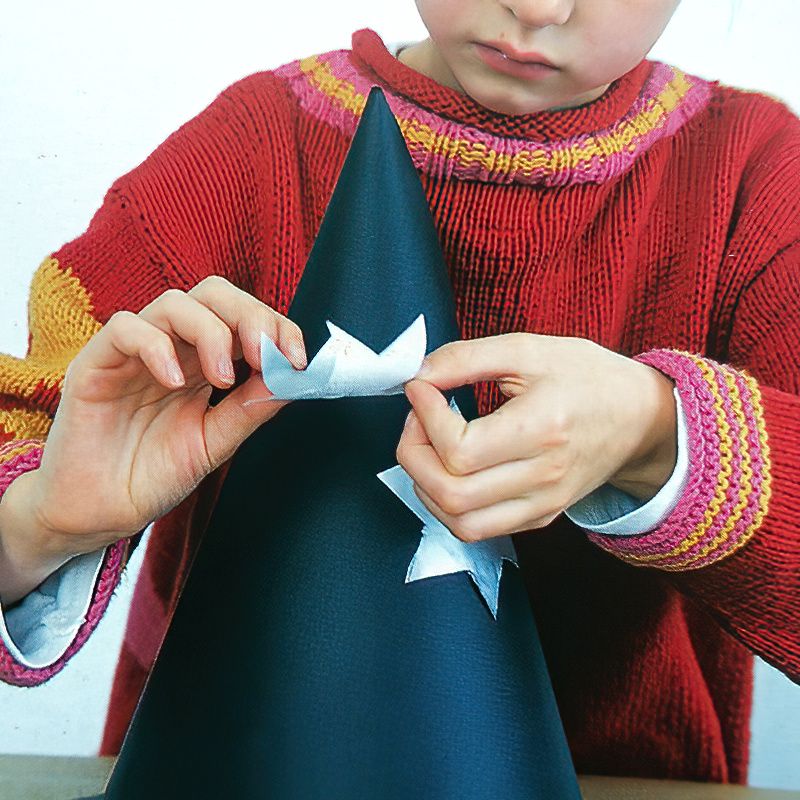
Now we can decorate our witches hat. Get your silver paper and use the star-shaped cookie cutter as a template to trace around. If you don't have a star-shaped cookie cutter. Find a star shape on the internet and print it out on paper. Then cut it out and trace around that.
Decorate your witch hat with the silver stars and then glue some spooky black netting to the top of your pointy hat and boooooooooo, you have yourself a spooky witch hat.
Have fun scaring everyone.











.jpg)

