Time For A Basic Paper Weaving Tutorial
Paper weaving has been around for hundreds of years and is a simple and effective technique to make any paper project look amazing and interesting. Plus, paper weaving is really fun to do.
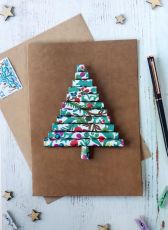
Paper weaving is great for making gift cards and greetings card and also for decorating other objects like gift boxes, pencil cases, books and anything you can think of. Make cute little paper weaving hearts and shapes as embellishments.
What Do We Need For Our Basic Paper Weaving Tutorial
- 4 pieces of A4 or letter-sized coloured papers
- Pencil
- Ruler
- Scissors
- PVA glue
- 2 x 60cms or 24 inches long of rick rack tape in different colours
- Sticky dots
- Decorative papers
- Buttons
Start With Our Basic Paper Weaving Tutorial
Step One
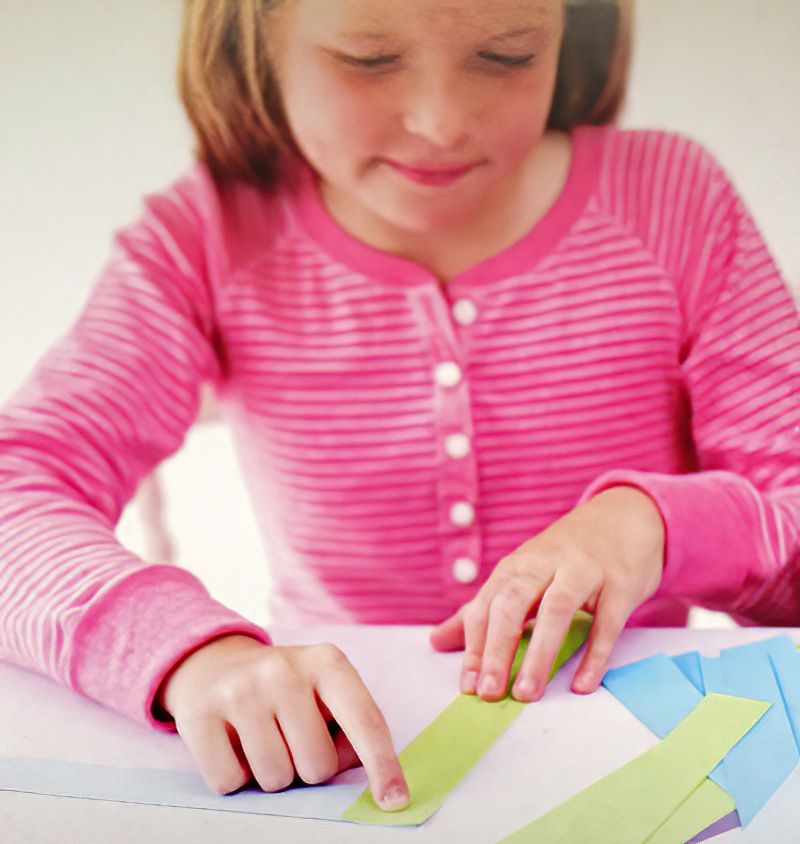
First we want to use a pencil and a ruler to draw strips on the back of the different coloured pieces of paper. We need to make sure our strips are all the same width. You can pick different widths for different paper weaving end results after we have mastered the basics.
Here we are going to cut our paper strips 2.5cms wide or 1 inch wide. Now with our scissors carefully cut all the strips out.
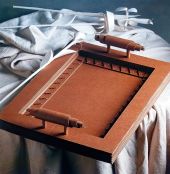
Let's Start Weaving Our Paper Strips Together
Step Two
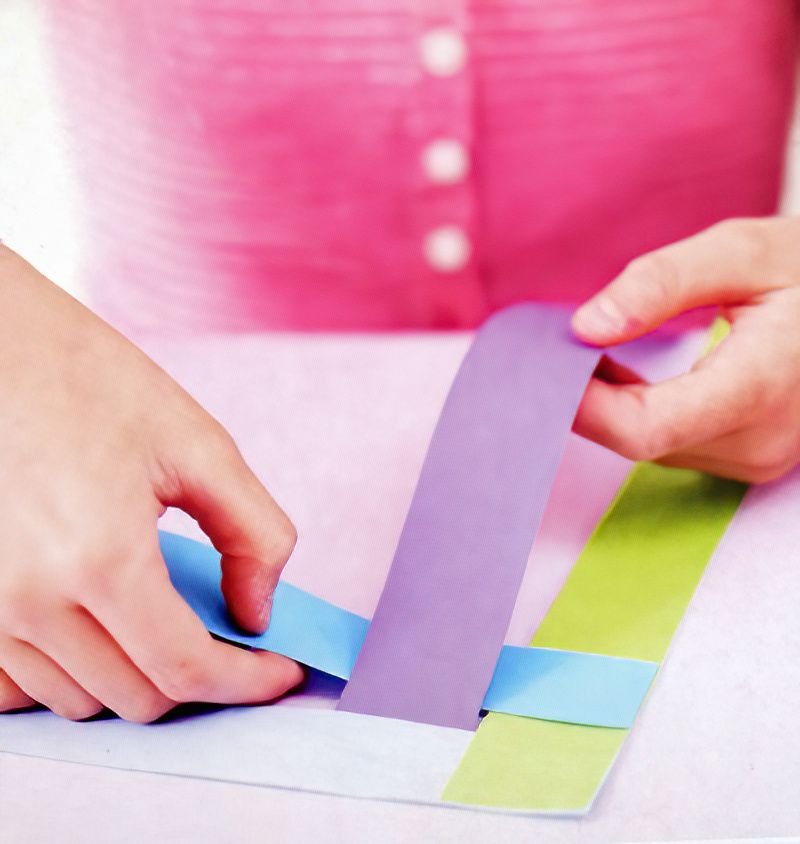
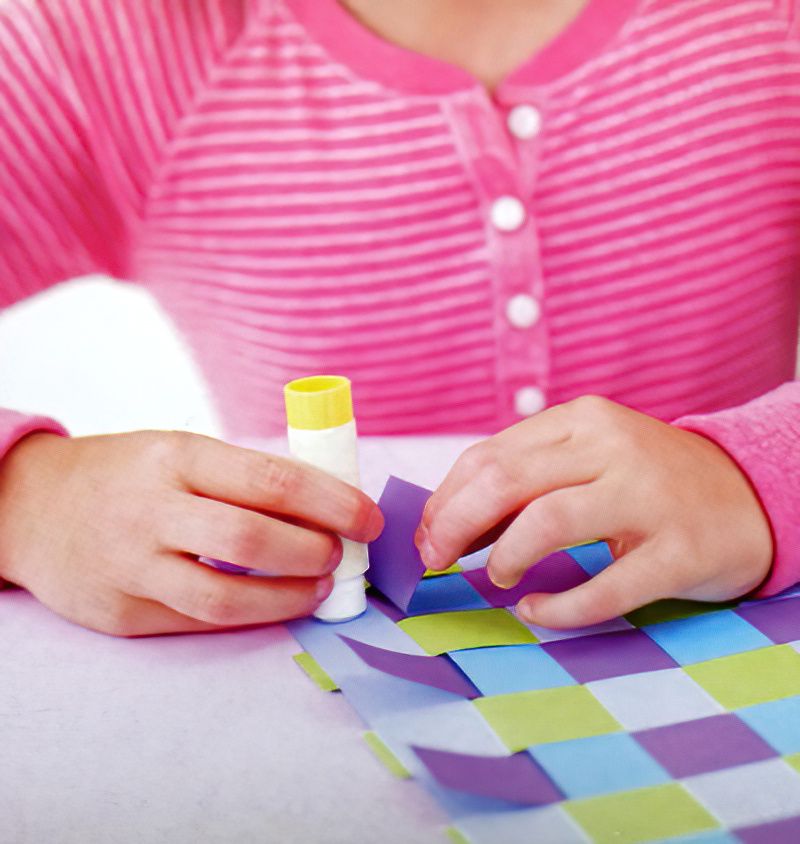
We need to secure the first two strips of paper together. So lay two strips of paper at a right angle to each other with the ends overlapping. One strip will be vertical and one strip will be horizontal. Glue where the strips overlap and let the glue dry.
Now we can continue down and across at the same time.
So next, stick another horizontal strip, on top the vertical strip, but down one spot. And you guessed it, stick another vertical strip going down, underneath the top strip, one space along. Carefully start to weave them together.
Weaving means, if the paper strip was under, next it goes over. If it has gone over, next it goes under.
Vary the colours to make our paper weaving look interesting. Let's continue with our basic paper weaving tutorial.
Continue Sticking And Weaving The Paper Strips
Step Three
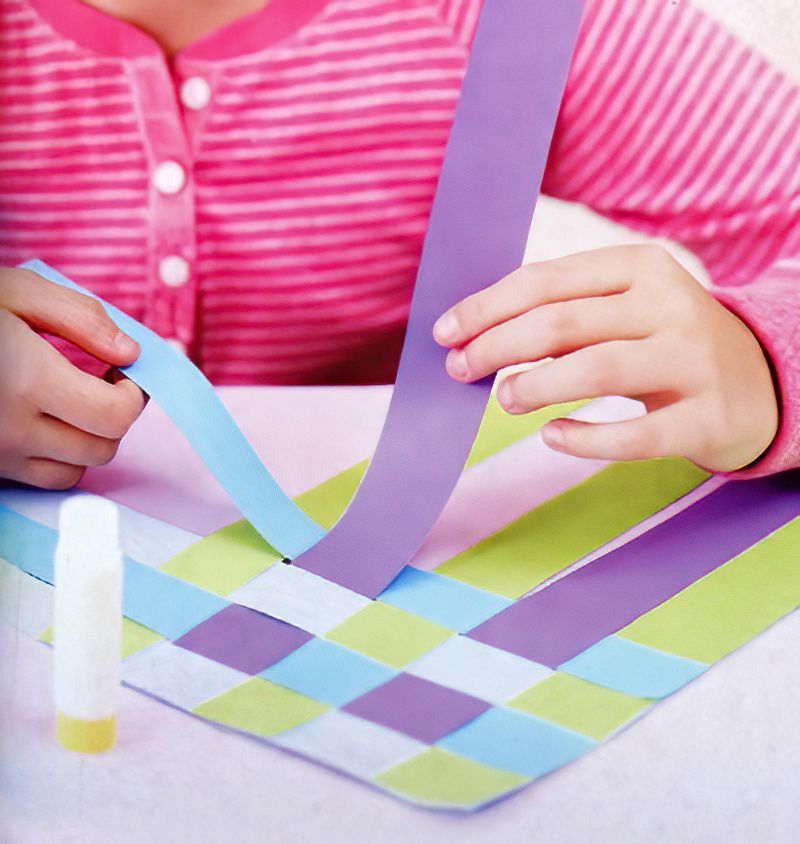
Take your time with this basic paper weaving tutorial. It can be fun to see the woven pattern emerging. But it can also be a little fiddly. Keep sticking one horizontal strip, then one vertical strip. Pay attention to if the last paper strip was over or under. We need to do the opposite.
Then when we have stuck the next strip down, make sure it is weaving over and under the other strips it comes into contact with.
Continue adding strips across and up and down.
Finish Our Basic Paper Weaving Tutorial
Step Four
When we have added all the strips and finished weaving up and under, we can glue the ends down to the last strip. Remember to glue the ends to the last horizontal strip. But also glue the ends of horizontal strips to the last vertical strip.
Use your scissors to trim off any strips of paper that are hanging over the edges.
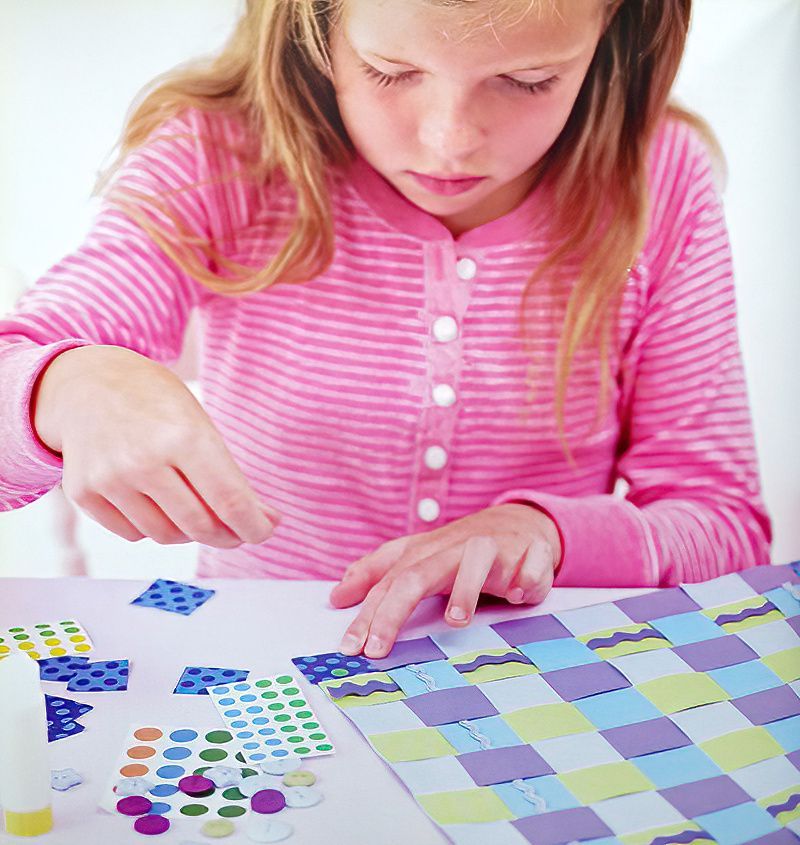
This is a basic technique for making woven paper squares. You can now decorate with rick rack wavy tape and buttons and anything you like.
Try making your strips thinner and see what your paper weaving looks like.
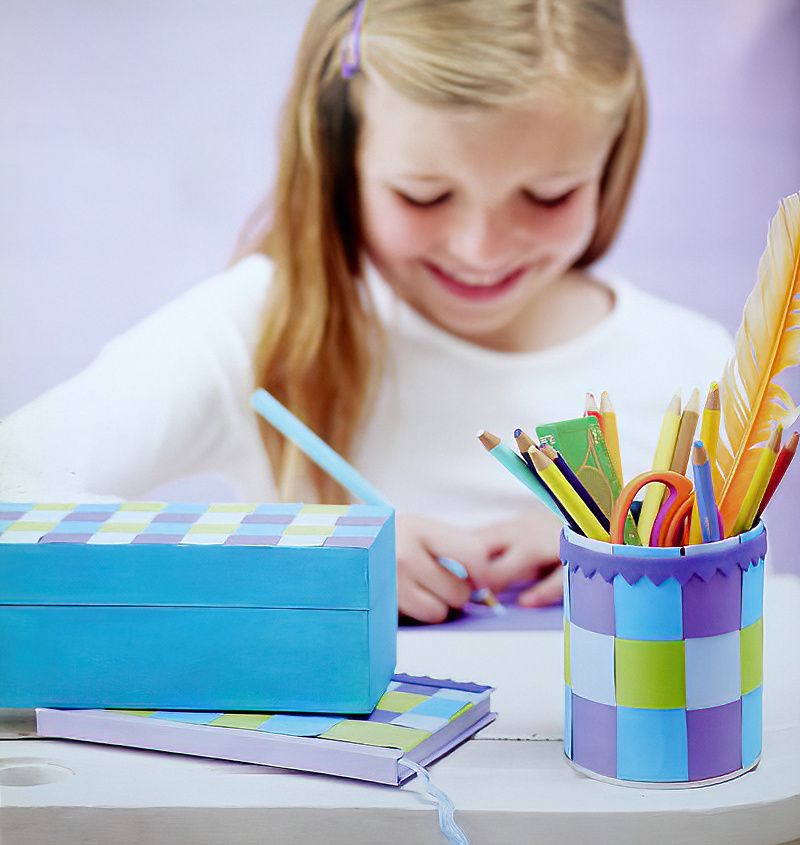
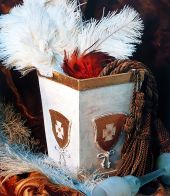
Make A Paper Weaving Pen Holder
Now we have the basic paper weaving tutorial technique, we can use these woven pieces to decorate all sorts of things. If you cut down your paper weaving mats, make sure to glue all the ends down again.
Here we have cut and decorated a paper crisp or snack tube. Use the paper weaving pieces to make your pen holders look really interesting. Leave the snack tube longer for your paintbrushes.
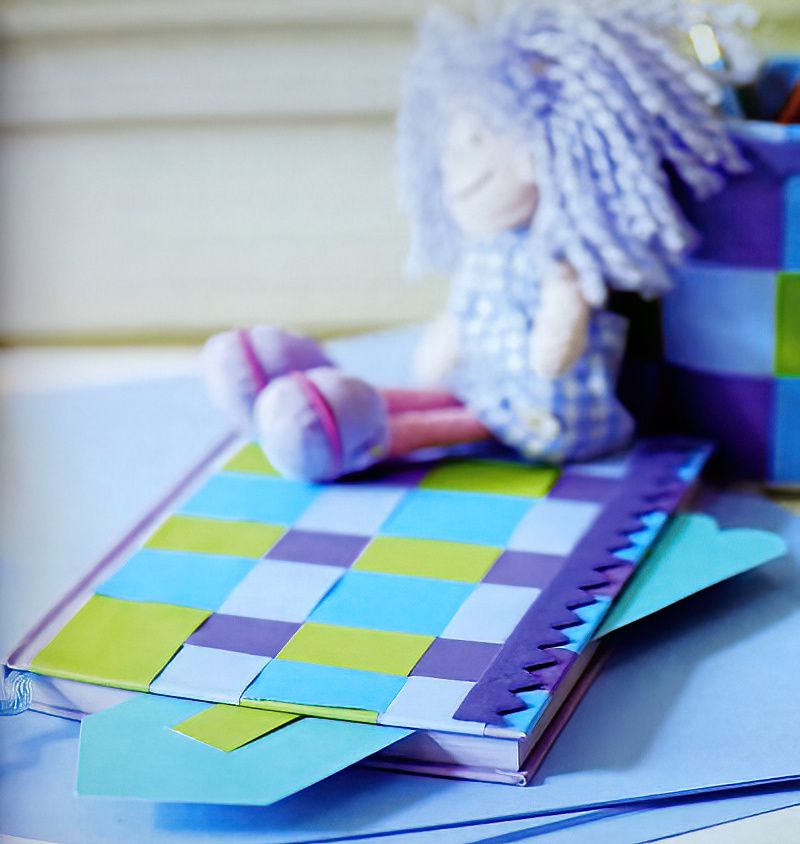
Add Paper Weaving To A Notebook Or Greetings Card
Here we can cover our books in clever paper weaving techniques. The paper weaving on our notebook is extra clever. See how the vertical strips of paper are different widths and the horizontal paper strips are actually thin.
Try some paper weaving experiments with different widths of paper strips and see what effects you can come up with.
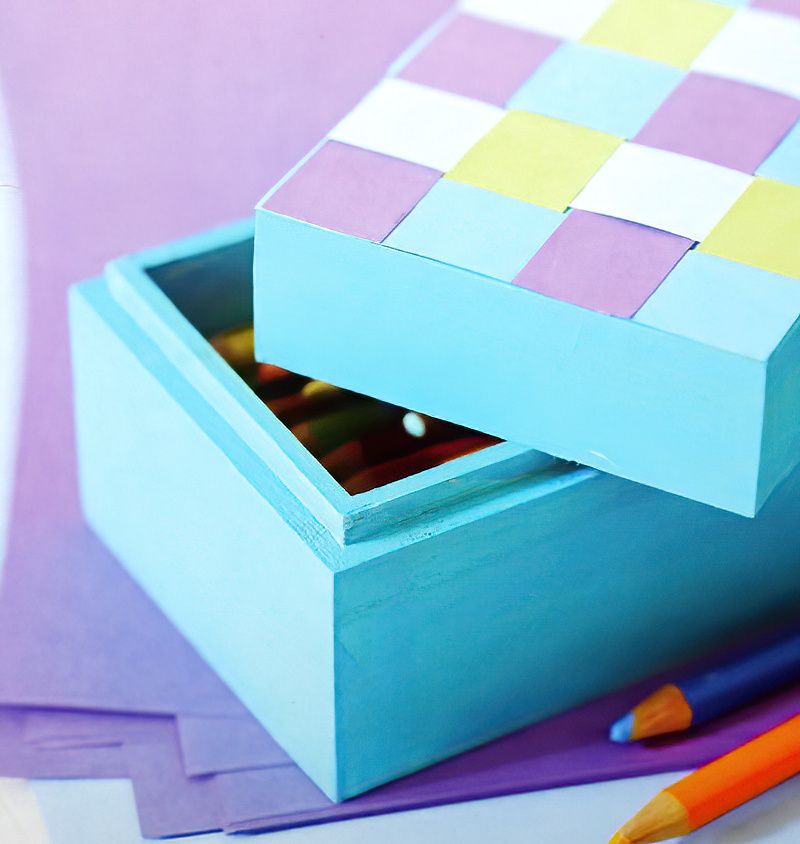
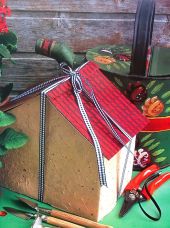
Decorate A Wooden Box With Paper Weaving
If you want to get a really even effect with your paper weaving. Simply measure the thing you want to decorate, like our box here. Then work out what number you have to divide each side by to get a perfect number of paper strips. Then cut your strips according to the width you just worked out.
Thanks for following our basic paper weaving tutorial. Paper weaving is so much fun. Try decorative papers, newspaper, maybe magazines or old wrapping paper to make your strips.
Please add any photos you take to your own studio and comment the name of your studio down below. Then we can search your studio name and see your pictures.