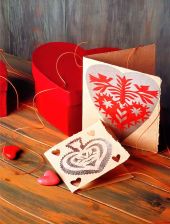
Paper Doilies Make Amazing Stencils and Fantastic Decorative Pieces
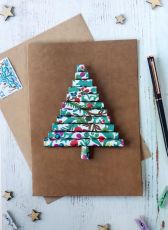
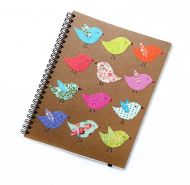
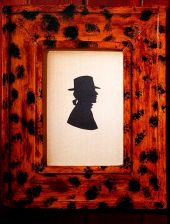
Doilies come in lots of different designs. Their intricate, lace-like designs are just perfect to add an amazing decoration to a boring box. Doilies are great for decorating many things, like greetings cards, wrapping paper, notebooks and picture frames. You can use the same stencilling effect to create those things too.
A doily can be used as a craft paper and just cut up and applied. Or we can use it like a stencil. And with different coloured paints make an even more amazing effect.
Things we need to make stencilled doily box
- Round box
- A selection of doilies
- Masking tape
- Saucer for paint
- Fat paintbrush, sponge or stencil brush
- Paper towels
- Scissors
- PVA glue
- Ribbon long enough to go around the lid
- Decorative butterflies or similar
Start Making Our Stencilled Doily Box
Step One
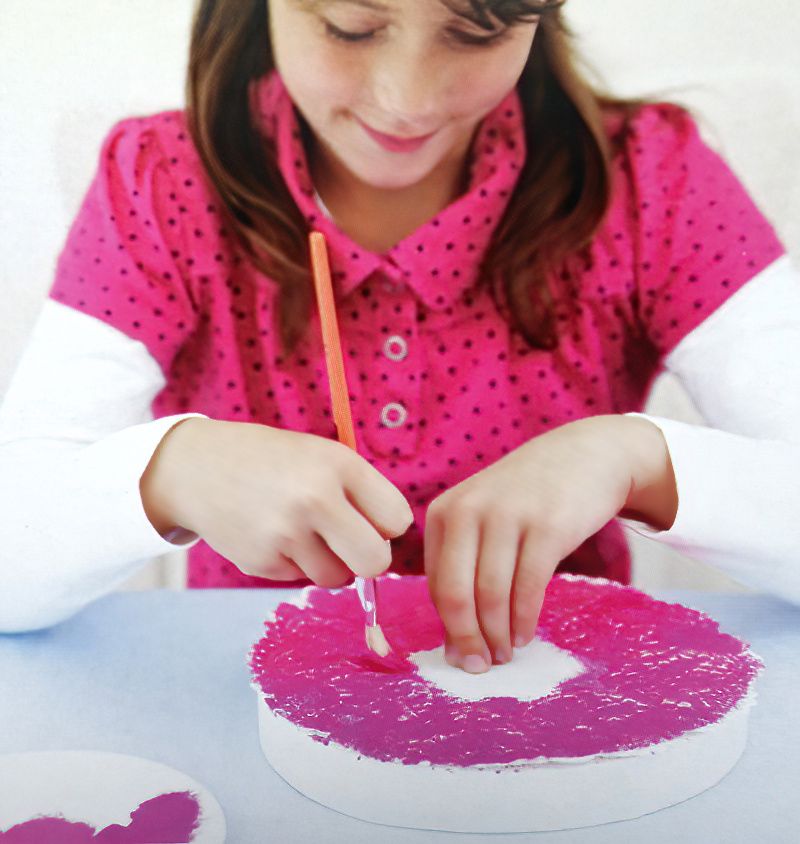
First we want to take one of our doilies and place it on top of the box. We are going to paint through all the little gaps. Secure the doily with some very small pieces of masking tape around the edges. we need to hold the doily in place whilst we are stencilling. Otherwise the top of our stencilled doily box will look blurry and messy.
One secret to successful stencilling is to use less paint and build it up over a few layers. More paint may bleed underneath the doily and create a smudge. Use a stencil brush, regular paintbrush or even a sponge to gently pad paint through all the holes in the doily.
Leave the paint to dry and gently build up another layer if needed. Again making sure the doily has not moved.
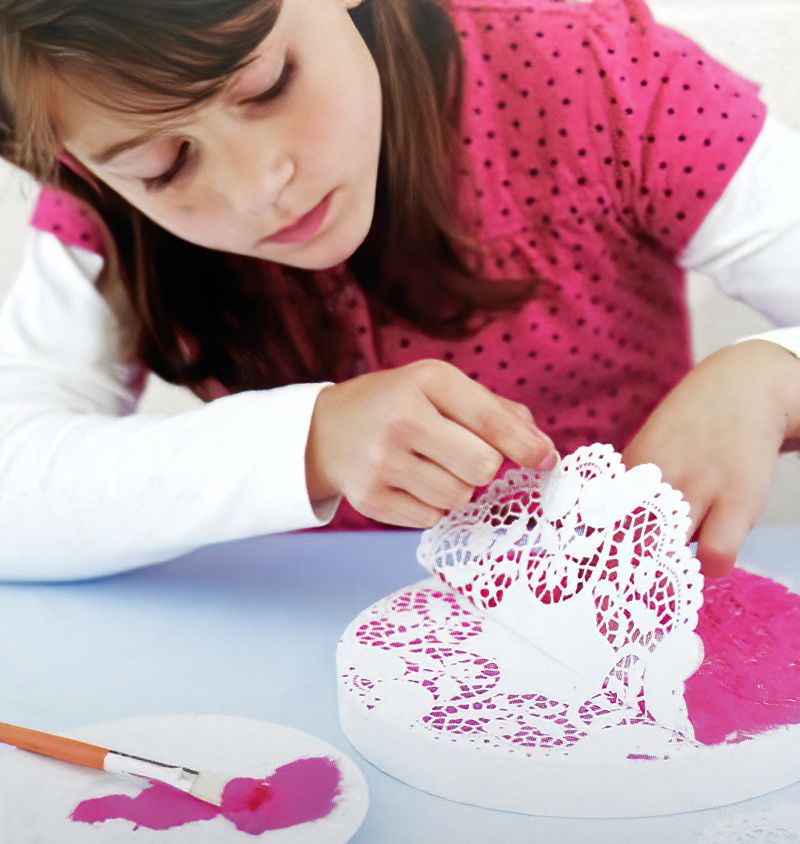
Remove The Stencil From Our Stencilled Doily Box
Step Two
Allow the paint to dry before removing the doily. Carefully peel any masking tape and then remove the doily. Next admire your fine doily stencilled effect.
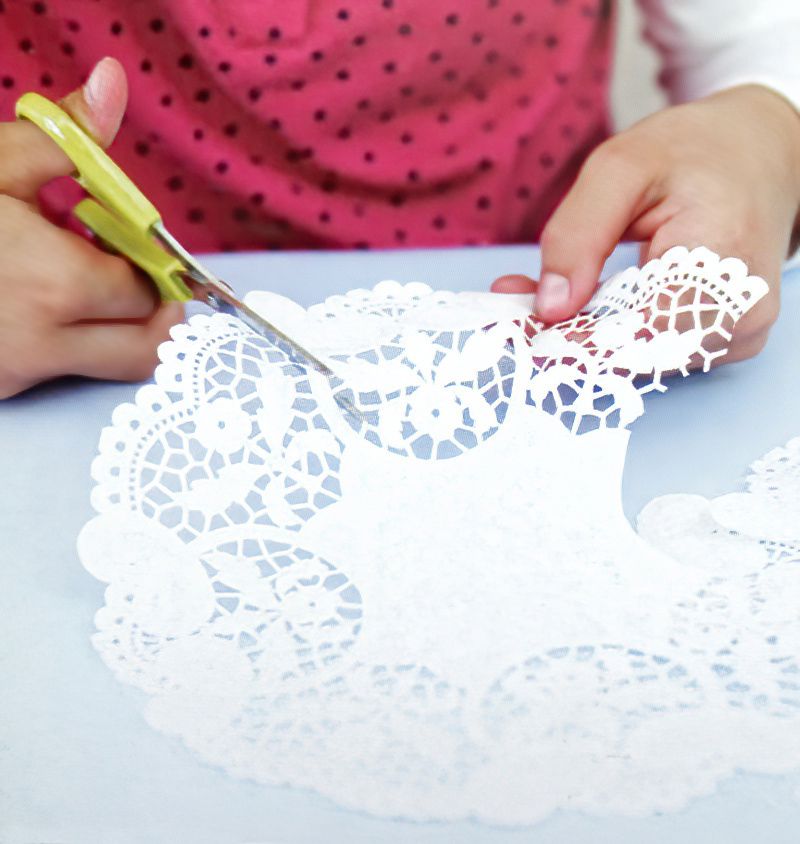
Add More Embellishments To Our Stencilled Doily Box
Step Three
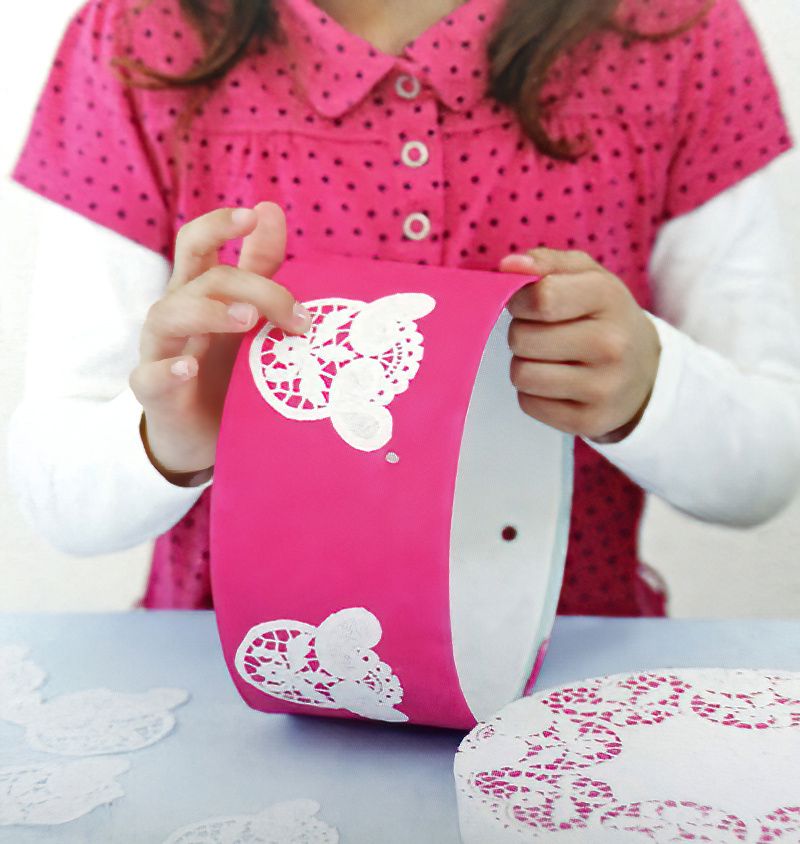
The next stage is to take another doily and cut out any interesting shapes it has. We want to use this as decorative paper and stick the interesting shapes all around the edges of our stencilled doily box.
Remember a lot of doilies have very different designs. So we can look at a few and see if there are any shapes or details we prefer.
Finishing Our Stencilled Doily Box
Step Four
Once we have all the designs cut out, simply apply some glue to the back of the paper doilies and carefully glue them in place around the edge of the box.
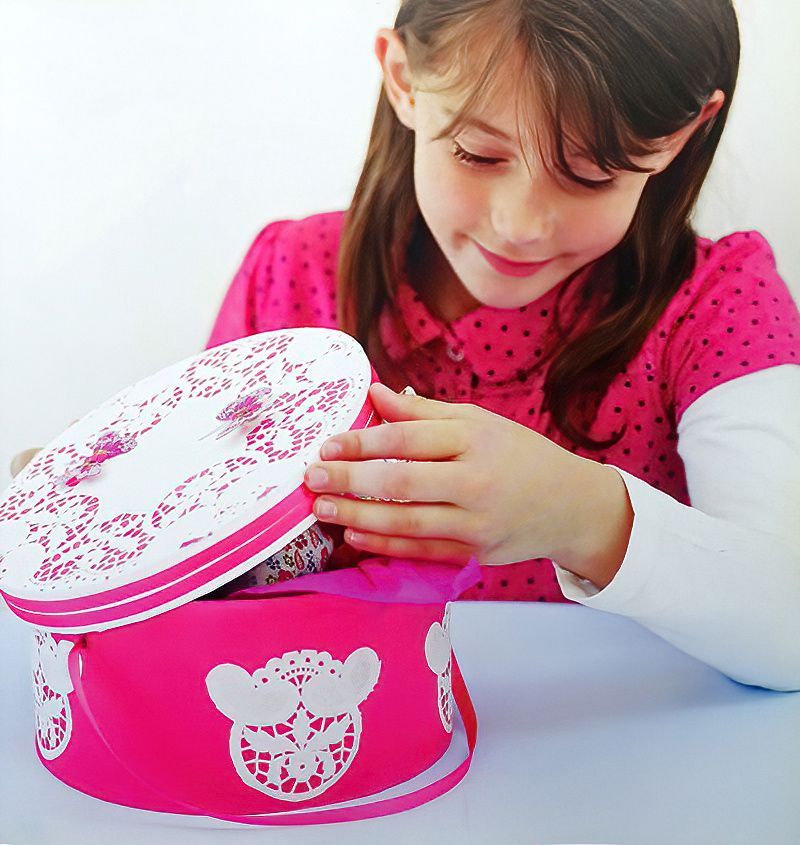
Finally stick two strips of ribbon all the way around the box lid for a nice decorative effect. Then add some pretty butterfly details or similar to one corner of the box lid.
And there we have our decorative stencilled doily box. You can of course, finish decorating it any way you like. We would love to see some pictures. So if you complete this project, please take some photos and add them to your own studio. Then comment down below with your studio name below so we can search your studio and see your pictures.


.jpg)


.jpg)