Weaving For Kids Tutorial
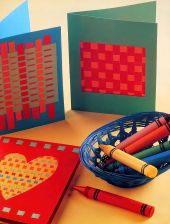
Weaving is one of those things that quickly becomes mesmerising. Just a little bit tricky at the beginning but once you get the idea then your imagination is really the only limit.
Weaving is really fun for people of any age. Weaving can be done with paper and ribbon and thread and many other things. Ribbons is a great place to start and easy and quick to make impressive scatter cushions, placemats, bags and many other things.
Things You Need To Start Weaving
- Four spools of ribbon in different colours, approximately 2cms wide
- Pins
- Square of fabric roughly 45cms square
- Needle, thread and scissors
Cutting The Ribbons For Weaving
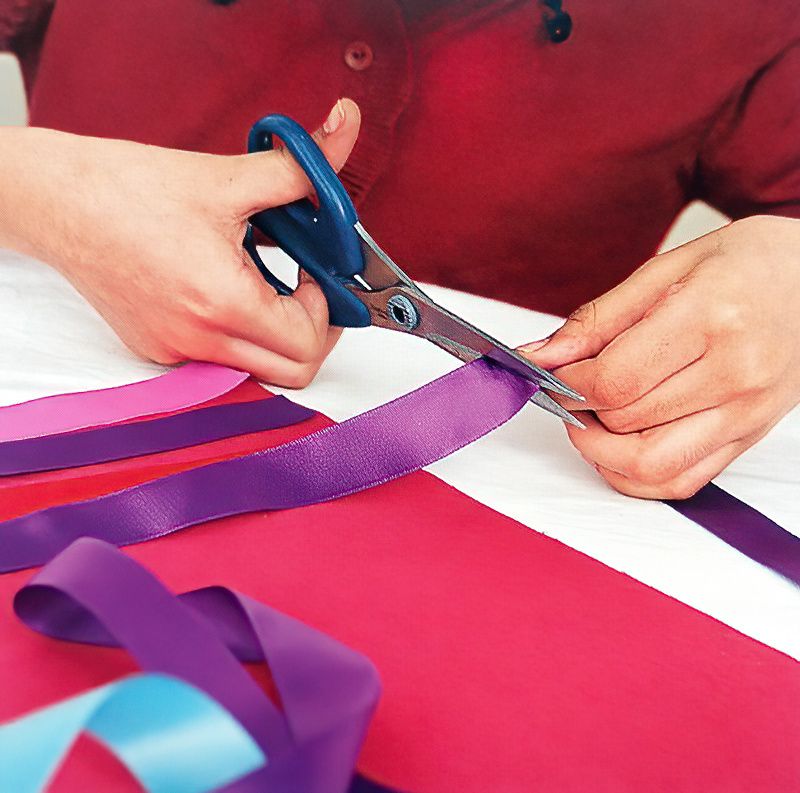
First we need to cut our ribbons into strips. Make a collection of ribbons all 45cms long. Split your ribbons into different piles of colours.
You can use brightly coloured ribbons for a bold effect. Or maybe try some more subtle shades to produce a more sophisticated finish. You could even cut strips of fabric. Use pinking shears to avoid the strips of fabric fraying.
Maybe make this project with some friends and all make different little products.
Pinning the Edge Of Our Woven Fabric
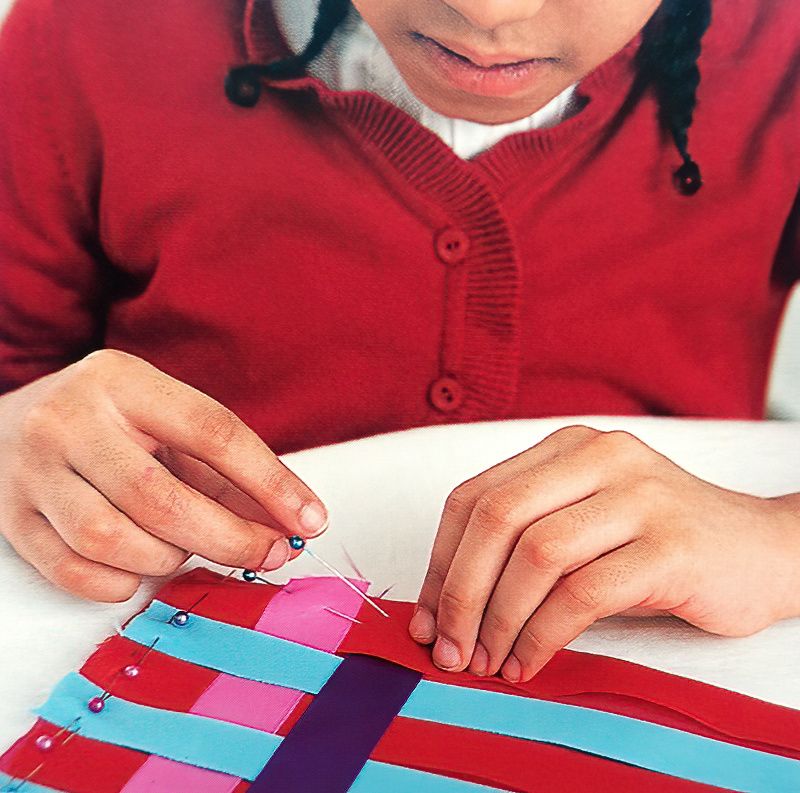
Carefully lay out your square of fabric and place on top rows of ribbon going down the fabric. Alternate the ribbon colours you are laying out.
Pin the ribbons on the end using one pin per ribbon to hold them in place.
Now we are going to do some weaving.
Start the Weaving
Place the fabric square with the pins going across the top and the ribbons laying down vertically.
Now find a new colour of ribbon and lay it across horizontally at the top. This will be our first row. Go over the top of the first vertical ribbon. Pin it to the left side of the square.
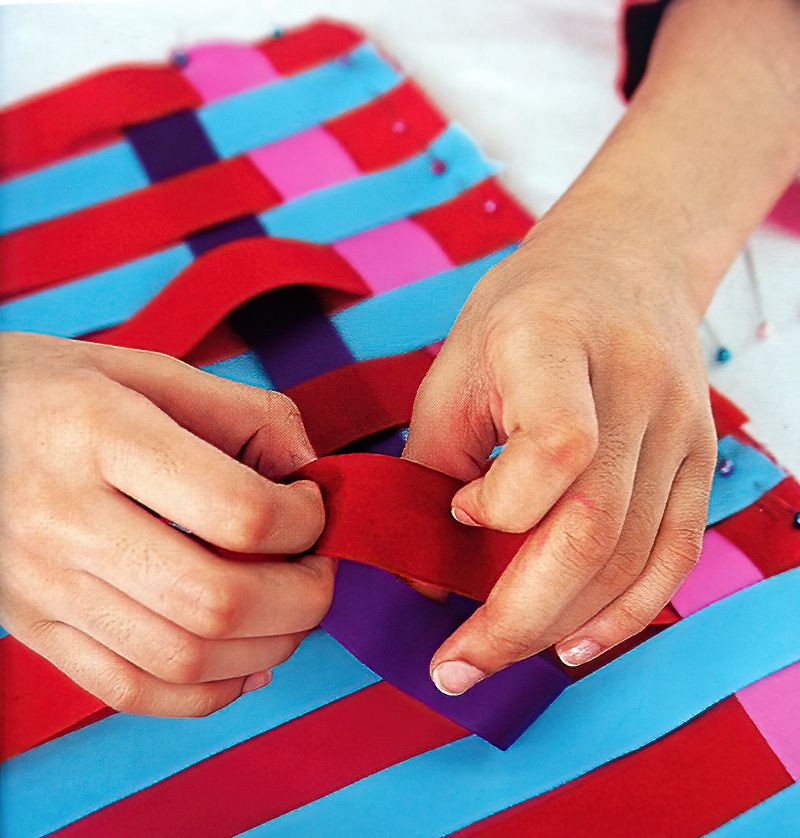
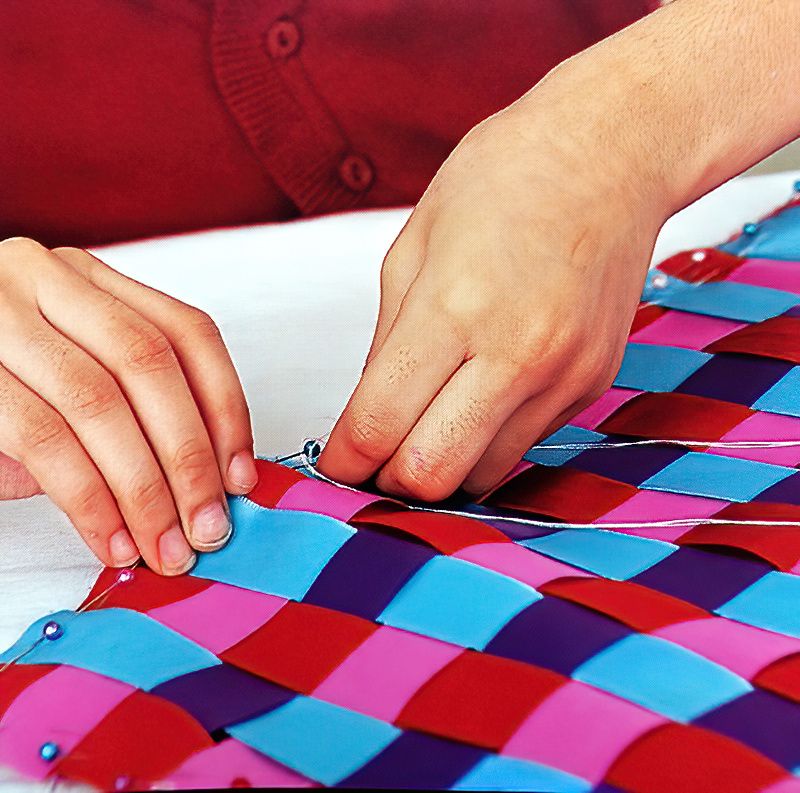
Carefully thread the horizontal ribbon over and under the vertical ribbons. Make sure you keep straightening the ribbons back out. Weave the ribbon all the way across to the other side going above and below each of the ribbons coming down.
Pin the end of the newly woven ribbon to the right hand side.
Pick another colour and repeat the process for the second row down. Except at the start, don't go over the top of the first vertical. Go underneath the first vertical.
Again go across weaving above and below and pin at the end.
Sewing To Secure Our Woven Fabric
Once you have completed all the rows, check everything is laying flat and looks neat. A little bit of wiggling here and there might be needed.
Then, when you are happy, take the needle and thread and sew around the edge of the fabric. Pull out the pins as you go. As you sew through the ribbons and fabric, you will fix the ribbons in place.
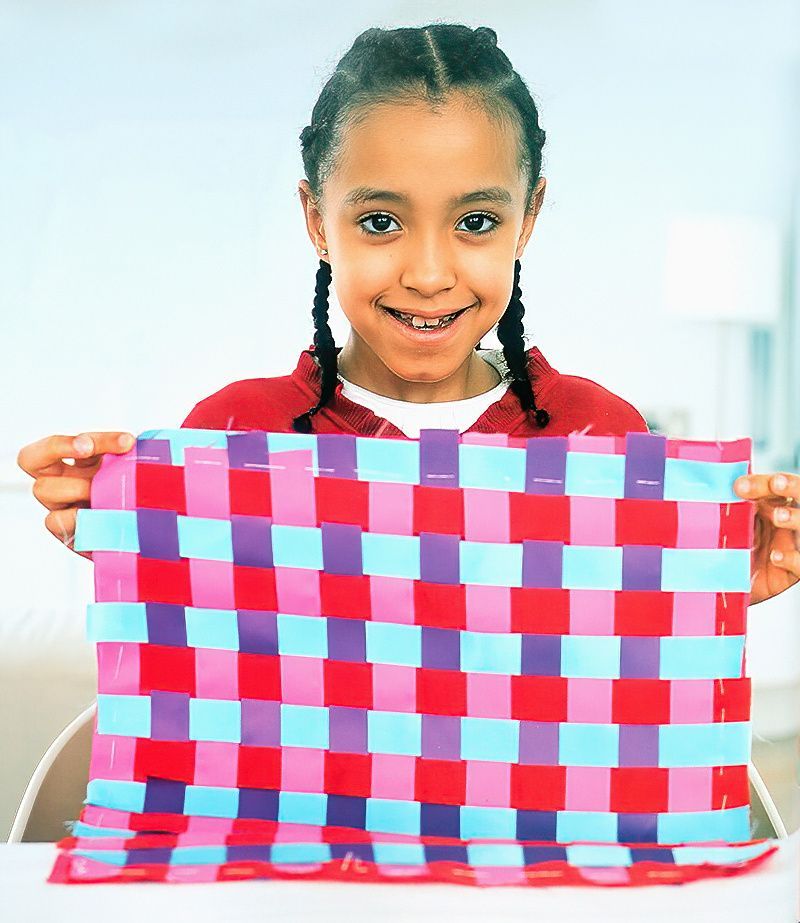
Congratulations!
We have our first little weaving project completed. With these basic woven squares, we can make all sort of things. Maybe even think about what other things you can actually weave together and what other projects you could make.
Woven Pen Holder
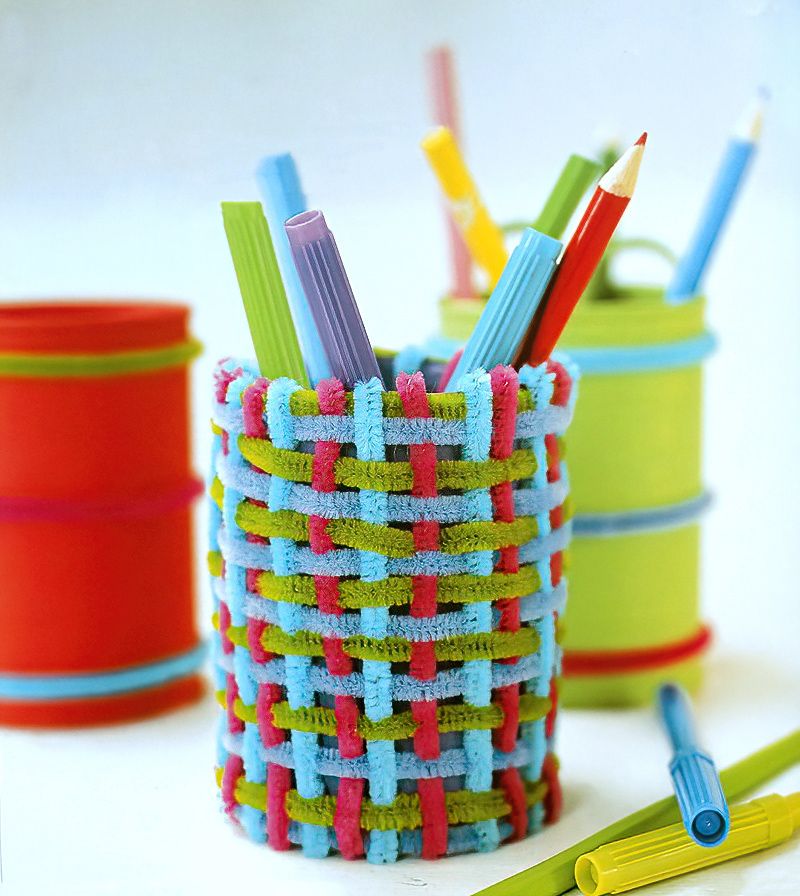
Why not try weaving with coloured pipe cleaners. This is a great project as pipe cleaners can be bent around anything when you have finished weaving them together. To connect and secure the ends of the pipe cleaners, you can just twist them together.
Maybe wrap a jam jar and make yourself a cool, woven, furry pen holder.
Woven Bag
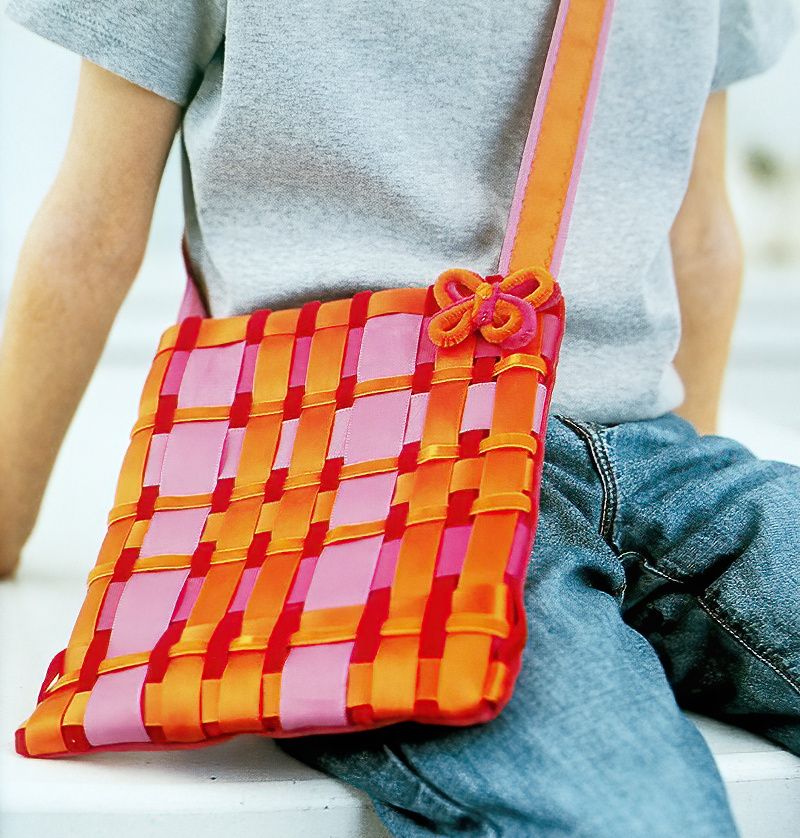
Maybe try and make a fashionable woven bag. Use the same techniques as previously show. But use ribbons of different widths. Maybe don't make the weave so tight. Once you sew around the edge to secure the ribbons, then simply sew to another square of fabric and make a shoulder strap from some of the ribbons.
Weaving For Kids
Weaving can be a really fun and relaxing hobby. And can make some beautiful gifts for friends or family or even just for your own home or bedroom.
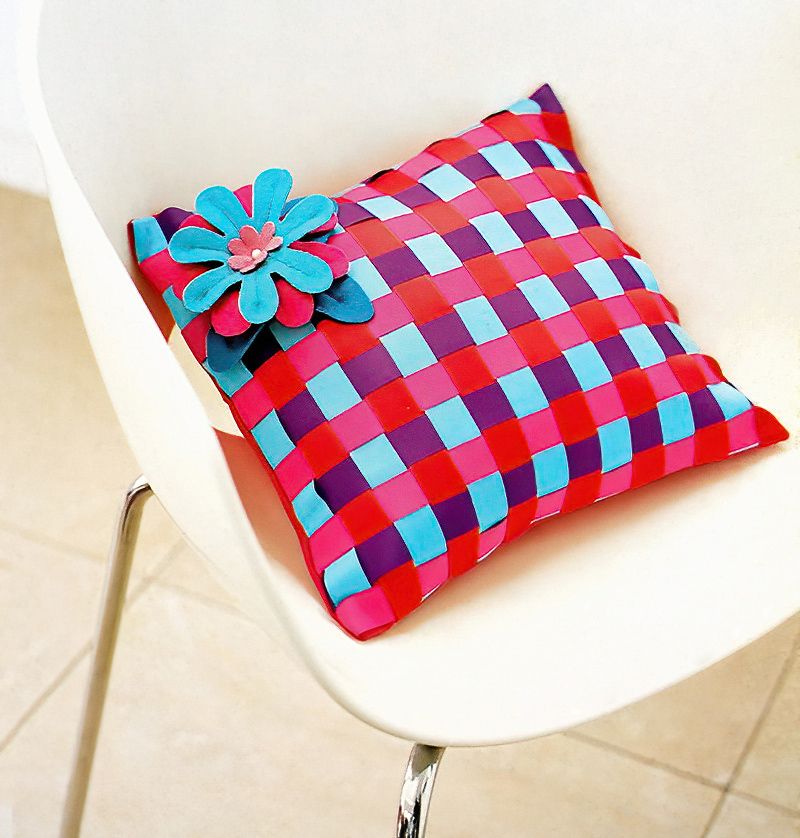
Use the weaving we did at the start of this post to make yourself a scatter cushion. Find another matching square of fabric and sew the two sides together. Remember to sew with the nice sides facing each other. Leave one side unsewn. Once finished, turn the cushion cover inside out to see the neat edge.
Find a cushion filler and finish sewing the last edge.

