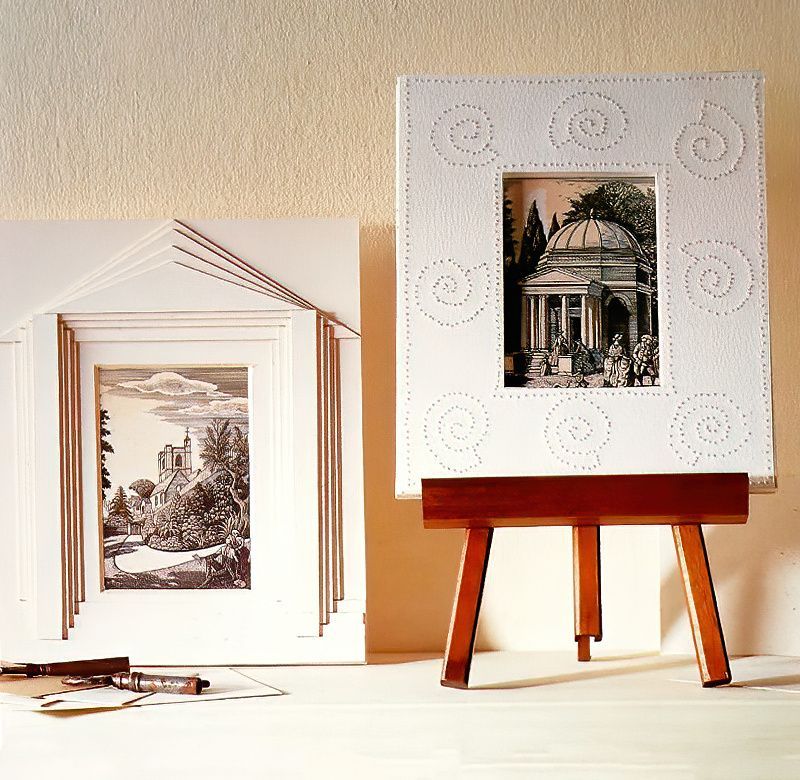
Handmade Decorative Three Dimensional Paper Picture Frames
I really love making handmade picture frames, especially these three dimensional paper picture frames. I would like to show you two different designs, you can choose to try one or both of these designs. I have kept mine in a simple minimum white colour, but you can choose another colour if you prefer.
List Of Items Needed To Make A Decorative Paper Picture Frame
Classic Column Picture Frame Design
- Mount Board
- Rubber Solution Adhesive
- Double Sided Sticky Tape
- Tracing Paper
- Pencil
- Cutting Mat
- 45 Degree Mat Cutter
- Craft Knife
- Metal Ruler
Punched Paper Picture Frame Design
- 6mm Thick Polyboard
- Thick Watercolour Paper
- Double Sided Sticky Tape
- Pencil
- Craft Knife
- Cutting Mat
- Towel or Cloth
- Darning Needle
Classic Column Three Dimensional Paper Picture Frames
1st Step
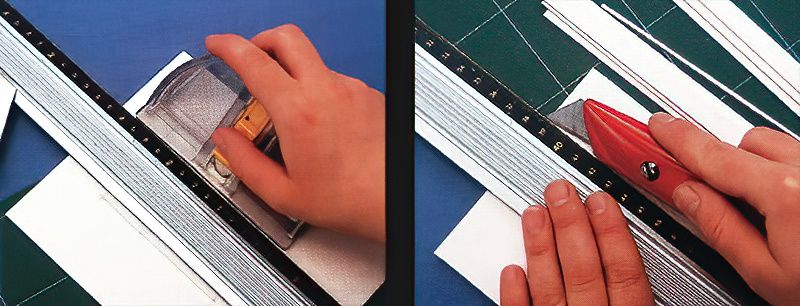
Firstly you will need to find some classic column templates. You can print these out or photocopy them to the size needed for your picture frame. Decide on the size of your frame, then cut out the basic frame shape from some mount board. Use a 45 degree mat cutter and a cutting mat to ensure that your picture frame fits together properly.
2nd Step
Next, use a craft knife to cut four strips for each of the columns and the steps. The cut out four triangles for the roof from another piece of mount board. Now you have the basic shapes to make your first picture frame.
Assembling A Column Three Dimensional Paper Picture Frame
3rd Step
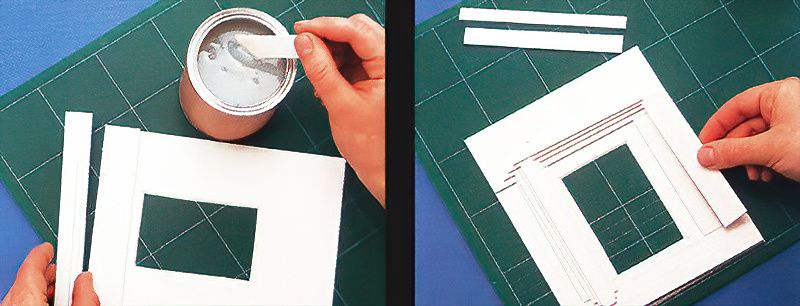
Now, glue down the steps that you have just cut using rubber solution adhesive. You can wipe off any excess once dry. Then line up the cardboard strips with the frame and the base.
4th Step
Then glue the roof into position using the rubber solution adhesive, and then leave it to dry. Next, glue on the two columns. You may need to cut them more to length to ensure that they fit perfectly.
Finishing The Column Picture Frame And Starting The Punched Three Dimensional Paper Picture Frames
5th Stage
Finally, for the first design, insert your chosen picture into the frame using some double sided sticky tape. Then attach a piece of mount board to the back and add a stand.
6th Stage
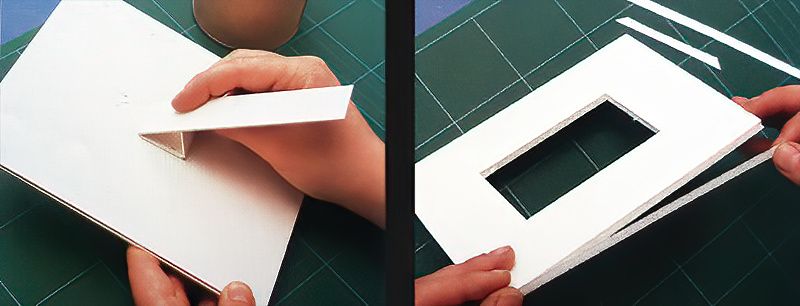
For the next design, draw a basic picture frame shape onto the polyboard and cut it out using a craft knife and cutting mat. Then cut 6mm wide strips of watercolour paper and glue it to the inside and outside edges of the picture frame. Let the whole thing dry completely.
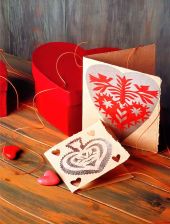
Making A Punched Decorative Three Dimensional Paper Picture Frame
7th Stage
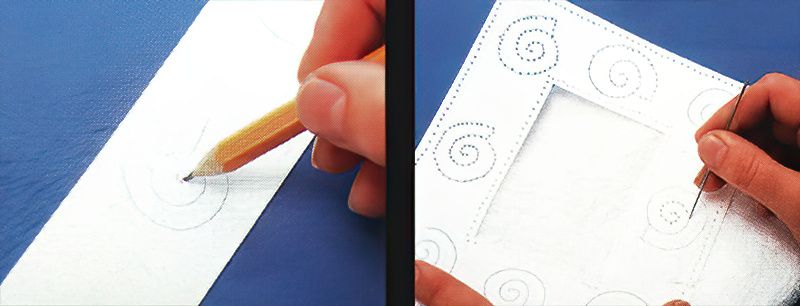
Next, cut out a piece of watercolour paper the same size as the front of the frame. You will now need to choose a design that you like and make a template. Draw the template design onto the back of the watercolour paper.
8th Stage
Now, lay the paper on top or a towel or cloth, whichever you have available works fine. Then following your design, pierce lines of dots through the drawing using a darning needle.
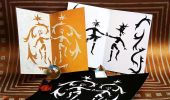
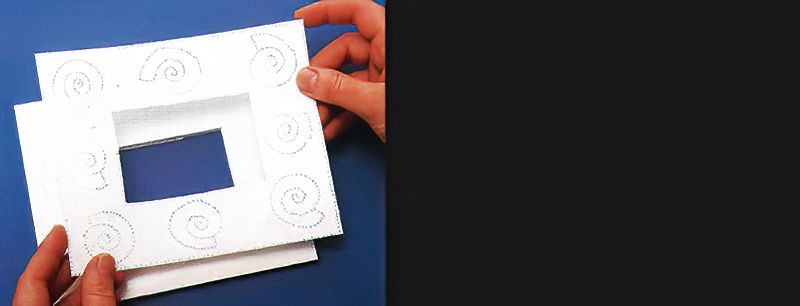
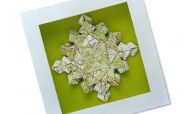
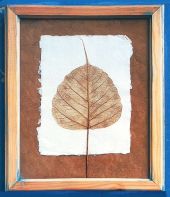
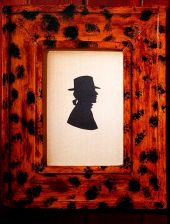
Two Finished Three Dimensional Paper Picture Frames
9th Stage
Once finished, glue the pierced paper design onto the front of the picture frame. Then make a basic stand from polyboard and attach it to the back with double sided sticky tape. Now you have two lovely decorative three dimensional paper picture frames.


.jpg)