A Plastic Bag Garland Makes a Great Party Decoration
These party garlands for kids, can be worn around the neck or just used to decorate your home or party venue. Made from colourful plastic bags and tissue paper, they are a great way to teach children about recycling.
Collect many different coloured plastic bags and tissue papers and have fun creating hundreds of combinations of colourful plastic bag garlands.
What do we need to make a plastic bag garland?
- Clean plastic carrier bags
- Tissue paper
- Sewing thread and needle
- Scissors
How To Make A Plastic Bag Garland
Step One
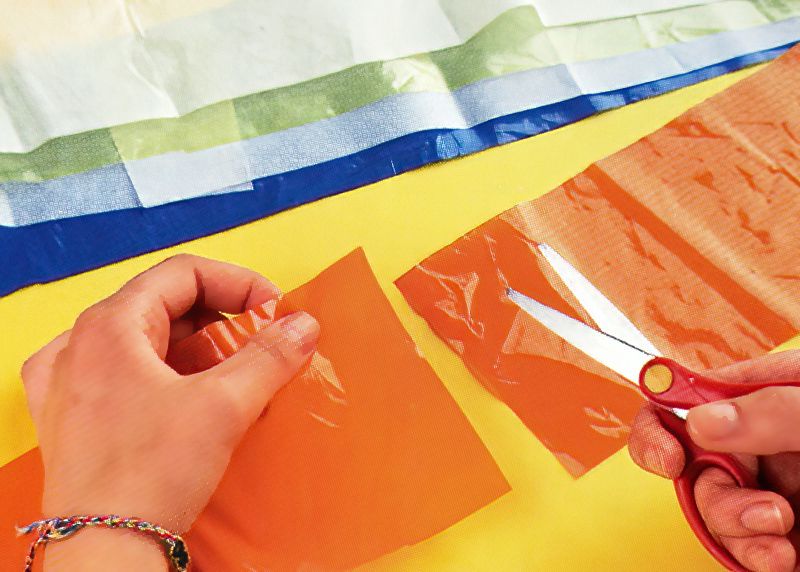
First, to make our plastic bag garlands we need to cut some strips.
Get your clean plastic bags and tissue paper and cut some strips, 10cms wide by 80cms long, or 4 inches wide by 31 and a half inches long.
Don't worry if your strips are not as long as this. We can join some strips together to make them long enough.
Layout The Plastic Garland Strips
Step Two
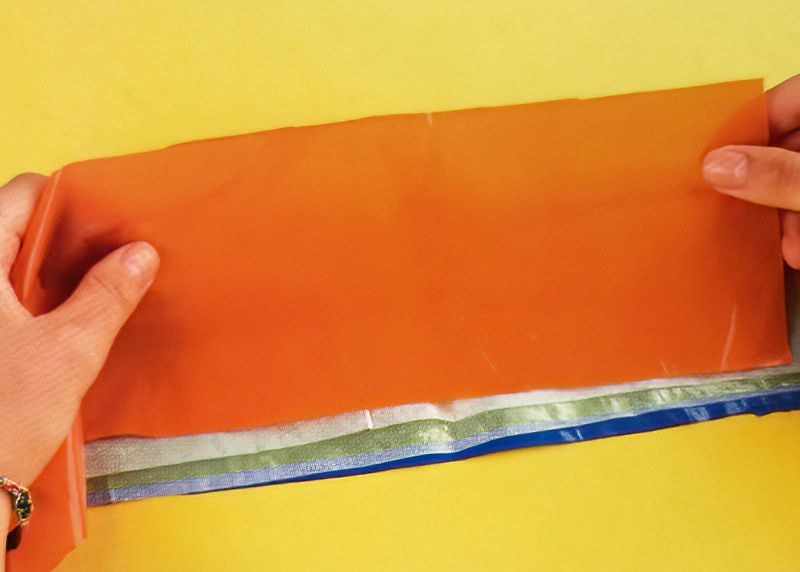
Now lay the strips of plastic and tissue paper on your table, on top of each other. Here we have 5 layers.
Now if your strips are not long enough, here is where we can overlap more strips at the ends. Overlap the ends by about 2cms or 3 quarters of an inch.
Sew Along Our Plastic Garland Strips
Step Three
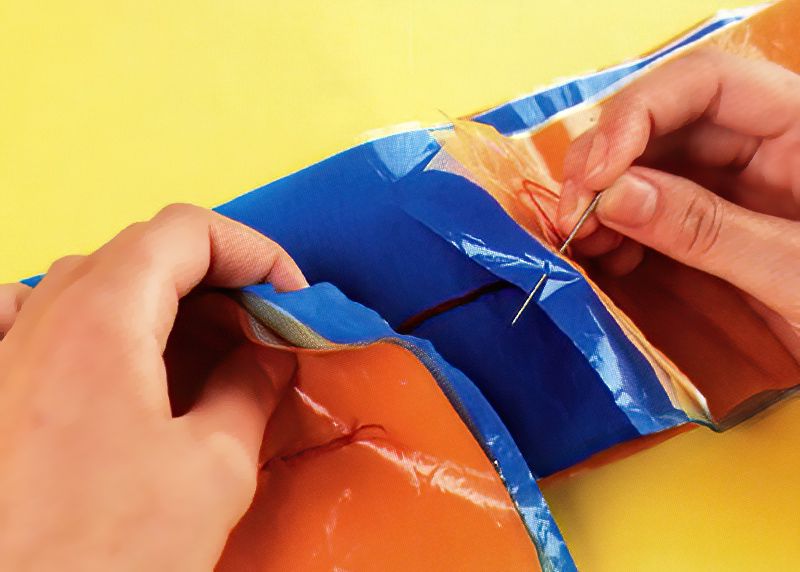
Now thread the needle with a double strand of thread so it's strong.
We want to sew a line of stitches all the way down the centre. Sew through all the layers of plastic bag and tissue paper. Now repeat that going back the other way.
We want to stitch twice down the centre, so that the layers are all securing joined together.
Once we have done all the centre stitching. Loop the ends around so they touch and overlap a little. Then securely stitch the ends together.
Make Fringes On Our Homemade Garland
Step Four
Now comes the fun part of making our plastic bag garland.
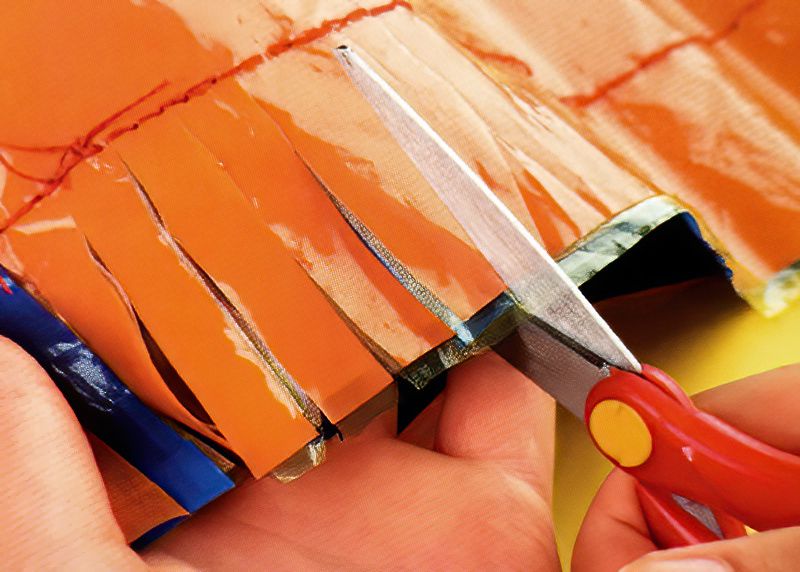
Take your scissors and carefully make some snips along the edges. Cut through all the layers and cut nearly up the stitches. But obviously don't cut through your stitches.
Make sure your snips are roughly an equal distance apart. And complete the snips down both sides to make a lot of fringes.
Finish Making Our Plastic Garland
Step Five
Now comes another really fun part.
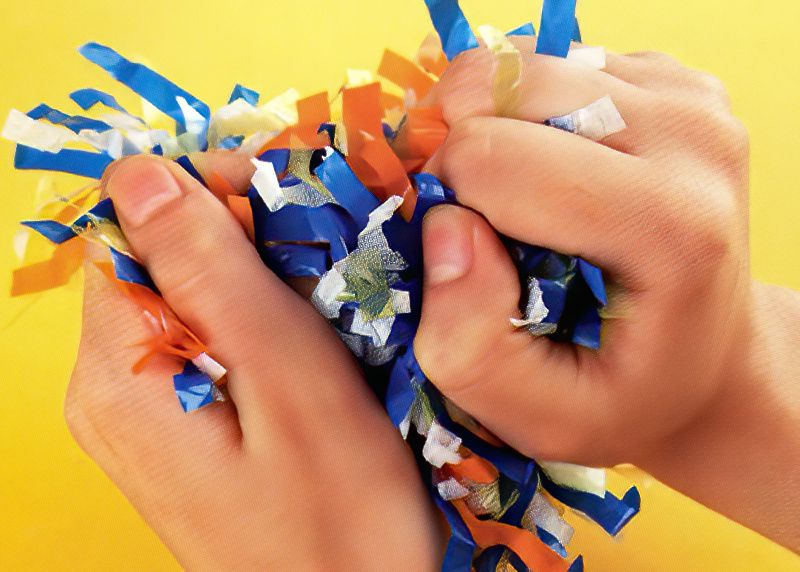
Once all the snipping is done. Grab your plastic bag garland and start crinkling. Crumple and crinkle all the little fringes up. This will make a really fun wrinkly edge to your garland.
And there we go, we have finished our first plastic bag garland.
Now we just need to have a party!
Have fun making garlands to wear or to decorate. They are easy now you know how. So get your friends and family involved and make one for everyone.





.jpg)









.jpg)


