Lovely Paper Bell Decorations Add A Magical Touch
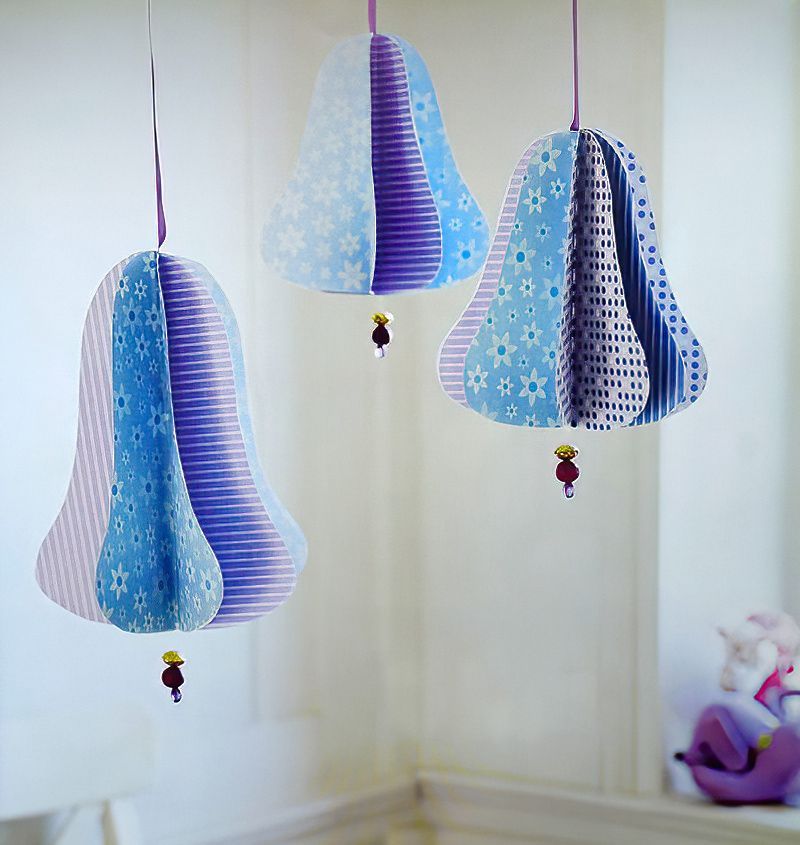
These are great decorations to learn to make. These paper bells add a really amazing three dimensional element to your decorations. Once you understand the basic idea, of course you can use any template shape that is symmetrical on both sides.
Paper bell decorations are fun for all year round. But they also make perfect Christmas decorations. Or make paper bells all in white and they will make perfect decorations for weddings.
What We Need To Make Paper Bell Decorations
- Paper for template
- Scissors and pencil
- 8 A4 / letter size pieces of decorative paper (for each bell)
- Glue stick
- Ribbon
- Strong glue
- Beads
Start With A Bell Template
Step One
You can search the internet for bell template shapes. Or copy the template above, resize it and then print it out the size you want your bell decorations to be.
I make my bell decoration templates big enough to fit onto an A4 / letter sized piece of decorative paper.
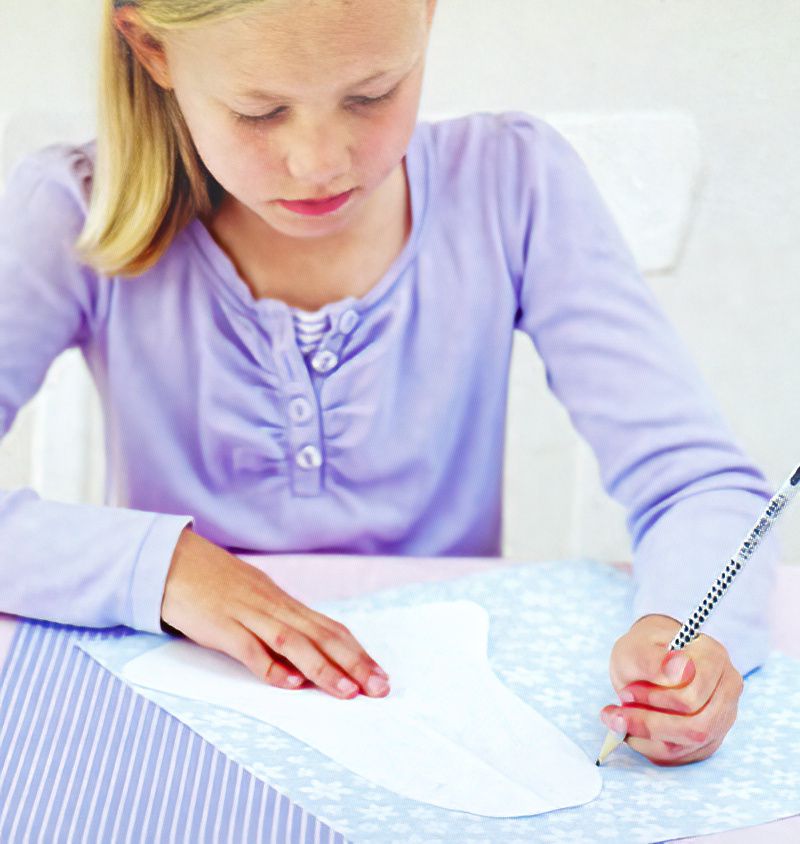
Print out the template and cut it out. Place it on the back of the decorative paper and draw around the template with the pencil.
Cut Out The Paper Bell Shapes
Step Two
Use your scissors and carefully cut out all the bell shapes we need to make one of the 3d paper bell decorations. We will need 8 pieces of paper bell shape templates for each three dimensional bell decoration.
Fold The Paper Bell Shape Templates
Step Three
Next, once we have finished cutting all the bell shapes out, we can start folding. Fold each bell shape down the centre. Fold the paper so that the nice side is on the inside.
Fold all 8 pieces of decorative paper bell shapes. Press the creases down firmly.
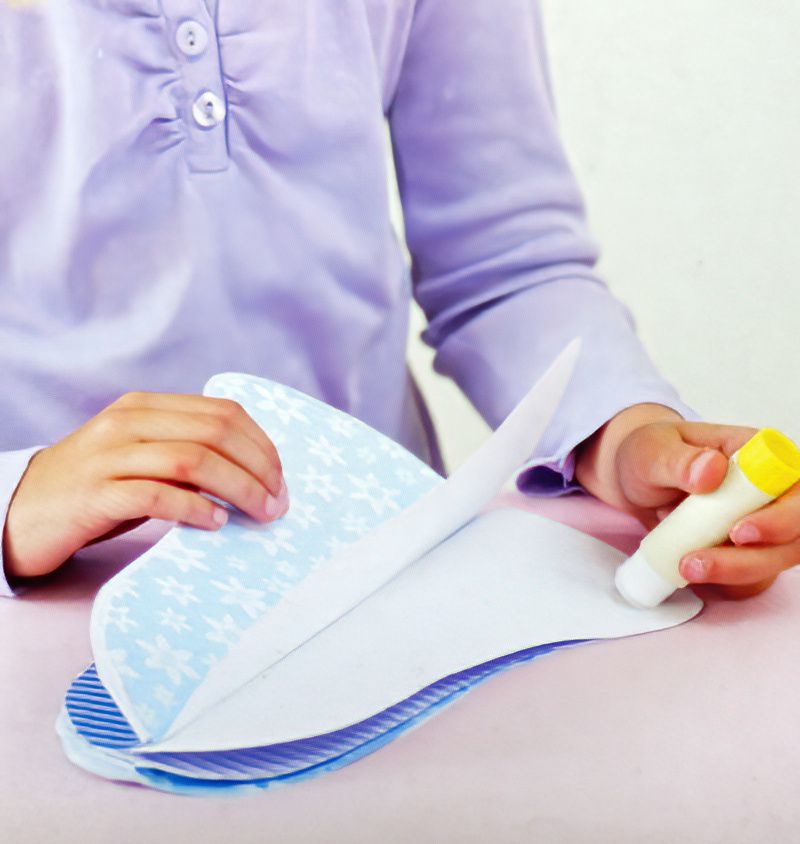
Now with all the bell shapes folded in half, select the first bell shape and pop it in front of you still folded. Apply glue to the half that is facing up. Then find the next folded bell shape and press it down on top, lining up the shapes as accurately as you can.
Pop more glue on the next bell shape that's on top and put another matching bell shape on top again. Keep pressing the folded shapes down firmly.
Keep gluing all 8 of the folded shapes on top of each other, making sure they are all lined up nicely. Let the glue dry.
Finish Making Our Paper Bell Decorations
Step Four
Now we have what looks like a paper bell book. I think you can guess what happens next. Yes, we are going to stick the first page and the last pages together to make our 3d paper bell decoration. But there is something else to do first.
Now we can take our ribbon and tie a knot in it and thread on some beads or decorations. We will lay this ribbon through our paper bell before we glue the last pages closed. Then we can use the ribbon to hang the bell. So make sure you cut a piece of ribbon long enough to use it to hang the paper bell.
Finally, once we have some beads on our ribbon, glue the ribbon along the fold of the last page. Then glue the last page of our paper bell decoration onto the first.
You may have to stand your bell decoration up to hold the pages closed until the glue sets.
Well done. Now you know the idea, what other decorations can you make. Remember they have to be symmetrical shapes.

