Make a Decorated Shopping Bag Gift
A Decorated Shopping Bag Gift Is A Great Project
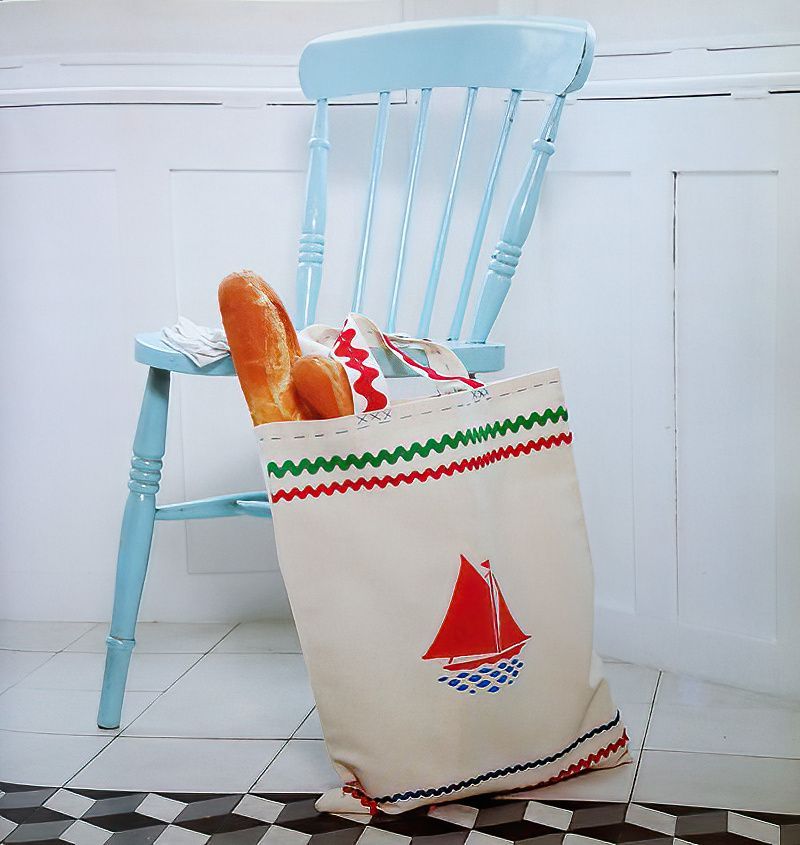
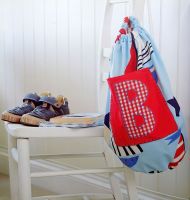
A really fun project that makes a lovely gift for someone else or even just for yourself. Who doesn't love to go shopping? So why not make your own personalised, custom shopping bag.
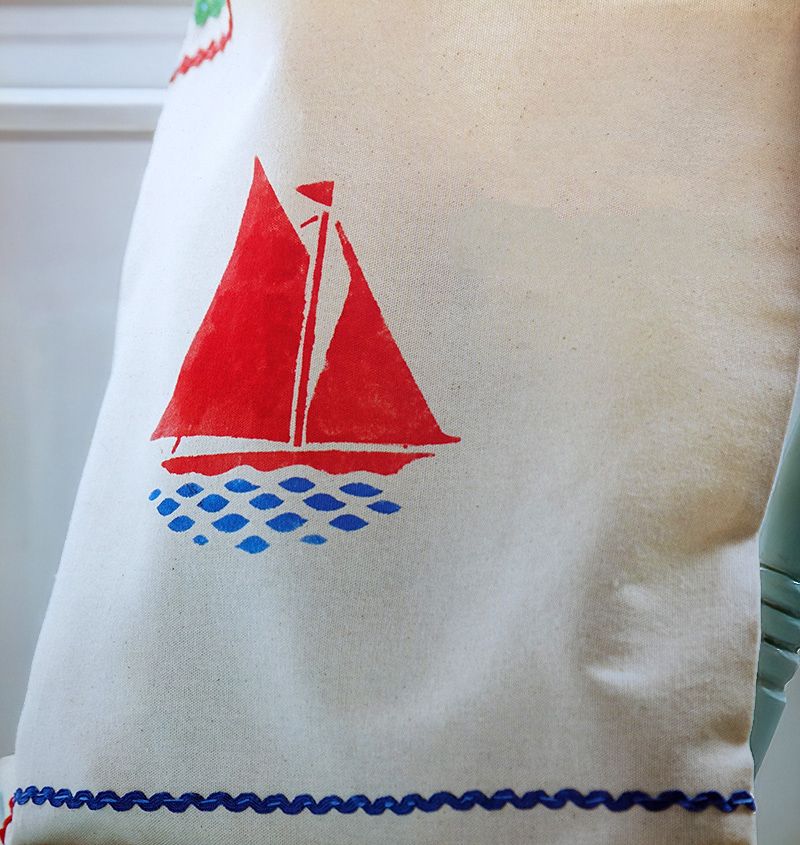
Here we have chosen a boat motif for our stencil, but you can, of course, add any motif you like. Make your shopping bag even more personalised with your own ideas.
How about adding your initials or something really personal. Maybe add a sport motif and carry your sports gear in the bag. Or a clothes motif for when you go clothes shopping.
What We Need To Make A Custom Shopping Bag
- 2 pieces of calico fabric, 52 x 40xm or 21 x 16 inches
- Pinking shears
- 80cm or 32inches of rick rack tape, red
- 80cm or 32inches of rick rack tape, green
- 80cm or 32inches of thick cream ribbon for handles
- 80cm or 32inches of jumbo rick rack tape
- Needle and thread
- Boat stencil
- Red and blue fabric paint
- Stencil brush
- Masking tape
- Embroidery thread

Let's Start To Make Our Decorated Shopping Bag Gift
Step One
First we need to take our two pieces of calico fabric. We want to cut our calico fabric pieces so each one measures 52 x 40cms or 21 x 16 inches. Use pinking shears to cut around the edges.
Pinking shears have a zigzag edge. This zigzag edge helps prevent fraying of the fabric.
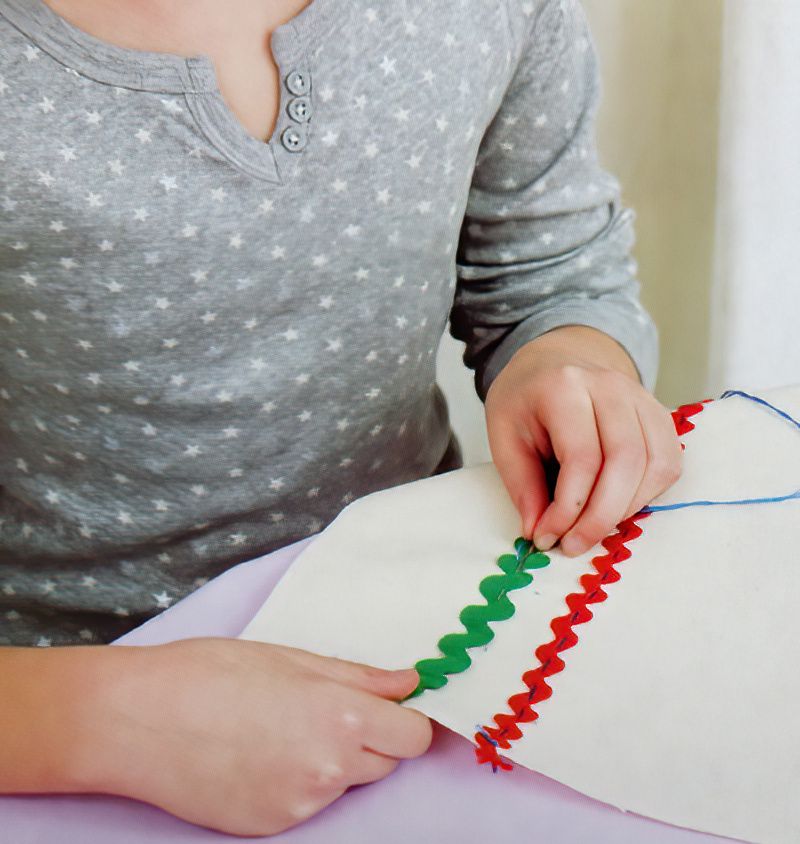
Let's Start Our Decorated Shopping Bag Gift
Step Two
Now take your two long lengths of rick rack tape and cut them both down the centre. Fold them in half to find the centre. Now we should have four lengths of rick rack tape.
We now want to sew one length of the rick rack tape across one piece of the calico fabric. The shorter sides of the calico fabric will be the top and bottom of the bag. So lay the fabric out on the table in front of you with a shorter side facing you.
Now, about 8cms or 3 inches up from the bottom we can pin our first row of rick rack tape going across. Pick which ever colour you like. Now stitch this in place.
Next pin the other colour of rick rack tape, 3cms or 1 and one quarter inches above the first row. Sew this row of rick rack tape down too.
Sew two more lines of rick rack tape, this time at the top of the bag.
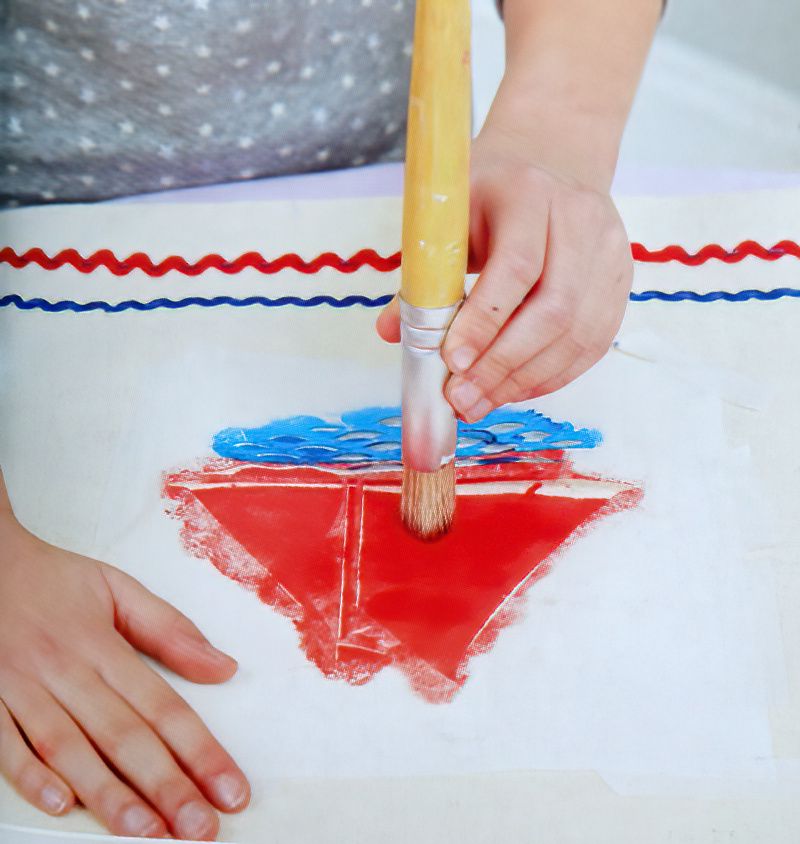
Add A Stencil Detail To Our Decorated Shopping Bag Gift
Step Three
Now with the same piece we just sewed, we want to add our boat stencil design. Place the stencil on the centre and front of the calico fabric. On the same side as the rick rack tape. We can use masking tape to hold the stencil in place.
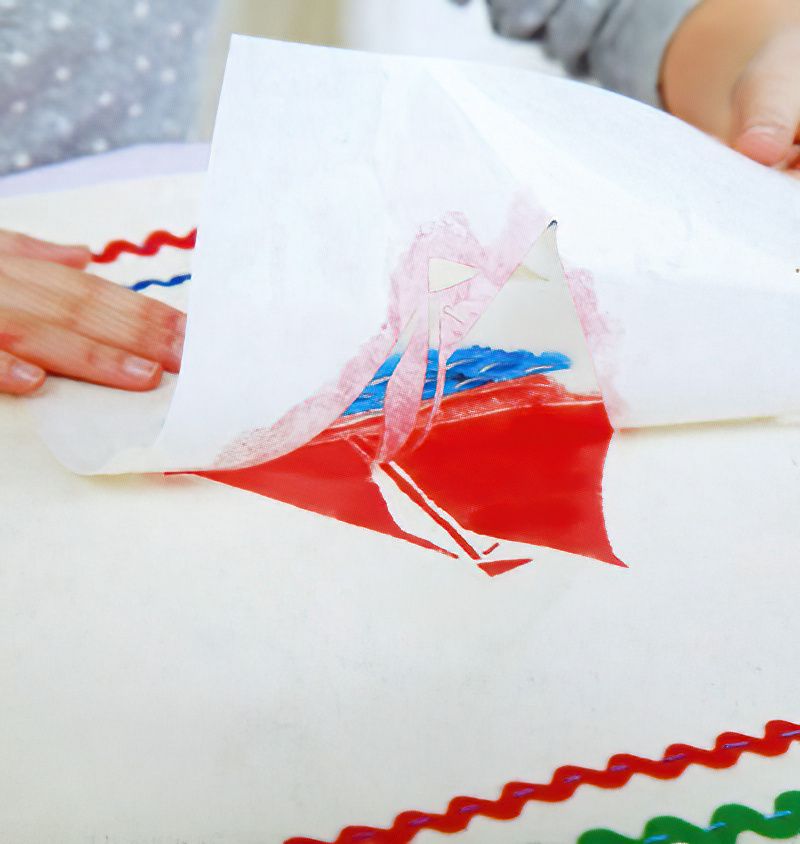
Pour out some blue fabric paint on to a saucer and dip in the stencil brush. Use less paint and build up layers, otherwise the paint may just seep under the stencil and look messy. Gently dab around the waves of the boat stencil.
Wait for the blue paint to dry.
Remove The Stencil From Our Decorated Shopping Bag Gift
Step Four
Once the blue paint is dry, maybe cover it with masking tape so we don't ruin it. Then use red paint to complete the boat stencil.
Once all the paint is dry, you can remove the complete stencil.
Stitch The Shopping Bag Pieces Together
Step Six
Again, once the paint has dried we can move on. Pop the two piece of calico on top of each other with the painted design on the inside, facing the other piece of fabric. We do this because we are going to turn it inside out when we finish the sewing.
Now sew along the two long sides and the side that is the bottom of the bag. Check which way your boat motif design is. Make sure you sew along the bottom.
Use strong thread and maybe sew a few times around these edges if you are just starting at sewing. Remember we want to carry things in our bag.
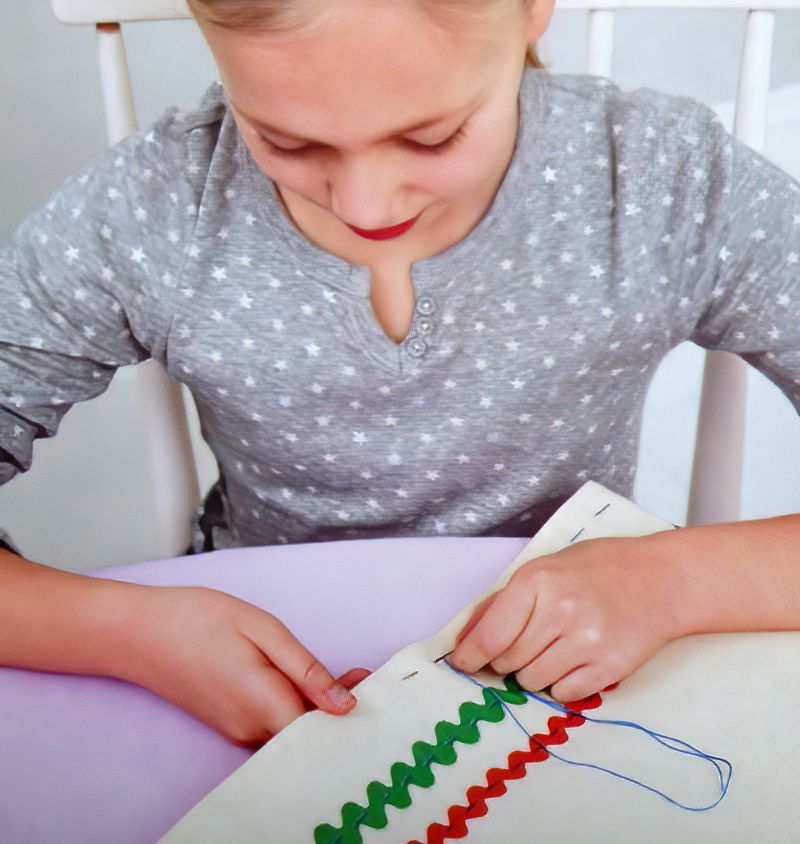
Sew The Top Hem Of Our Decorated Shopping Bag Gift
Step Seven
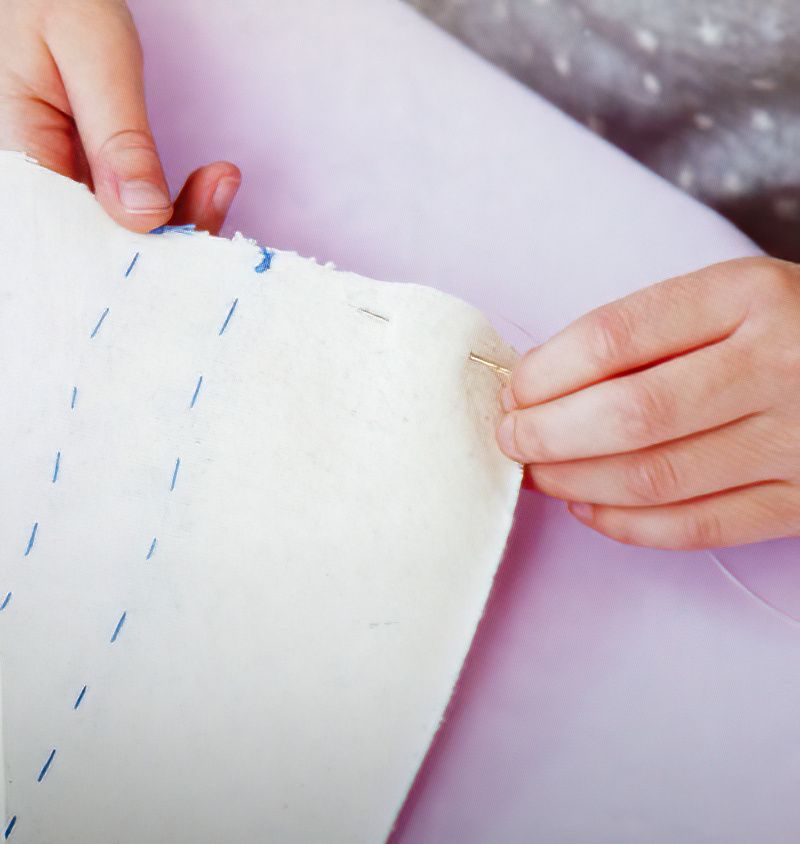
Turn the bag inside out, so the designs are now on the outside. Now for the open end we want to make a hem. Fold 3cms or 1 and a quarter of the top open end of the bag inside. Fold this into the inside of the bag. We can ask an adult to iron this hem flat to help us.
Stitch this hem down all around. Use contrasting embroidery thread for an interesting decorative detail.
Let's Make Some Handles For Our Decorated Shopping Bag Gift
Step Eight
Now our decorated shopping bag gift needs some handles. So take your thick cream ribbon, we need two pieces that are 40cm or 16inches long.
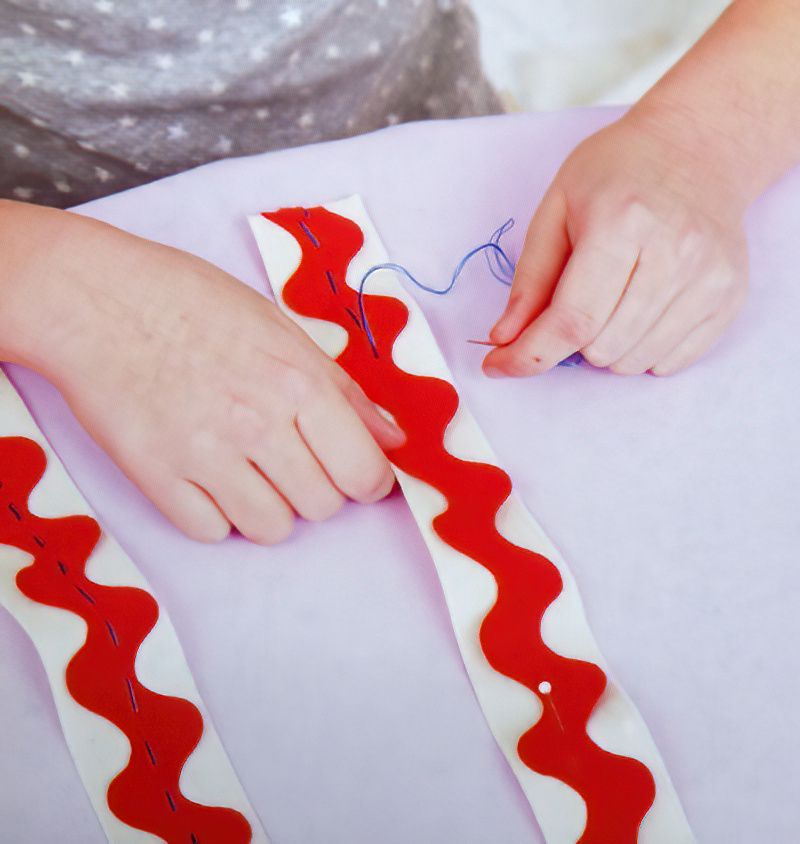
Lay the jumbo rick rack tape on top of these pieces of ribbon. Stitch the rick rack tape in place using running stitch.
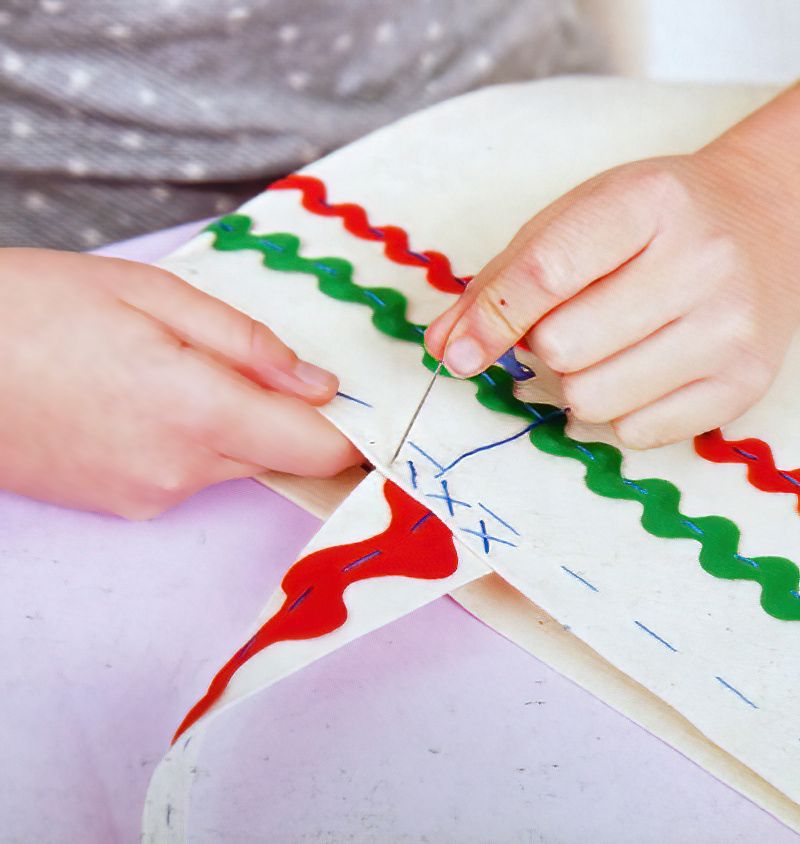
Finally We Want To Finish Making Our Decorated Shopping Bag Gift
Step Eight
Finally, stitch the handles in place on the shopping bag. One handle stitches to the front of the shopping bag and the other one to the back. Stitch the handles about 12cms or 5 inches in from the edges of the bag.
We need these handles to be stitched on well. So sew three cross stitches for each handle. But if you are not confident, simply sew more whipstitches along each side and along the bottom to really secure the handles better.
And there we have it. Congratulations, we have completed our decorated shopping bag gift project. A fun project with endless possibilities to personalise your designs.
Make your version and add some images to your own studio on Society of Makers. Then comment below with your studio name, so we can search you and find your pictures.

