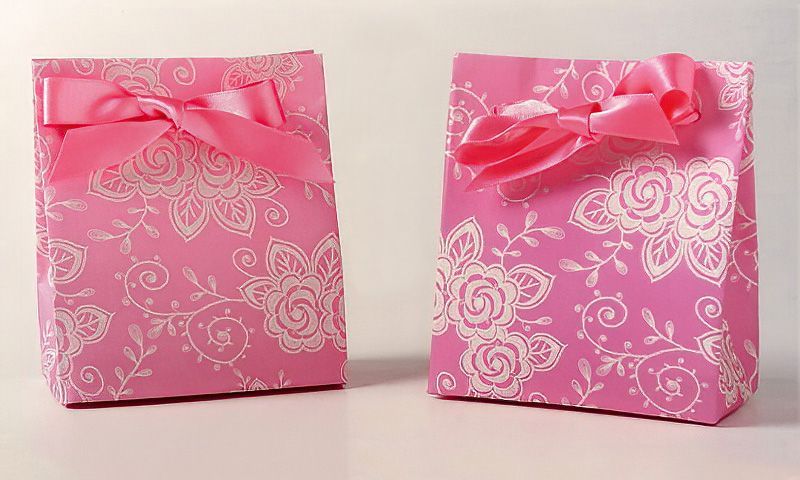
Making Gift Bags Is a Bit of a Mystery
Not a mystery in a bad way, but rather the mystery is why is making gift bags so easy. Even though the thought of making a gift bag used to bring me out in a cold sweat; once I have made a few my eyes started to open with the wonderful possibilities.
Without a doubt, making gift bags is actually a lot easier than some of the other papercraft projects on this website. You don't really even need to measure anything. Once you find out the trick to making gift bags, you'll be amazed. So let's get started.
The secret is you just use a box as a template. Obviously the size of box you use will become the size of the gift bag you are making. You could even use a book or food packaging or anything else that is box shaped as your template.
Make sure you use stronger wrapping paper to give your gift bag some strength.
How To Make A Gift Bag Tutorial
Step One
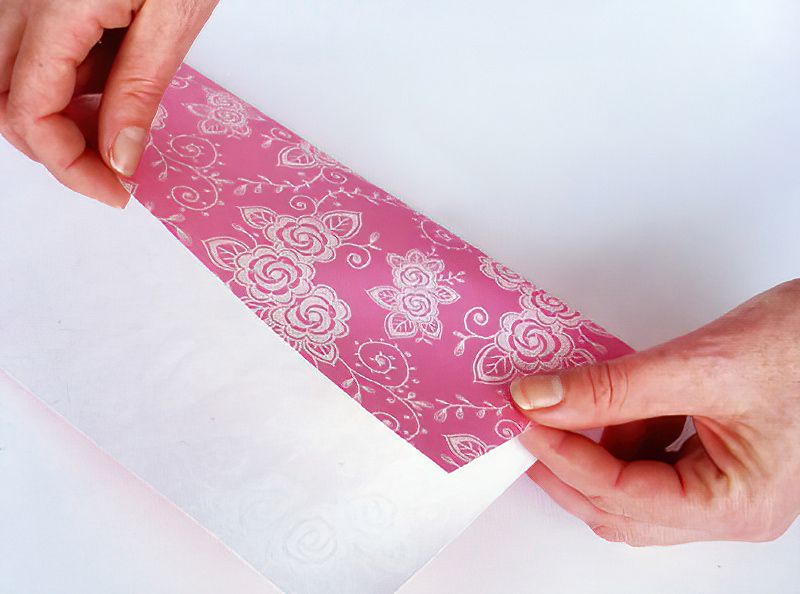
Take a piece of your strong wrapping paper and fold over one of the longer edges. This fold will become a nice and neat edge to the top of your bag where you put your gift in.
Making Gift Bags Is Easy With This Method
Step Two
Now get your template box. So we are basically going to do some wrapping. So those who are super neat at wrapping are going to be amazing at this. And those, like me, who are more enthusiasm than technique, well we get lots of brownie points for at least making our own gift bags.
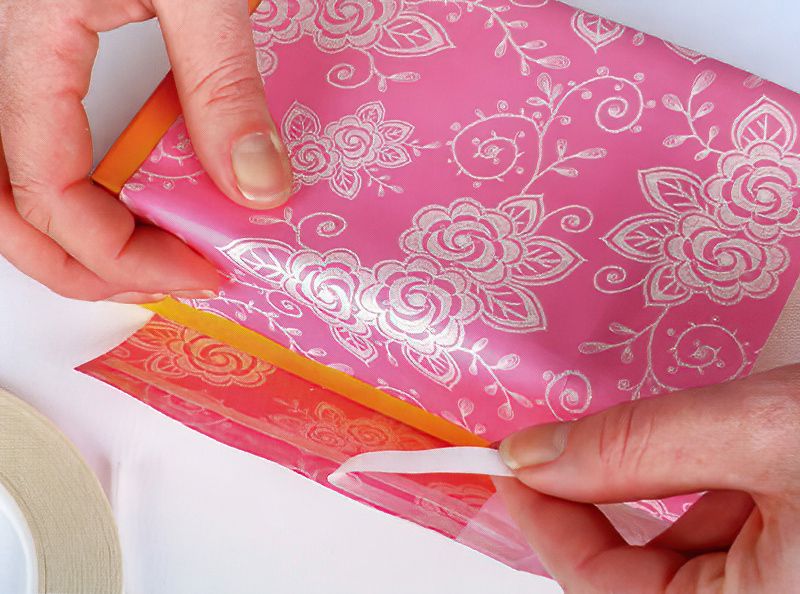
So wrap the paper around the box. Use the box as a template mould. Make sure the side that you folded over is in the correct place to become the top of the gift bag.
Now once the box is wrapped around, obviously stick the sides that meet together. Just like you are wrapping a pressie. You can just use tape or to hide the join use double-sided tape. If you plan on filling your gift bag with seam busting goodies, consider putting two lines of double-sided tap to reinforce the join.
Homemade Gift Bags Are Something Special
Step Three
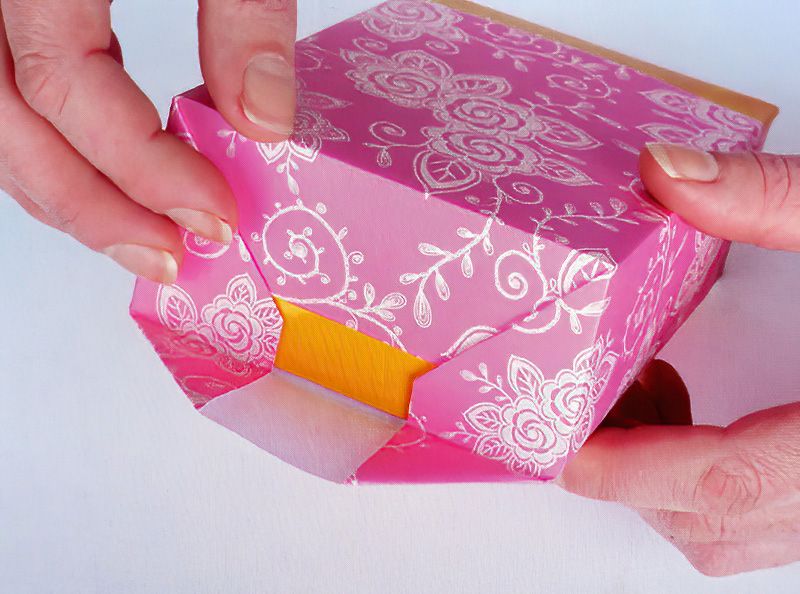
So we know where the folded end is and we know, obviously we don't want to close this end. So move to the other end and wrap it around your box template and tape it neatly and tightly closed.
Make sure the edges have good creases. Making gift bags now looks much more professional.
Add Some Details To Our Homemade Gift Bag
Step Four
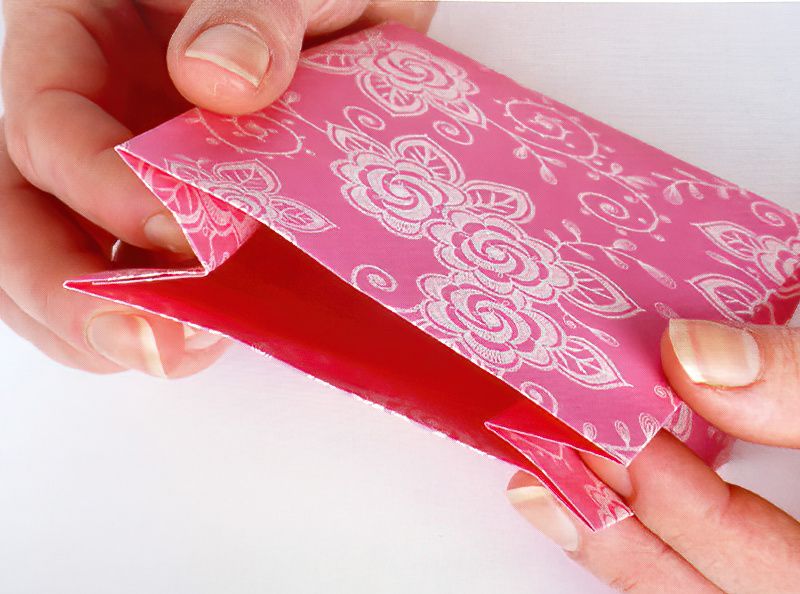
Once everything is taped up, we simple slide the gift bag off the box template. Now to get that expert look with have to do the one tricky part in our making gift bags tutorial. The Pinch!
To get that nice pleated effect that store bought gift bags have we need to do a little pinching. Hold your new gift bag with the open end up. Use your pointing fingers to push in the side, whilst using your thumbs and middle fingers to gently squeeze the bag end closed.
Get everything straight and slowly squeeze and crease to make the look semi-permanent. We really only do this on the open end to look nice and conceal the contents of the gift bag.
You can do the more complicated squeeze and fold at the bottom, if you are making gift bags and storing them flat. Just look at an existing store bought gift bag to see how the bottom flips up with they are flat stacked.
If you are just giving the gift bag and don't need to store them, you don't need to bother with the bottom fold.
The Conclusion To Our Gift Bag Tutorial
Step Five
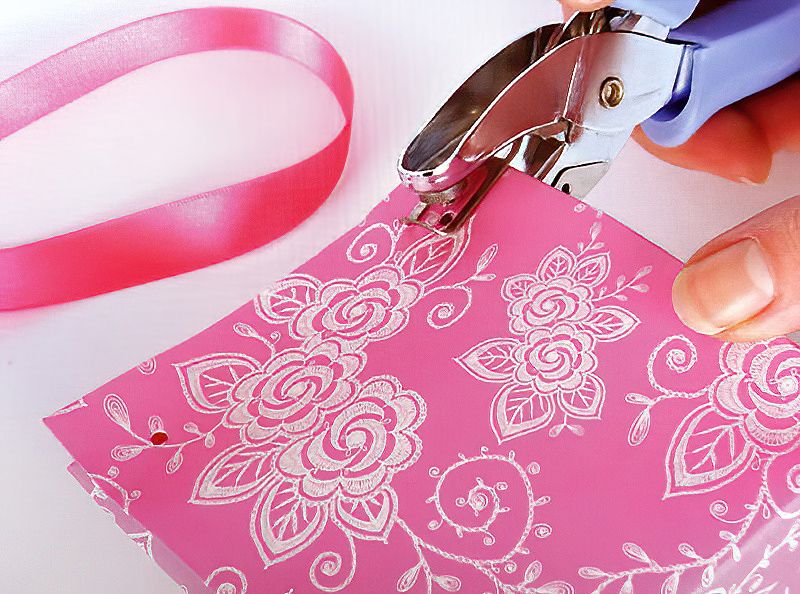
Finally, we need to use a small hole punch at the opening end of the gift bag. You can use a sharp pencil to poke a round hole if you really don't have a hole punch, but it won't look as neat.
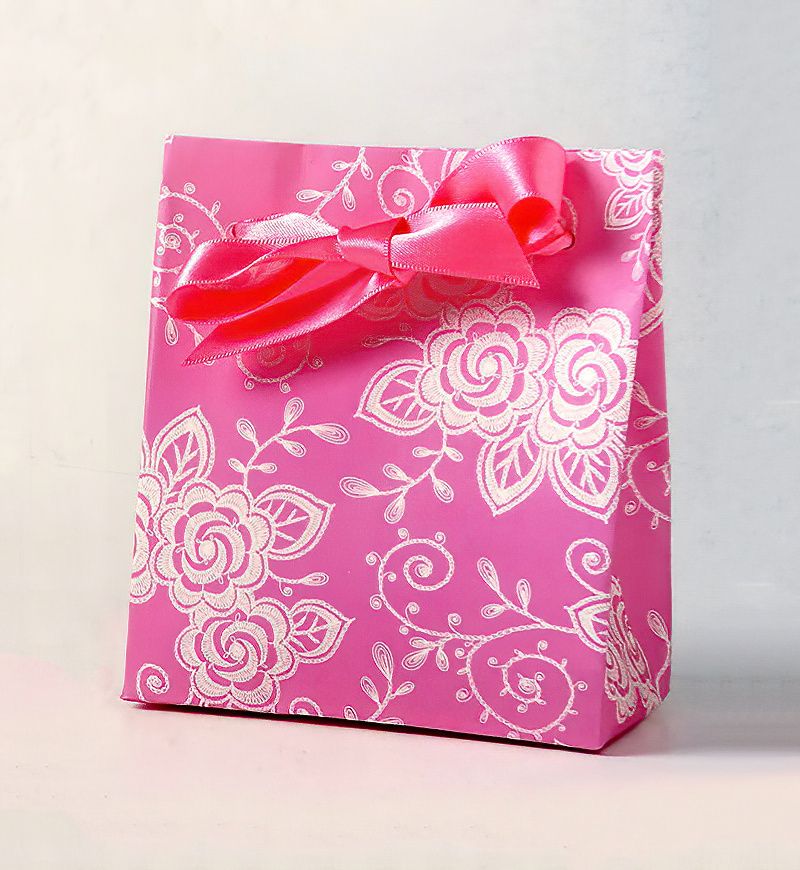
Don't punch the holes right on the edge. Punch the holes in a bit. Now thread the ribbon you have through the holes. The ribbons will keep your gift bag closed until it is ready to be opened.
Now you just need to stick something lovely in the gift bag you have made. Tight the ribbon neatly closed and become someone's best friend forever.
Making gift bags has never been so fun!

