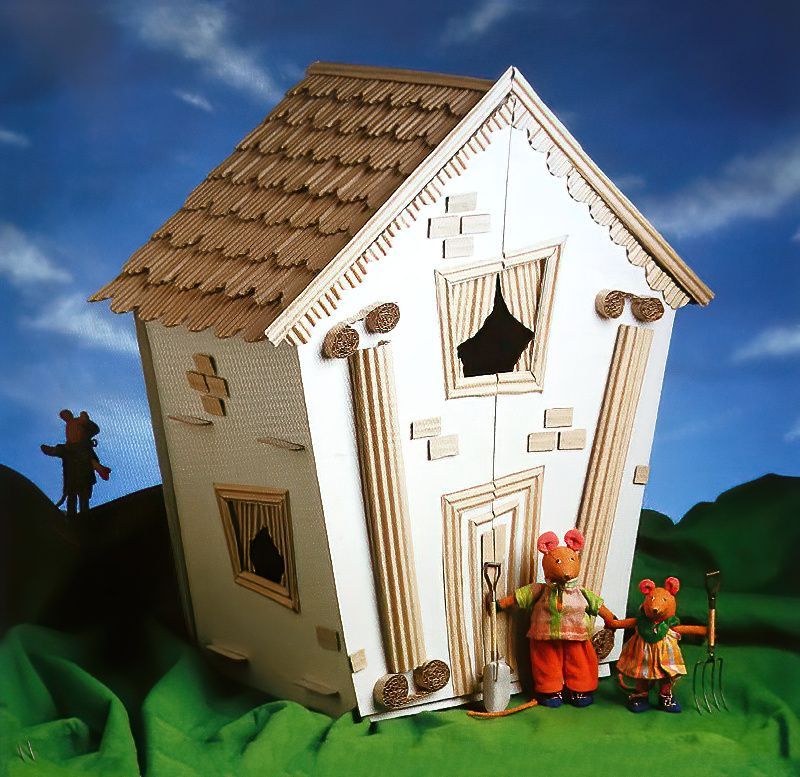
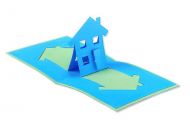
A Fun And Cute Cardboard Dolls House
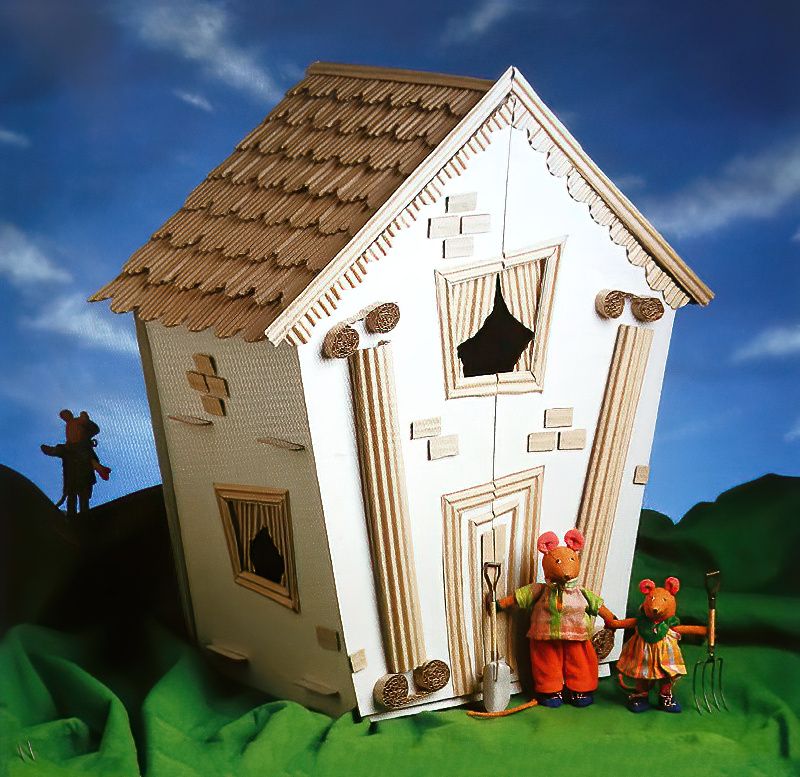
I really enjoyed making this cute cardboard dolls house, it is a great craft to make for children, and it is really affordable also. You can make your dolls house as big or as small as you like. And you can also choose a different layout of doors and windows if you would prefer. Once it is built, you can add any colours and embellishments that you like to your design. You can choose to leave it fairly neutral or decorate it.
List Of Items Needed To Make A Cute Cardboard Dolls House
- Thick Unlined Grey Chipboard
- High Tack Glue
- Single Faced Corrugated Cardboard
- Strong Glue
- Metal Hinges and Screws
- Paper
- Pencil
- Craft Knife
- Cutting Mat
- Metal Ruler
- Scissors
- Glue Gun and Glue Sticks
Making A Template And Cutting Out A Cardboard Dolls House
1st Step
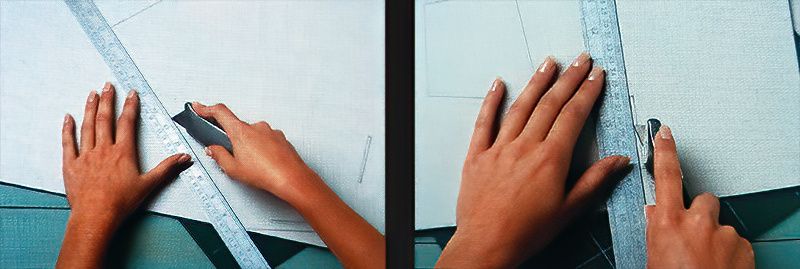
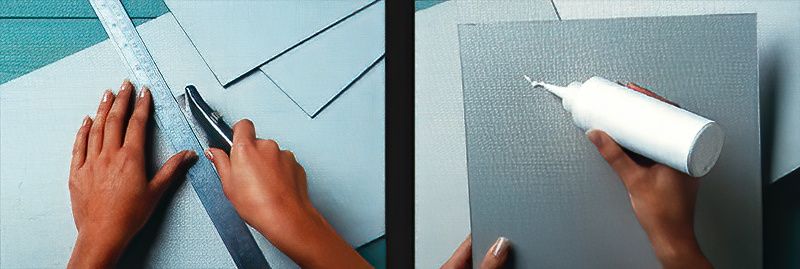
Begin making your own cute cardboard dolls house by finding a template that you like. Start by making templates for the front and the back of the cardboard dolls house. Then transfer them onto the thick unlined chipboard. And mark the positions of the windows onto the front piece. Cut it out and then cut the piece in half.
Then mark the positions of the slits in the back piece, and carefully cut them out using a sharp craft knife, metal ruler and cutting mat. Try to be as accurate as you can with your measurements and cuts, so that the cardboard dolls house fits together properly.
2nd Step
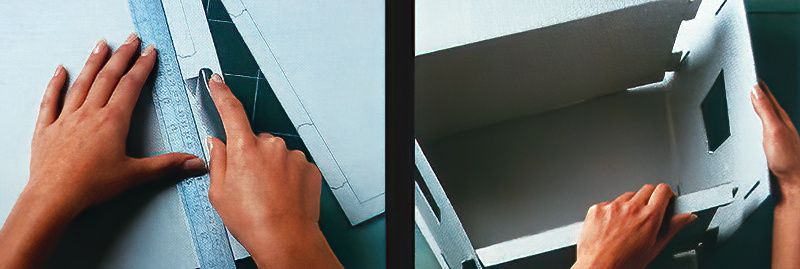
Next, draw the two side pieces of the dolls house onto the chipboard. Then cut them out, making sure that you cut carefully around any tabs. Then cut out the windows and any slits.
Assembling A Cute Cardboard Dolls House
3rd Step
Now, draw the floor pieces onto the chipboard and cut them out. Make sure that the blade of the craft knife stays sharp, to ensure that the edges of the cardboard dolls house remain straight and crisp. So you may need to change the blade of the craft knife occasionally.
4th Step
Next, score along the flap at the front of the floor piece and carefully fold it over. Then lay back the piece on the surface, and slot the two floor pieces into place into this. Then slot the side pieces into place into the back and the floor pieces. Ease them gently into position.
Making A Roof For A Cardboard Dolls House
5th Step
Now to start the roof of your cardboard dolls house. Cut out a rectangle piece from the chipboard to fit as the roof, mine is 64cm X 33cm. And then mark a line down the middle of the length of it. Then very gently score down that line. And then cut another two pieces, mine measuring 29cm X 28cm.
6th Step
Next, glue two pieces of chipboard on to each half of the roof piece, placing it a few millimetres from the central score line. Then carefully bend the roof to make it fold neatly along the score line. And add some glue along the top of the two side walls and the back of the cardboard dolls house.
Then stick the roof into position, making sure that you are butting up the side panels inside the roof up to the glued edges. Then for additional strength, glue a triangle piece of cardboard inside the roof.
Decorating A Cardboard Dolls House
7th Step
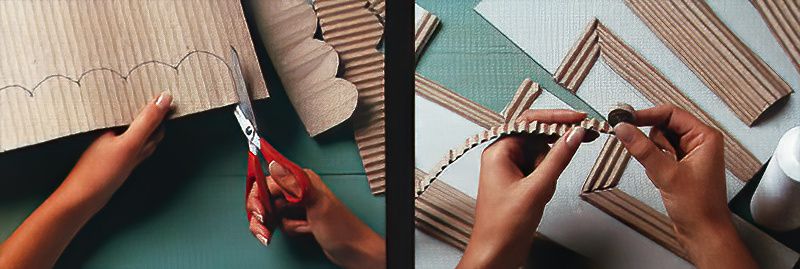
Next, draw some roof tile shapes onto the back smooth side of some single sided corrugated cardboard. Then cut the shapes out using scissors. Once cut out, start from the bottom, and glue the rows of roof tiles onto the cardboard roof. Overlap them slightly until the whole roof is completely covered. Then cut a long strip of the same cardboard along the corrugated ridges, and glue it to the ridges of the roof.
8th Step
Now for some more detailing, cut out some rectangles of corrugated cardboard to make the pillars, mine measuring 6cm X 33cm. Then bend them over slightly, and glue them to each side of the front piece of the cardboard house. Then make the scrolls for the tops and bottoms of the pillars by rolling strips of cardboard and gluing them into place.
Then if you wish, you can cut out some awnings from the cardboard and glue them to the edges of the roof. This adds a bit more decorative detail to your design. Cut some more corrugated cardboard strips to make a decorative edge for the doors and windows. Glue these securely into place also.
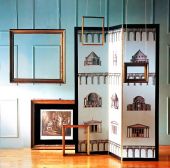
A Lovely Handmade Cardboard House
9th Step
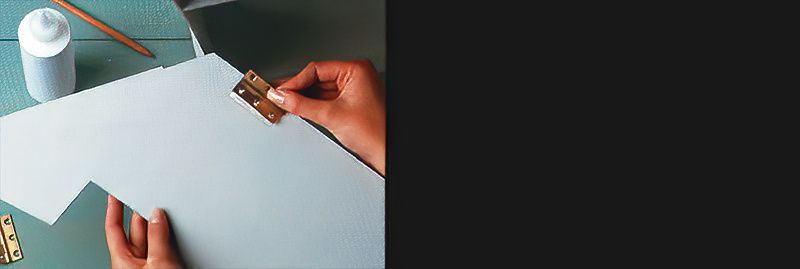
Next, hold each of the front pieces against the cardboard house in the chosen position, and make two light pencil marks inside on the front panel and side panel for where the hinges will be placed. Glue the hinges into position using some strong glue, and then a glue gun if necessary.
Then glue a strip of corrugated cardboard along the edges of the front of the roof. And finally, cut out some curtain shapes and brick shapes and glue them into place. This adds the finishing details to the cardboard dolls house.


.jpg)