Making A Treasure Map Is Super Fun And Easy
What a wonderful adventure you could have. Take some time and prepare this fun map of your home, your garden or even a local area you like to play. Or just make up a far-away land full of treasure. Our treasure map has a real old fashioned, antiqued look to it. That will fool any wannabe pirate.
Hide some real chocolate gold coins or something else special. Then challenge your friends to use your map to find the treasure. But make sure you dress up as well, and have a fun party.
What do we need for making a treasure map
- I piece of paper around 50 x 40cms / 20 x 16inches (textured paper is cool)
- Tea bag
- Water
- Sponge
- Paintbrush
- Coloured paints
- Fine black pen
Let's Start Making A Treasure Map
Step One
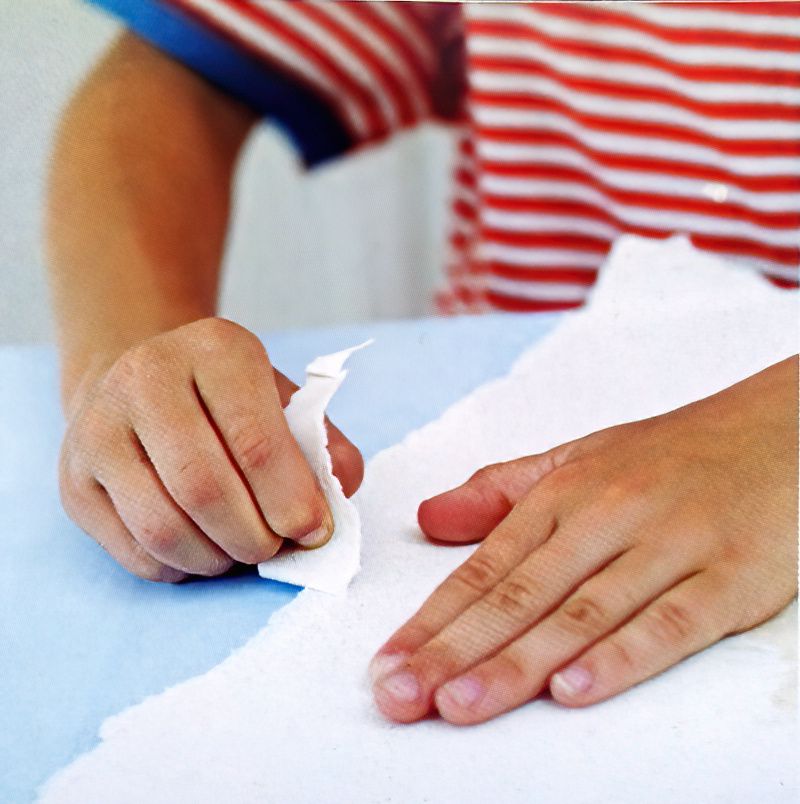
First we need to make the edges of our treasure map look all old and weathered. So lay your paper on a flat surface and carefully and slowly try and rip a little strip off the edge of the paper. This will leave a torn edge of the main treasure map piece.
Don't worry if this goes wrong and you make a crazy tear. Tape it with a piece of tape on the back. Crazy edges are what treasure maps are made of.
Repeat your wobbly torn edges on all four sides. Then shout "AARRRRGGGHH! Where's the treasure at?" in a pirate voice.
Making Treasure Maps Needs A Cup Of Tea
Step Two
Well the tea is not for drinking so you don't need to steal auntie's brew. Pop a tea bag in a small bowl of water and wait for the water to start turning brown. Squeeze and smoosh the tea bag to get all the colour out.
Now we can dip the sponge in the tea bag water. Squeeze out some of the water so it is not completely soaked. Then gently dap around your map with the damp sponge. Tea has something in it that can stain paper. This makes the paper look all old. Like it has been hidden in a treasure chest for hundreds of years.
"Arrrrrrggggh! Making a treasure map is fun!"
Leave the paper to dry. Then stain with the tea water again if you want it a bit darker. If you want to speed this process up, maybe put two tea bags into the water at the beginning.
Continue Making Your Treasure Map Look Old
Step Three
Now we have made the paper look old. We can make the edges look old too. Carefully paint around the edges using some dark brown paint. It doesn't have to be that careful. It all adds to the effect.
Making a treasure map means each one will be unique. So make it how you like.
Now leave it to dry. Once everything is dry start planning the map. It doesn't have to be too detailed. I don't think pirates were great artists. I mean they would have been artists then instead of pirates right.
To Finish Making A Treasure Map We Need An X
Step Four
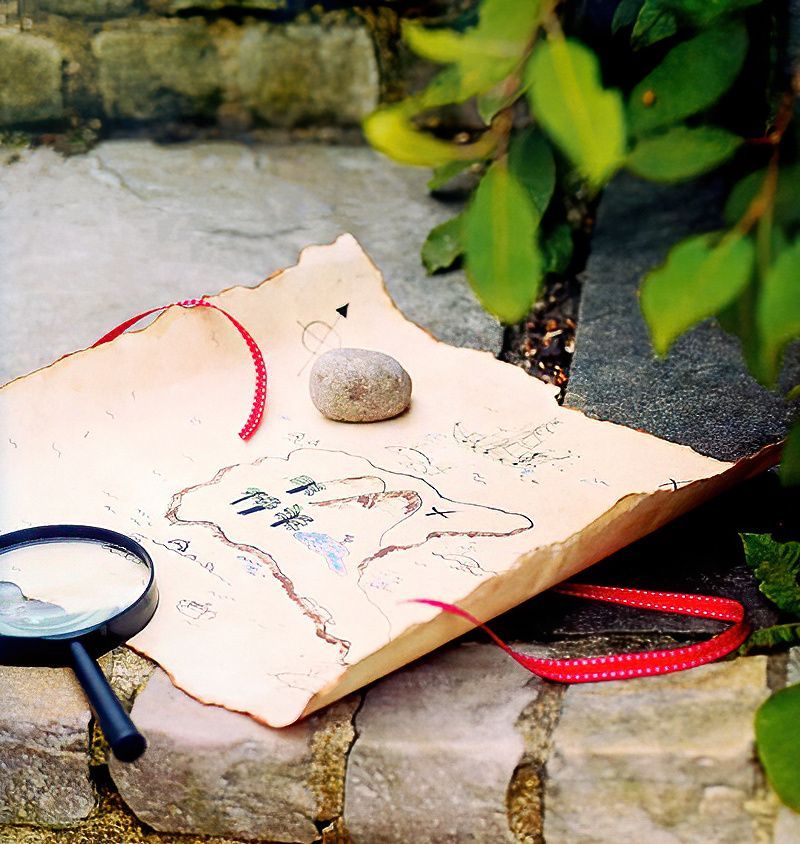
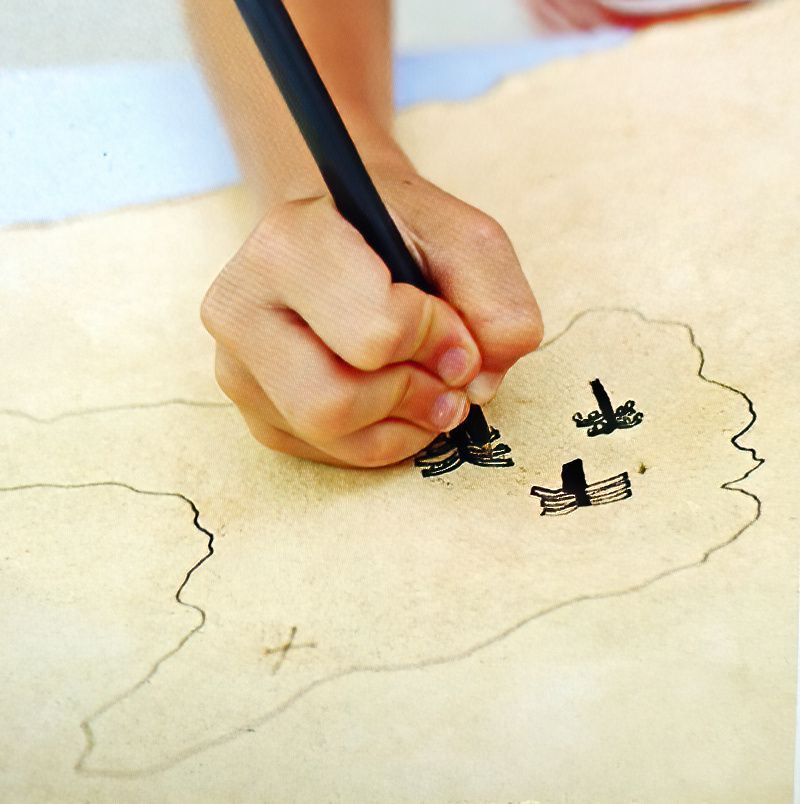
So to finish making a treasure map, we can draw a rough shape for an island. Draw some waves surrounding it. Maybe a shark or a dolphin in the water. Maybe draw a simple pirate ship. How about an octopus.
Then on the island draw a curly line for a river. Colour it blue. Add some little trees, a few bumps for mountains. And anything else you like.
If you are making a treasure map of your real garden or park, add in details other people will recognise. Climbing frames, big tree, rock, pond etc.
Then finally, the last and most important part of making a treasure map is what? YES. Don't forget to use your best pen and pop an X marks the spot where the treasure is hidden.
Oh and then send me your map, I want to try and find your treasure. "AAARRRRRRRGGGGHH!"
Now check out our post on "How To Make A Pirate Hat" and dress up and have fun, playing pirate memory games and hunting down all the treasure.

.jpg)
.jpg)








.jpg)
