How To Make Favour Cones For Christmas Treats
These adorable little cones offer a delightful way to conceal small surprises for your guests and present a modern twist on traditional British Christmas crackers. These favour cones can grace your dinner table as a charming welcome gift or be bestowed upon the kids as a special delight.
They're not limited to sweets. Consider tucking a special gift inside. While I've opted for pastel card, feel free to choose hues that harmonize with your unique Christmas colour palette, perhaps sparkling metallics, pure Scandinavian whites, or the classic greens and reds.
Dimensions of the Finished Cone
The favor cone stands at approximately 130mm (5 inches) in height and 80mm (3 1/4 inches) at its widest point.
What You Need To Make Festive Favour Cones
- Four or five sheets of thin card in different colours, each 420 x 297mm (16 1/2 x 11 3/4in)
- Thin card for templates
- Double-sided tape
- Scissors
- Small craft scissors
- Pencil
Start With The Templates For The Festive Favour Cones
Step One
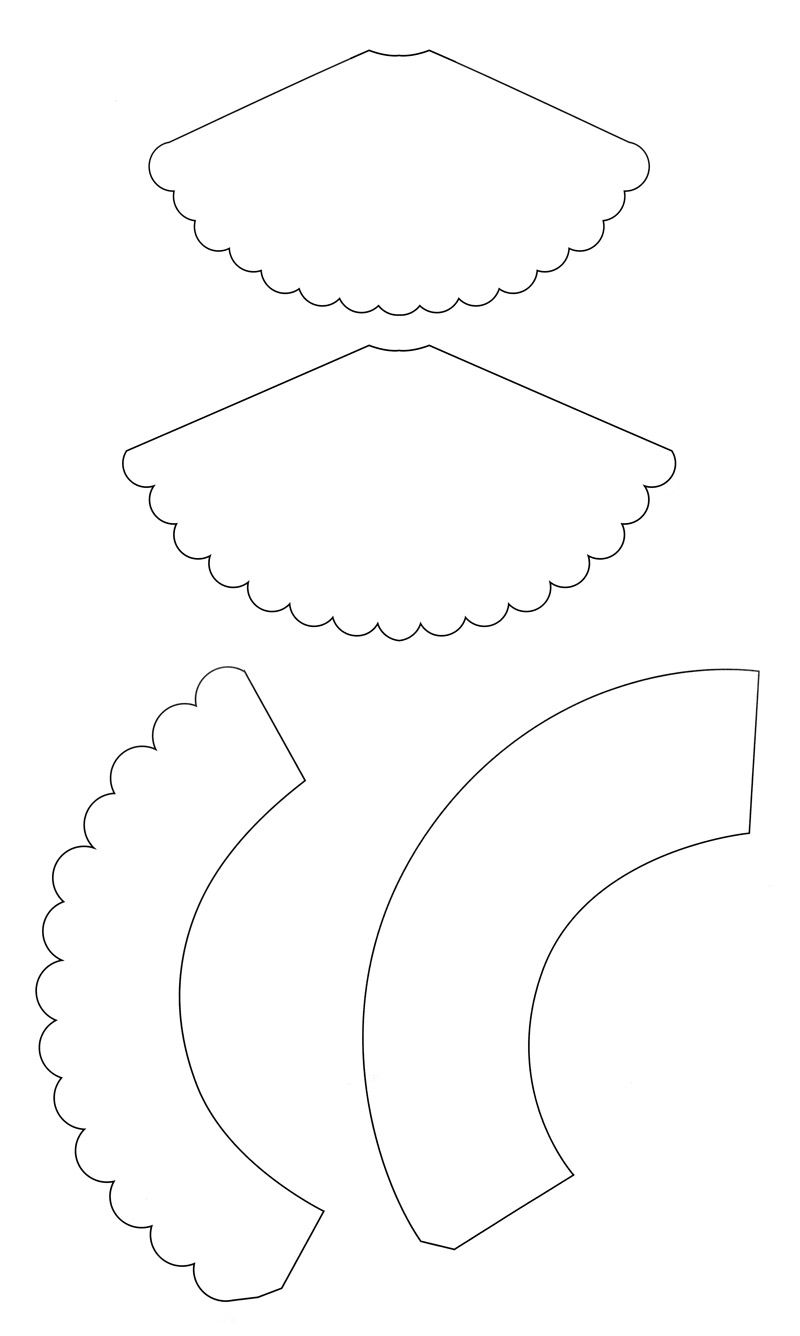
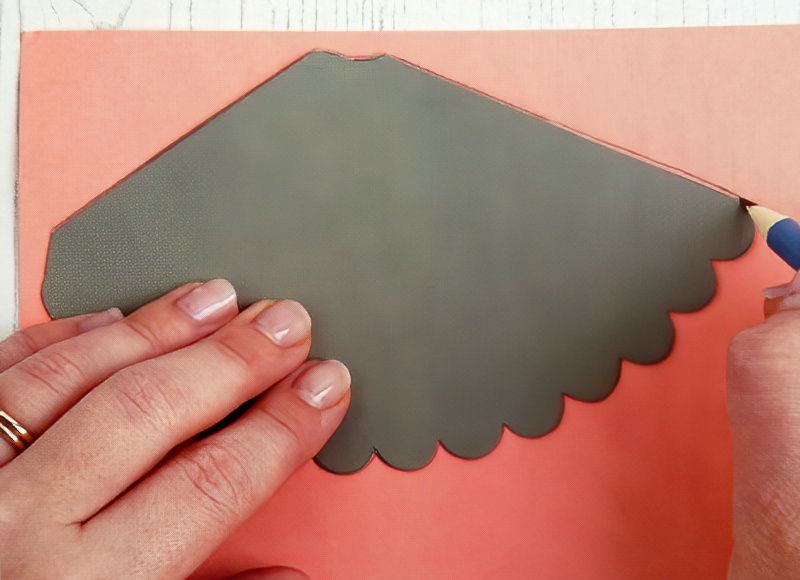
Begin by tracing the four favour cone templates onto thin cardstock. Resize them to a good size and then print them out. Cut them out and then trace each template onto different coloured cardstock.
Cut Out The Template Shapes For Our Festive Favour Cones
Step Two
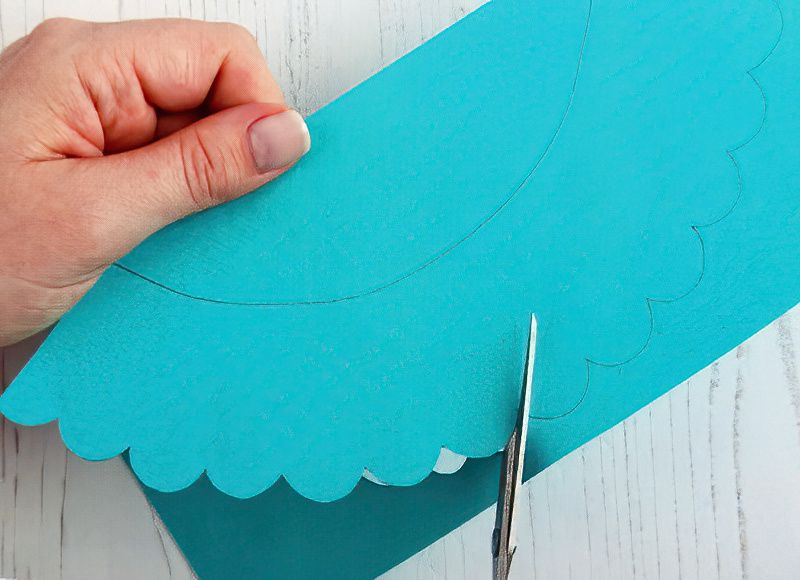
Carefully cut out all four pieces, making sure to trim the scalloped edges with smaller scissors.
Start Curving The Festive Favour Cones
Step Three
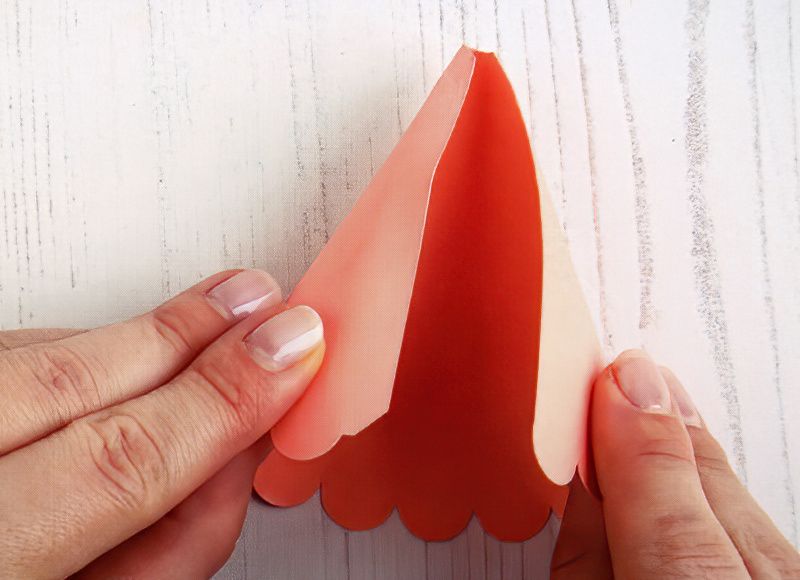
Gently curl the cardstock to help it take on the desired cone shape.
Now We Can Stick Our Cones Together
Step Four
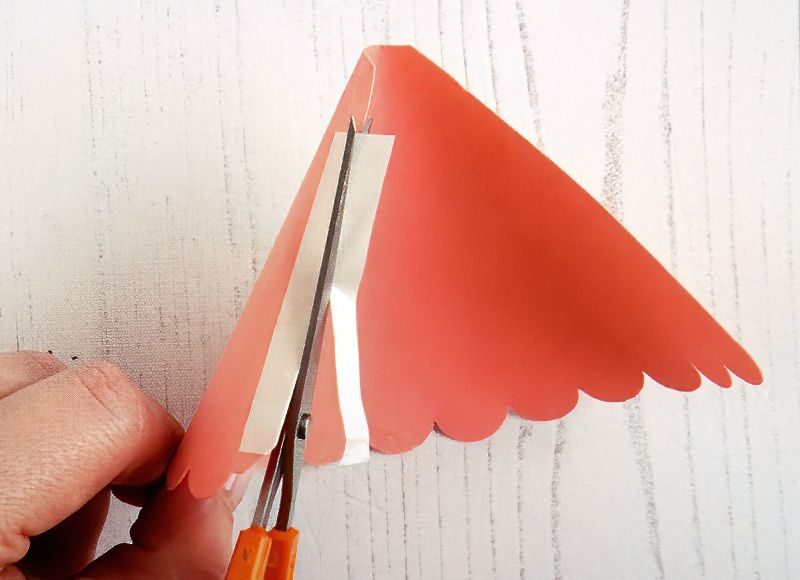
Apply a strip of double-sided tape along one edge of the smallest cone piece, allowing it to overlap the edge. Cut the tape in half width-wise.
Start Assembling Our Festive Favour Cones
Step Five
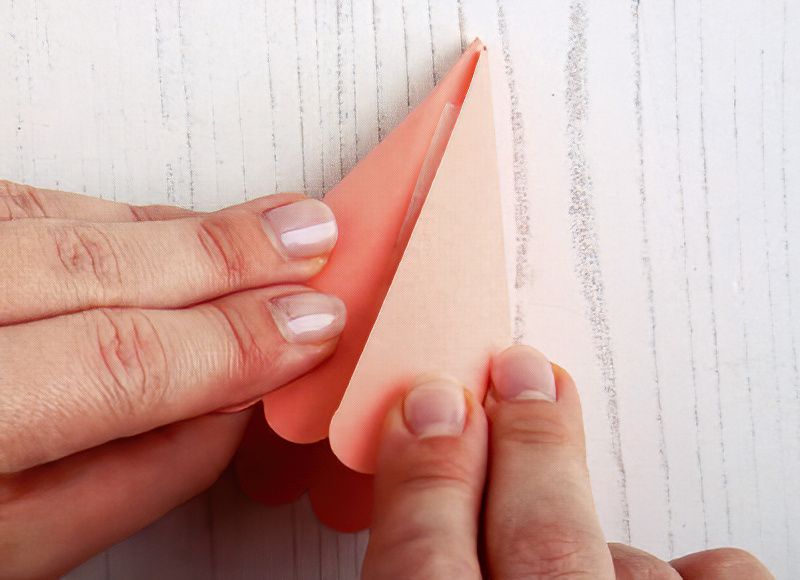
Peel off the tape backing and overlap the other edge of the cardstock, securing it until the tape adheres.
Complete All The Other Sections Of The Christmas Cones
Step Six
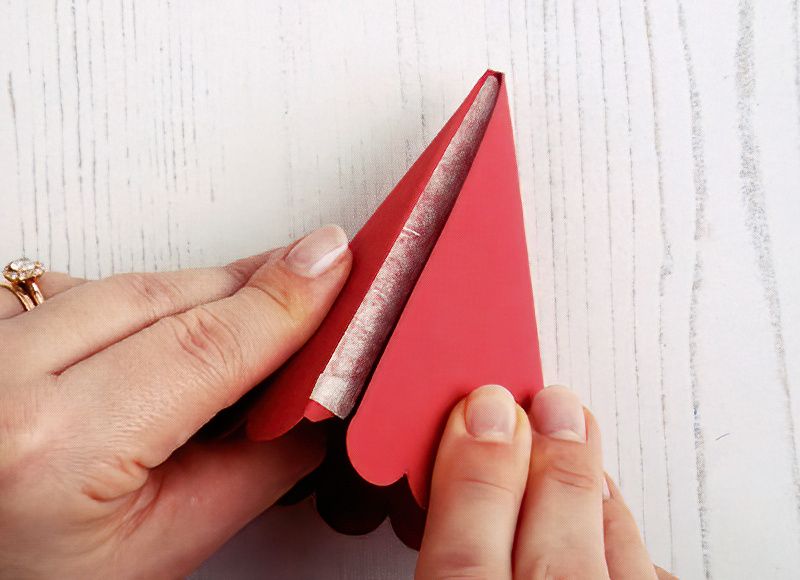
Repeat the process to assemble the second-to-top section of your cone, ensuring it wraps tightly enough to fit inside the top cone piece.
Start Making The Lower Section Of The Festive Favour Cones
Step Seven
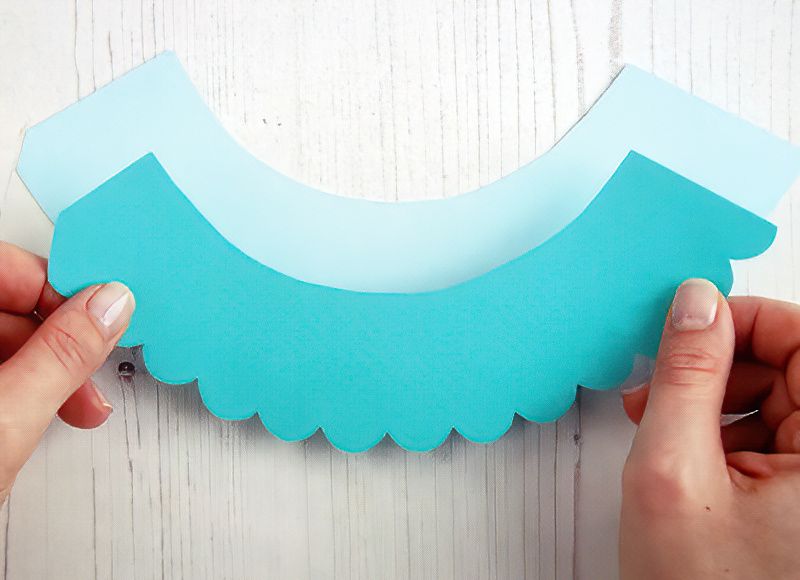
Glue together the two lower sections with their topmost curves aligned.
Complete The Last Part Of The Christmas Cones
Step Eight
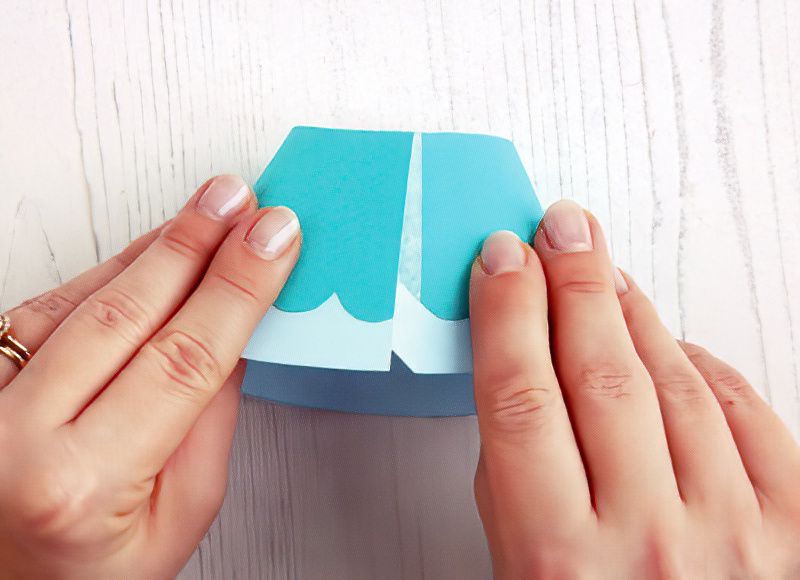
Once the glue has dried, curl the two lower sections into shape, using another half-width strip of tape to join them along one edge.
Finish Making Our Festive Favour Cones
Step Nine
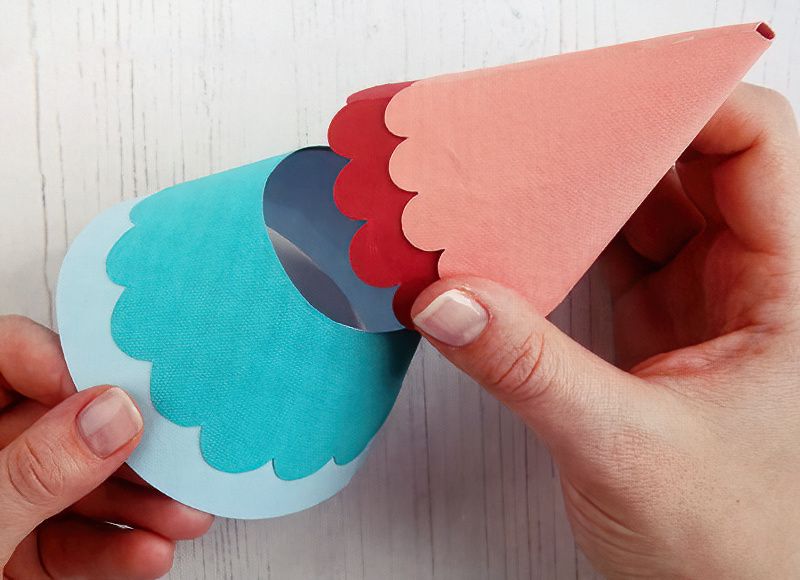
After all four pieces have dried, stack them to create the cone structure. Behold the Completed Favor Cones! Fill them with an array of colourful sweets. Since the cones lack a base, place them on a plate or tray for easy mobility.
Let us know how you get on making these festive favour cones. Leave a comment in the section below this tutorial or make your own studio on the Society of Makers and share some pictures.








.jpg)
