How To Make A Card Winter Trees Snow Scene
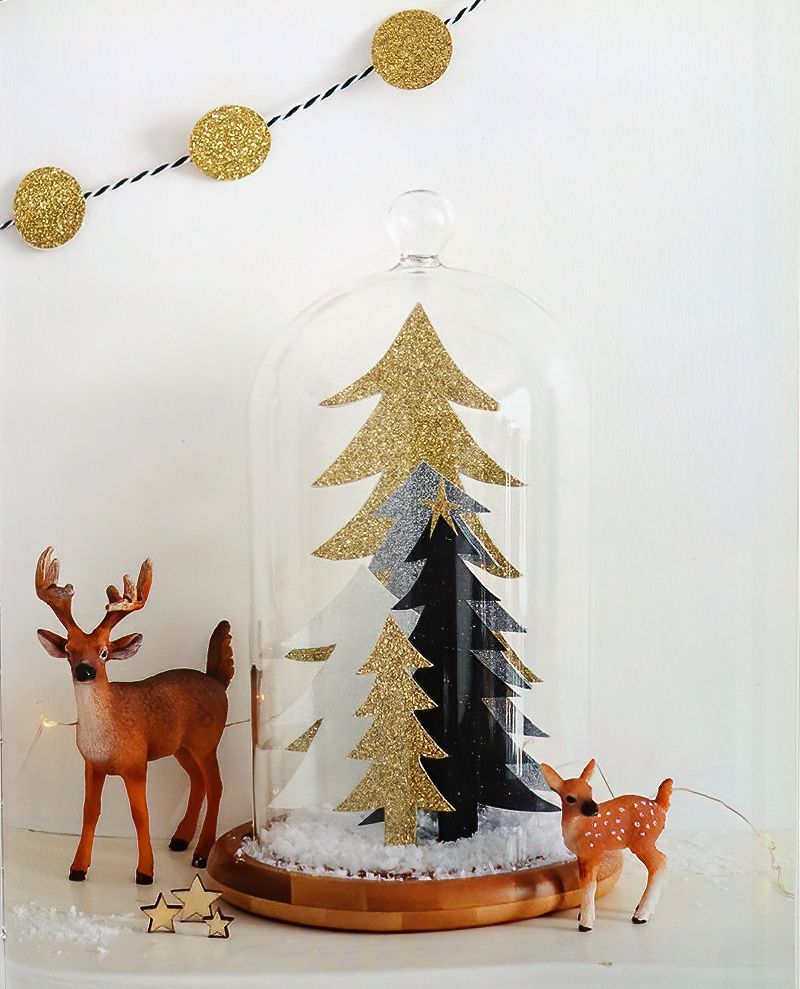
Craft your own enchanting winter tree domes using glittered card and our provided templates. These charming displays are perfect for adding a touch of festive magic to your home, whether you choose to place them on your mantel, in a window, or as a centerpiece for your Christmas table.
For an extra dose of sparkle, consider adding a string of twinkling fairy lights inside.
Things You Need To Make Card Winter Trees Snow Scene
- Glittered card in gold, silver, black and white
- Glass dome or cloche with a base
- Thin card for the templates
- Tracing paper and pencil
- Scissors
- PVA glue and paintbrush
- Artificial snow
Start Making Our Card Winter Trees Snow Scene
Step One
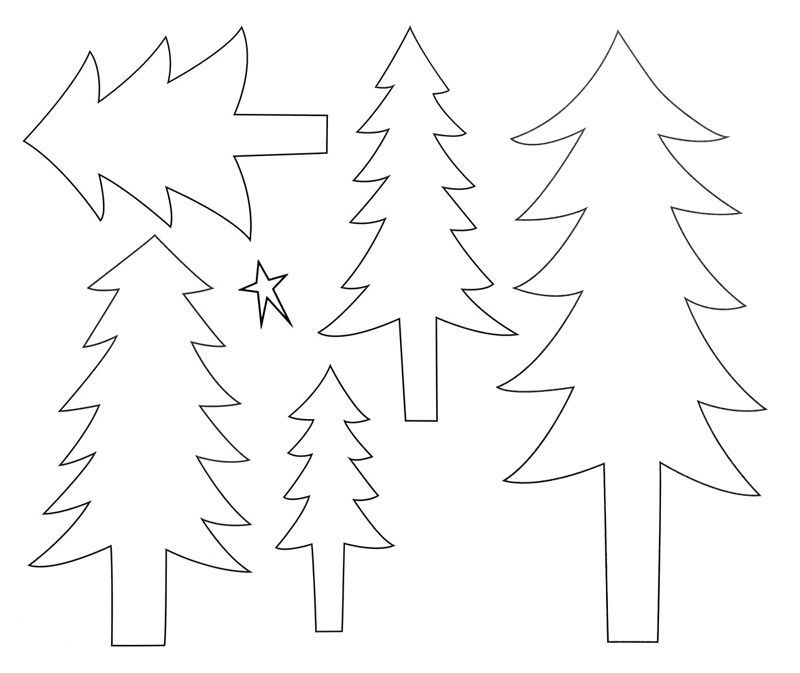
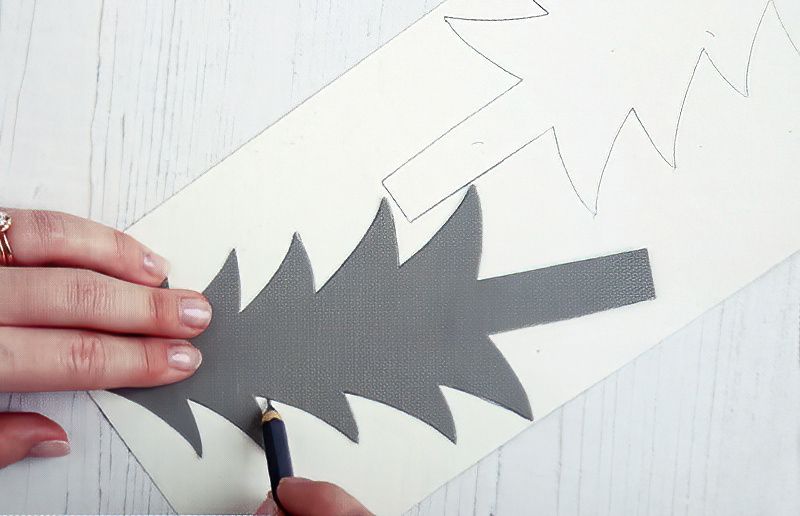
Trace the five different sized trees and the star from above onto thin cardstock to make templates. Resize them in your computer, then print them out.
Cut Out The Glittery Card For Our Card Winter Trees Snow Scene
Step Two
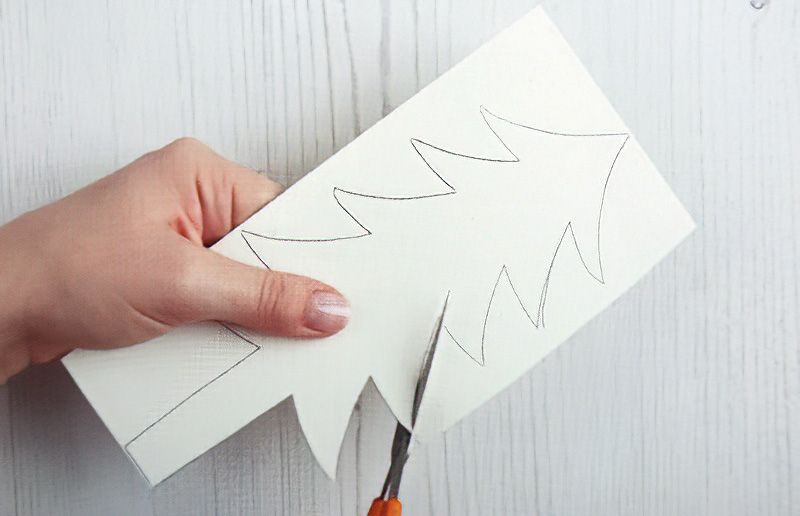
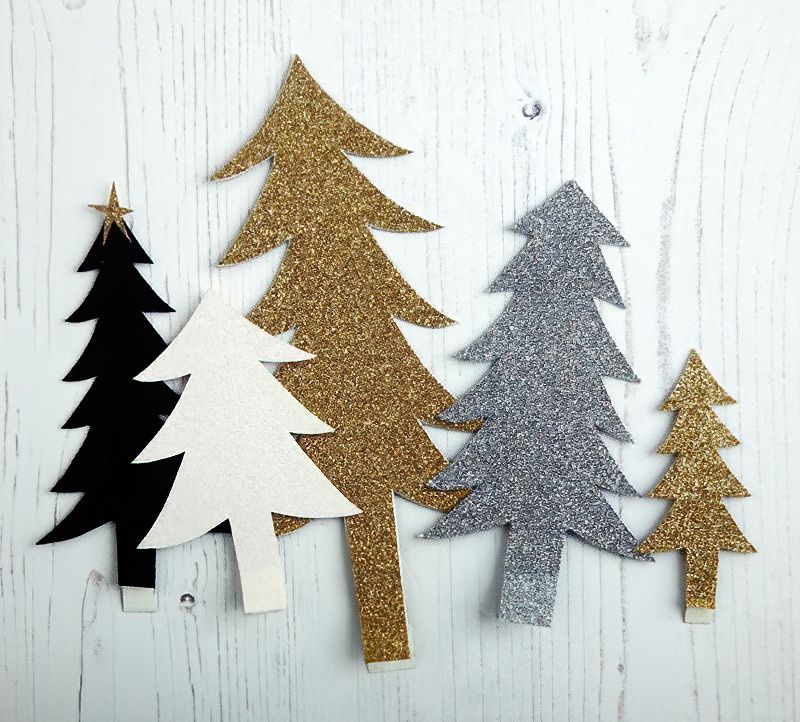
Cut out the following tree shapes from the corresponding glittered cardstock:
- Gold glittered card: 1 large tree, 1 small tree, and 1 star
- Silver glittered card: 1 medium tree
- White glittered card: 1 short, fat tree
- Black glittered card: 1 medium, thin tree
Strengthen The Trees For Our Card Winter Trees Snow Scene
Step Three
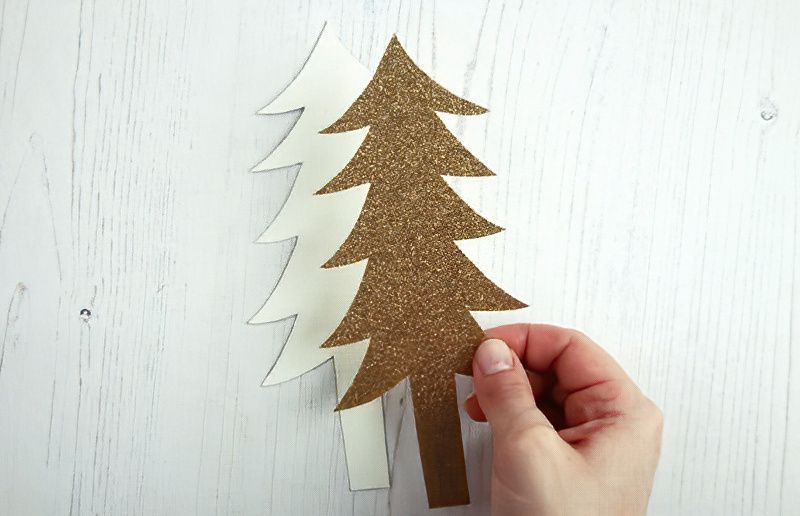
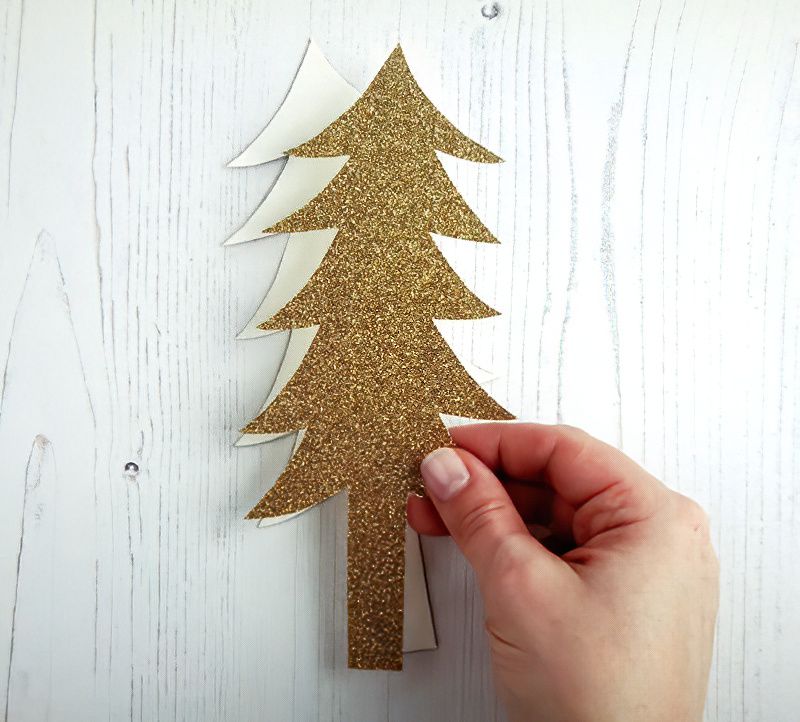
To make the trees sturdier and symmetrical, cut a second tree for each shape by flipping the template over. This will create mirror images of each tree shape.
Glue All The Glittery Card Trees Together
Step Four
Glue the pairs of trees together, ensuring they align neatly. Only apply glue to part of the trunk. Trim any excess card around the edges for a polished look.
Create Tabs For The Base Of Our Glittery Trees
Step Five
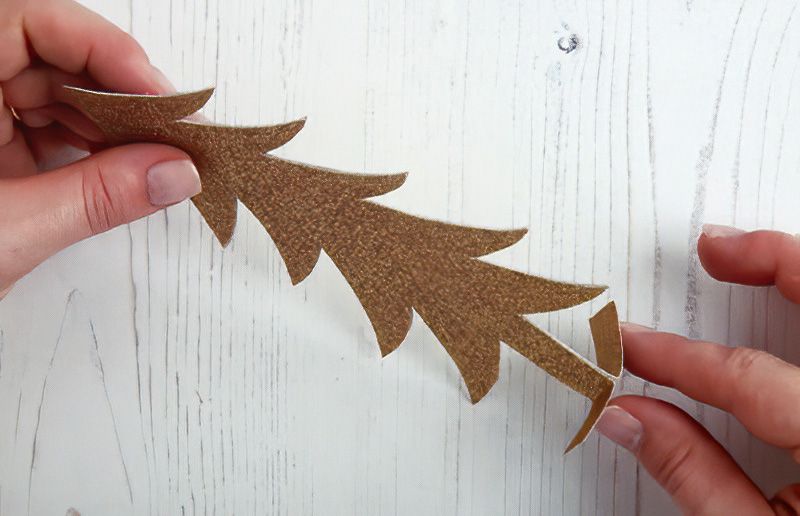
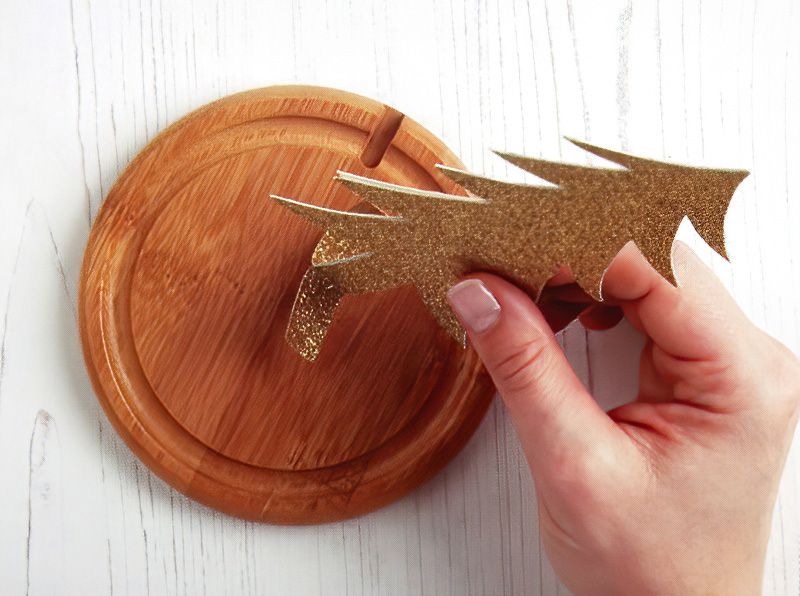
Fold out the base of the trunk to form two flat tabs on each tree.
Start Thinking About How To Arrange Our Card Winter Trees Snow Scene
Step Six
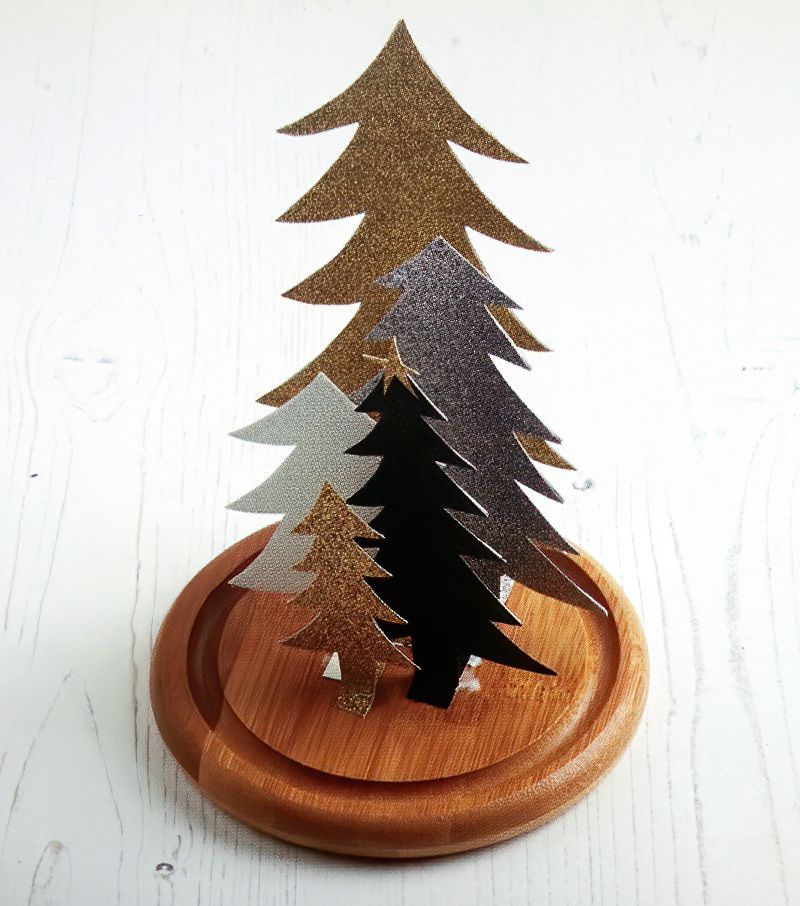
Starting with the large gold tree, apply glue to the tabs and place it toward the back of the dome base. Test the placement by putting the dome over the top to ensure the trees won't get knocked or squashed.
Continue To Add Trees To Our Card Winter Trees Snow Scene
Step Seven
Add the trees in the following order:
- Medium silver tree
- Short, fat white tree
- Medium, thin black tree
- Little gold tree
Glue the gold star to the black tree. Double-check the positioning of your trees by temporarily placing the dome over the arrangement.
Add Some Last Pretty Details To Our Woodland Snow Scene
Step Eight
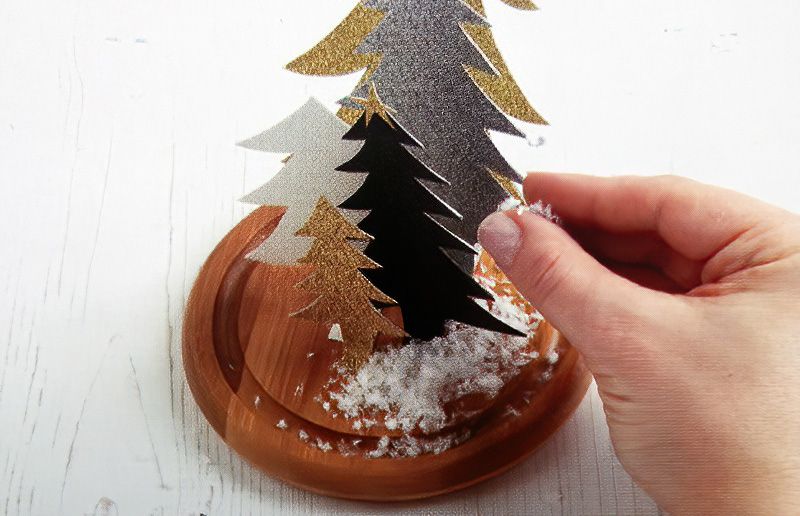
Sprinkle artificial snow around the base of the trees. You can also include festive characters inside the dome at this stage if you like.
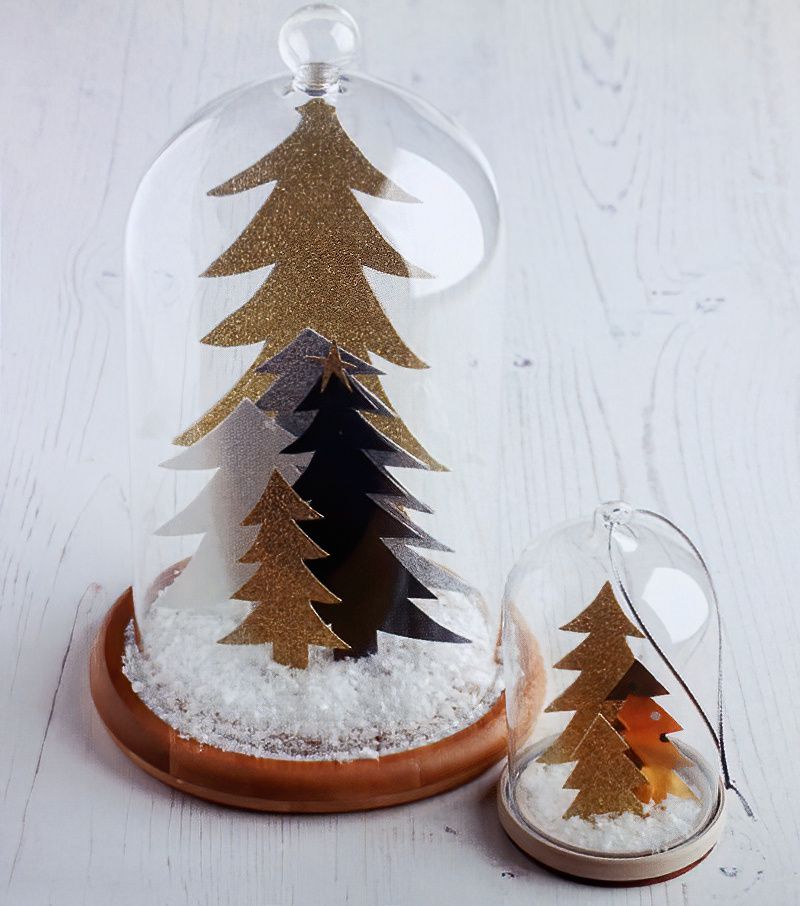
Finally, place the glass dome over the top to complete your glittery forest display.
Additional Decorating Tips
You can use alternative materials like old scraps of wrapping paper or fabric swatches by sandwiching a piece of cardstock in between to enhance their strength.
To elevate your winter woodland display, consider adding deer figurines, miniature stars, and delicate fairy lights around the dome.
Enjoy your beautifully crafted winter tree domes that will add a touch of winter wonderland to your home decor.





















.jpg)




.jpg)

