How To Make Simple Gift Tags
Gift tags play a crucial role in the art of gift wrapping, allowing you to identify and personalise your presents. We present a diverse collection of techniques to create tags that effortlessly blend simplicity with elegance, promising to enhance the allure of your gifts. From stamping and paper punching to intricate cutting and the addition of captivating glitter, the possibilities are abundant.
Things you need to make simple gift tags
- Thin card in black, white, and gold glitter
- White paper
- Tracing paper and pencil
- Black fine liner pen
- Glitter
- PVA glue and paintbrush
- Hole punch
- Scissors
- Craft knife
- Cutting mat
- Luggage label, heart and star paper punches
- Rubber stamps - stars, snowflakes and alphabet
- Ink pad
- Baker's twine and ribbon
We Start Our Simple Gift Tags With a Glittered Initial Tag
Step One
Draw a 65mm (2 1/2in) diameter circle on white card or employ the template from above. Cut out the circle and punch a hole at the top for attachment.
Step Two
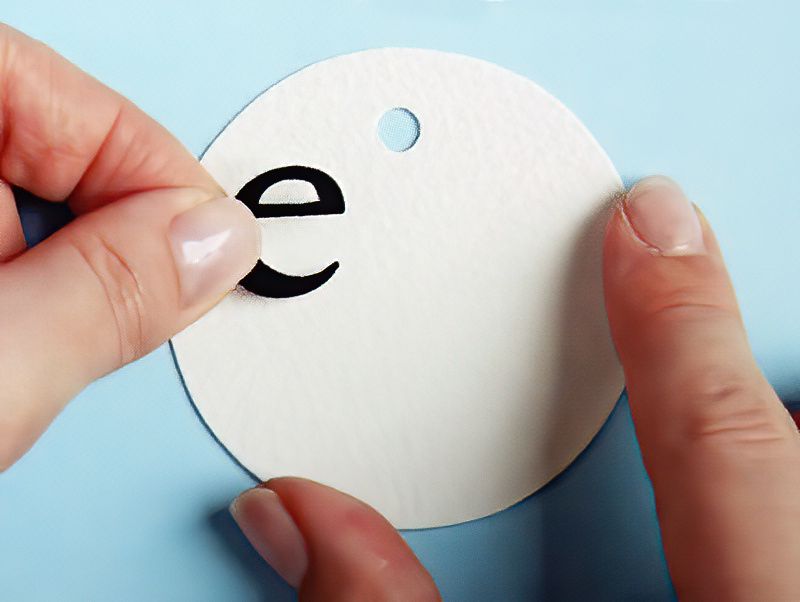
Craft an initial using a Cricut, a letter punch, or manual cutting. Position the initial towards the top-left corner of the circular tag. Apply a diagonal stripe of PVA glue across the tag.
Step Three
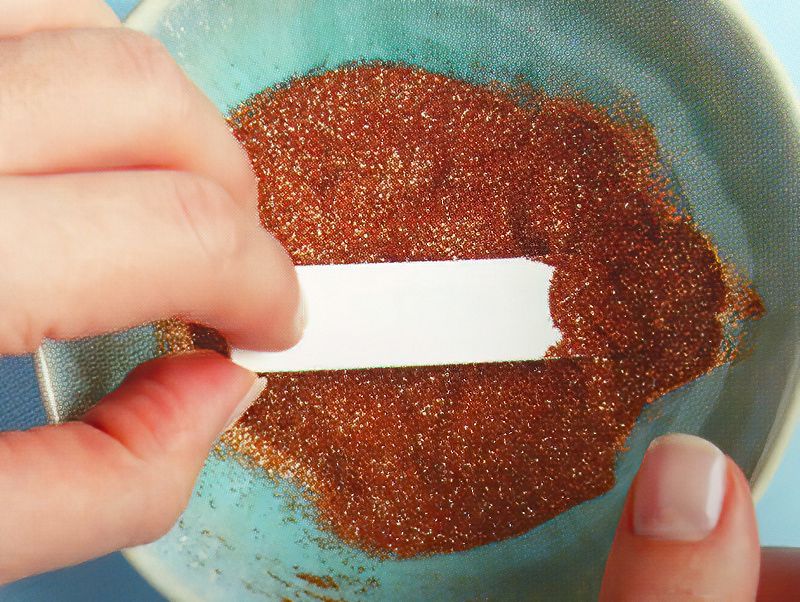
Choose your preferred method: a) Sprinkle glitter over the tag, or b) Dip the tag into a bowl of glitter. Gently shake off excess glitter and let the tag dry.
Next Simple Gift Tags are Glittered, Layered Luggage Tags
Step One
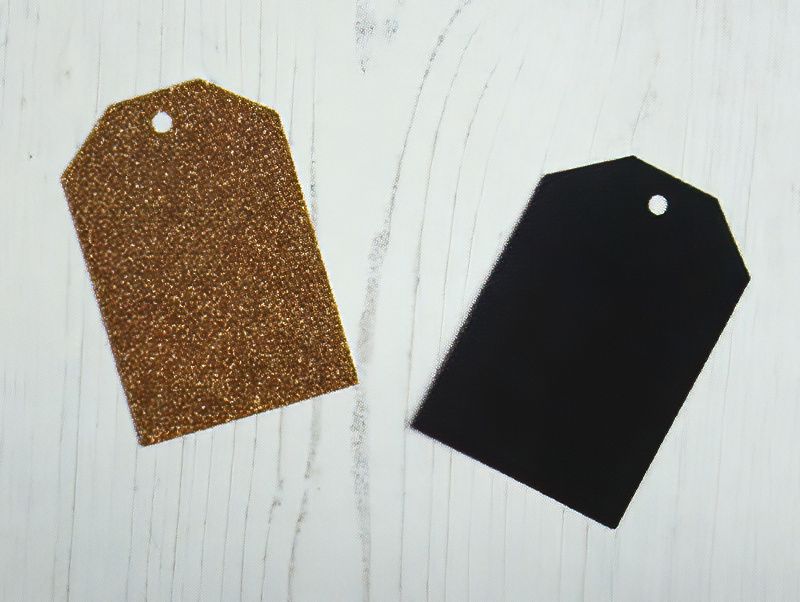
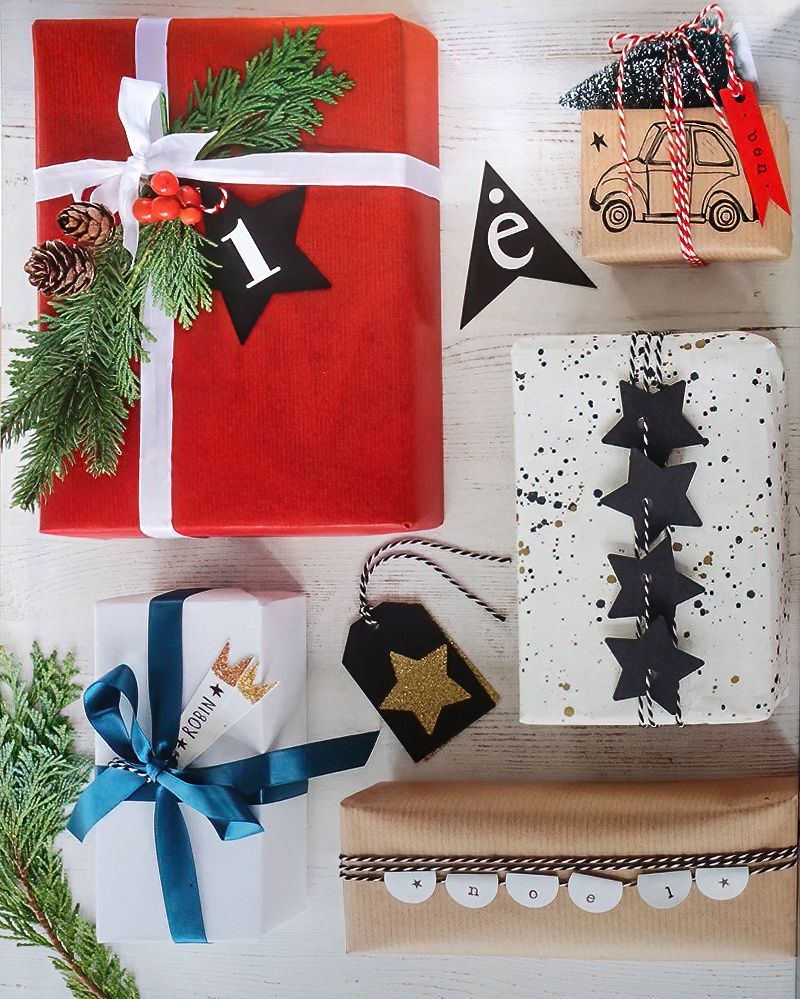
Punch a luggage tag from gold glittered card and another from black card, or follow the template. Place one tag atop the other and punch a hole through both at the same spot.
Step Two
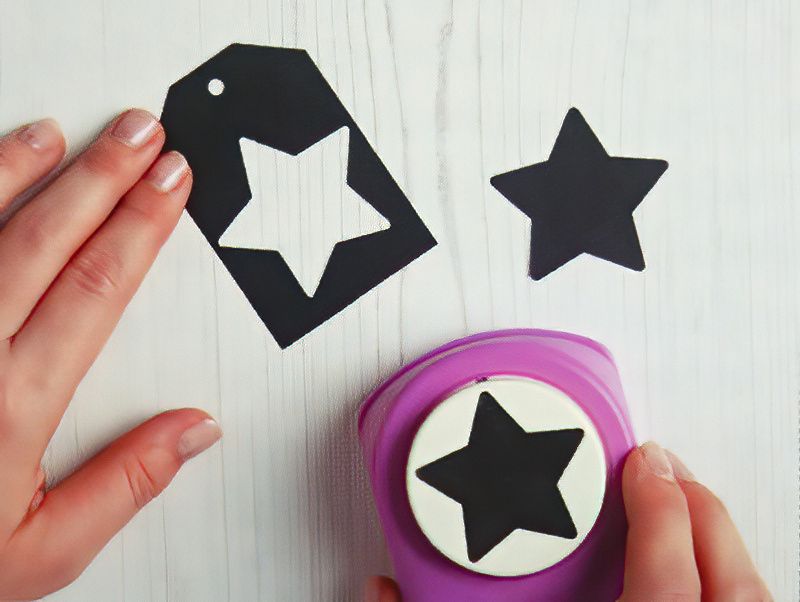
Position the black tag inside a star paper punch, ensuring central alignment, then punch out a star (or utilise the medium star template).
Step Three
Attach both tags with baker's twine, allowing them to move freely without being glued together.
More Simple Gift Tags; Little Flag Tags
Step One
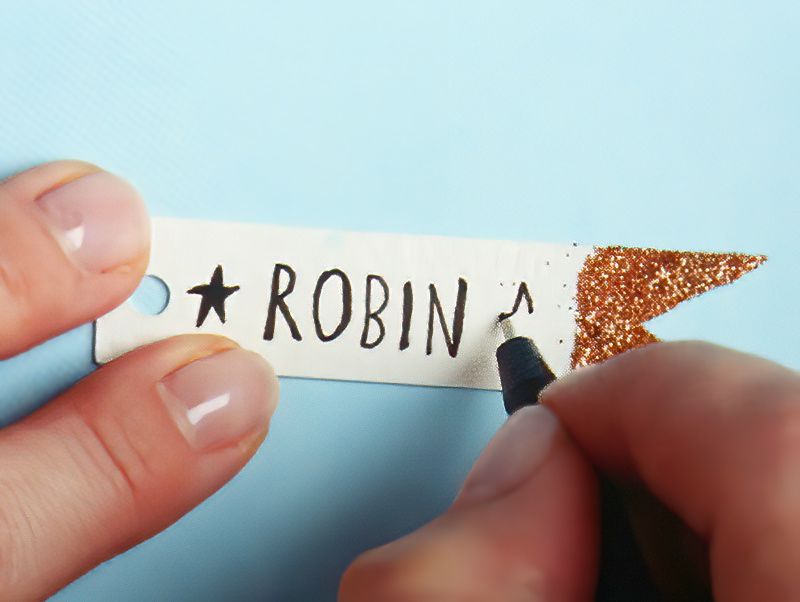
Trace the little flag tag template onto white card. Cut out the shape and punch a hole at the straight end. Apply PVA glue to the inverted 'V'-end of the tag.
Step Two
Dip the inverted end of the tag into a bowl of glitter, removing excess by shaking.
Step Three
Employ a black fine liner pen to handwrite the recipient's name or a festive message.
Stamped Tags Are Fun and Simple Gift Tags to Make
Step One
Trace the stamped tag template onto white card and cut out the label shape. Punch a hole at the top. Decorate with festive stamps and black ink, adding messages or names using alphabet stamps.
Black and Gold Tags
Step One
Create tags from black card using any of the templates. Punch a hole in the top of each tag. Enhance with gold pen-drawn festive designs, such as Christmas trees or cheerful faces on star-shaped tags.
Stars Aligned
Step One
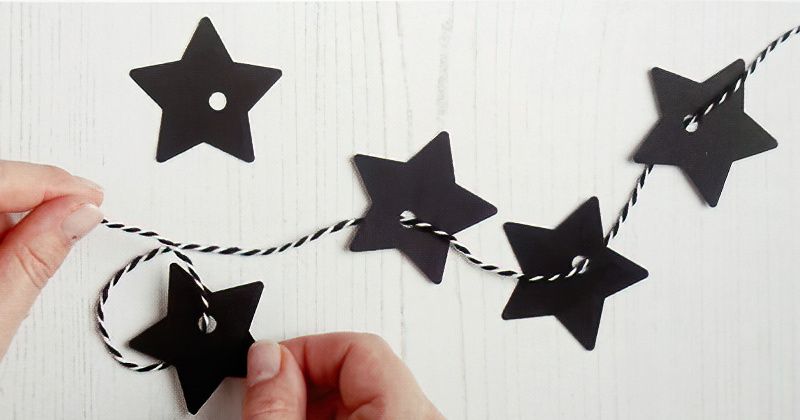
Punch out five stars from black card, punch a hole in each star, and thread them onto baker's twine. Wrap the twine around your gift.
Our Final Simple Gift Tags are Bunting Tags
Step One
Punch 25mm (1in) diameter circles from white paper, the recipient's name letters plus a couple extra for decorations, like tiny stars.
Step Two
Use alphabet stamps or a black fine liner to craft the recipient's name on the circles, placing it towards the circle's bottom.
Step Three
Cut baker's twine to wrap around your gift two or three times. Position the bunting tags along the twine's center, folding the circles over the twine and gluing them before wrapping around the gift.
For a unique touch, fasten a small model tree to the gift using baker's twine, and draw a car on the wrapping. Attach your label for a distinct and personal Christmas gift presentation.
We really hope you enjoy making simple gift tags as much as we do. Use these simple principles and change it around a bit to make your own custom simple gift tags.
Let us know in the comments down below what you think.






.jpg)

















.jpg)
