Everyone Needs a Few Real Photos Albums
Digital photos are fantastic for easily capturing those fun moments in life. But why not print out some of your more favourite digital photos. Then you can make your own photo album.
Children love looking at photo albums. And if you don't own one, let's try and make a photo album.
A wonderful gift, whether full of photos or even just given empty. Put your little ones fingers to work making a gift the older generation will truly adore.
What do we need to make a photo album?
- A4 thick paper or thin card
- Pieces of coloured paper for decoration
- Printed photographs
- Glue stick
- Stickers
- Sticky ribbon and regular ribbon
- Decorative cord
- Beads
- Hole punch
- Scissors
Make A Homemade Photo Album
Step One
First, we need to make the pages for our photo album. Collect your A4 thin card and select the first page. We want the pages to be landscape, so the holes will be punched on the sides.
Punch holes down the side of the first page. Just position the holes where you feel is best. We only punched two holes. But if you want to make a photo album that has more pages, or heavier pages, you can do more holes if you think you might need them.
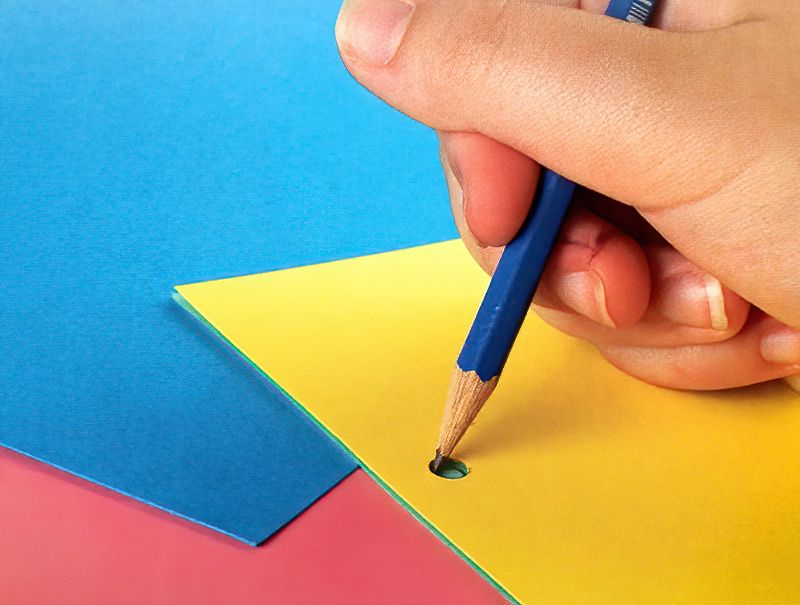
Then once you have done the first page. Use this as a template. Draw through the holes on to the other pages to line up all your holes.
Punch all the holes out.
Decorate A Homemade Photo Album
Step Two
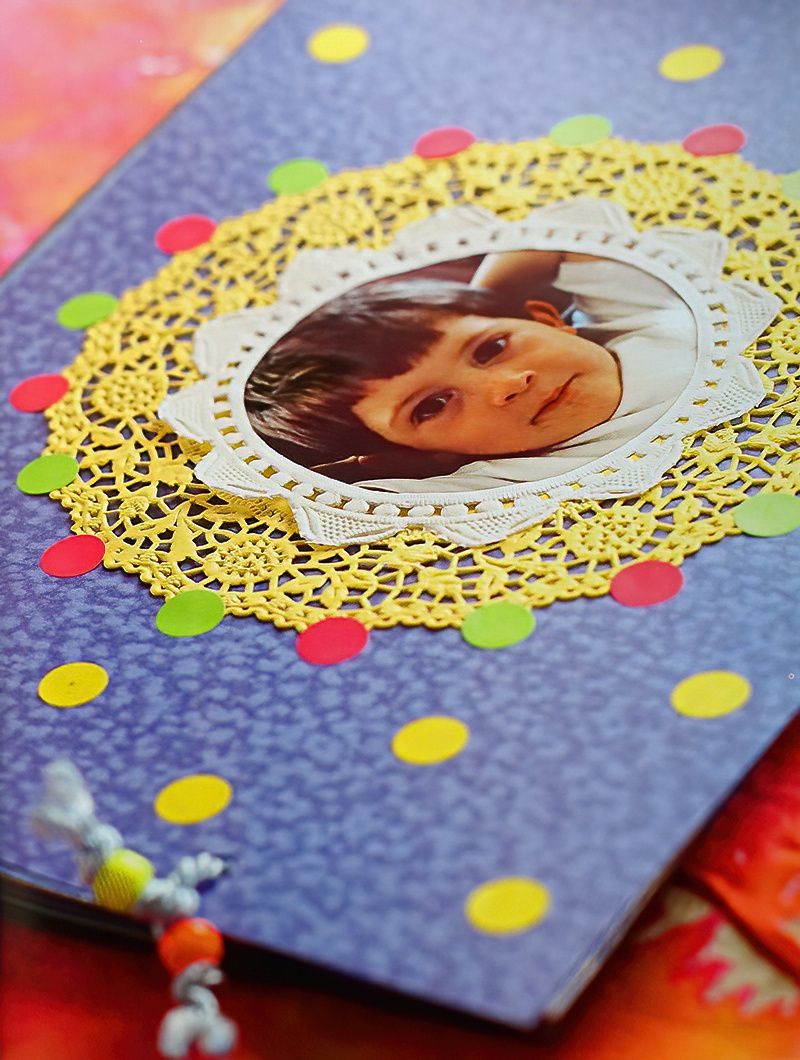
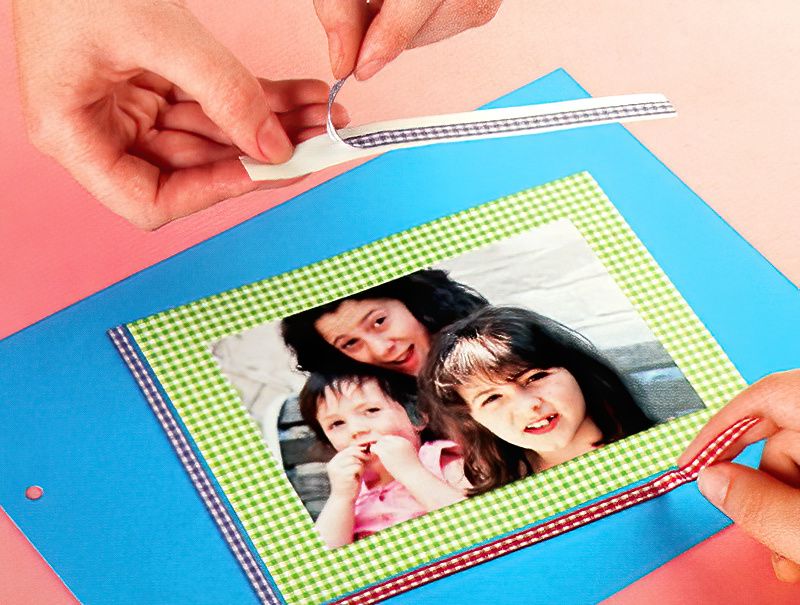
Now we can start decorating the pages. Before you glue the photos down to each page. Why not add a piece of backing paper that is slightly bigger than your photo size. This will look like an interesting border to your photo.
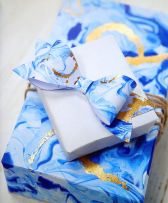
You can use patterned papers or even old wrapping paper to make the backing pieces.
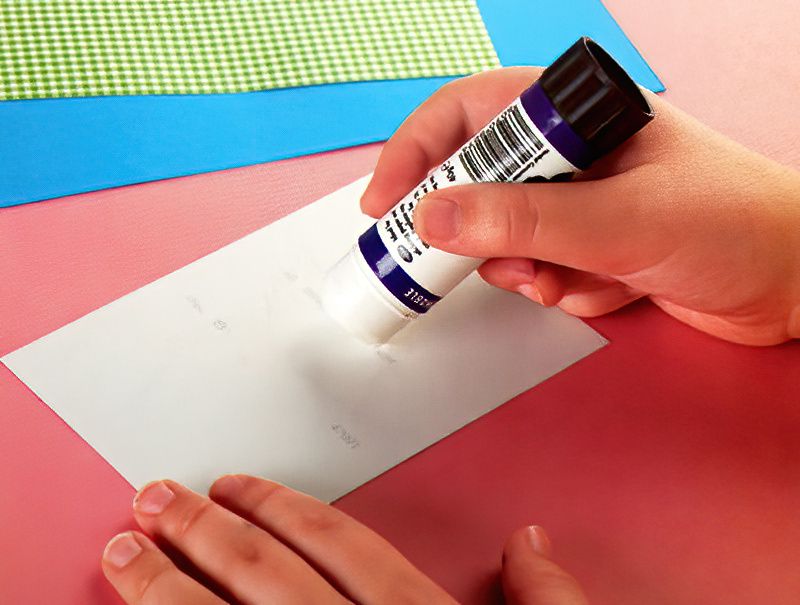
Glue down the backing piece, then glue down the photo on top of the backing paper.
Add Decorations To Our Homemade Photo Album
Step Three
Add more interesting details by adding self-adhesive ribbons. This is your decorative photo album, so you can really be as creative as you like.
If you are making it for someone else, think about things they like. Stick down pictures from magazines, romantic cinema tickets or someone's favourite sweet wrapper. Anything you like, stick down words from newspapers or use felt tip pens to decorate further.
Make a photo album and have fun decorating it.
Make More Pages For Our Handmade Photo Album
Step Four
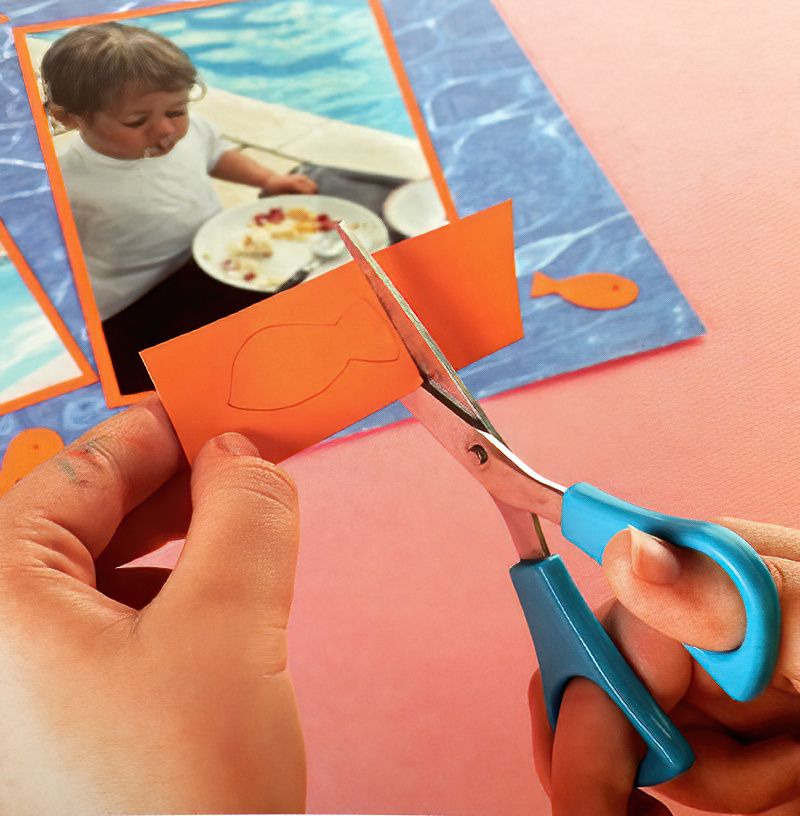
Make up as many pages as you like. Maybe postcards from your holiday and funny stories, jokes and reminders. Use paper scraps to cut out fun shapes that remind you of happy memories.
Stickers and keepsakes can be added too. When you make a photo album it should be personal.
Finally Complete The Handmade Photo Album
Step Five
When you have all the pages done, we can finally assemble our photo album.
Use heavier card for the front and back covers. Mark the hole positions again and use the hole punch to make the holes. Decorate the front and back covers as you like. Or simply leave them looking more simple and let the inside be a surprise.
Don't forget to add a few extra blank pages at the back of your photo album in case you want to add a few extra photos at a later stage.
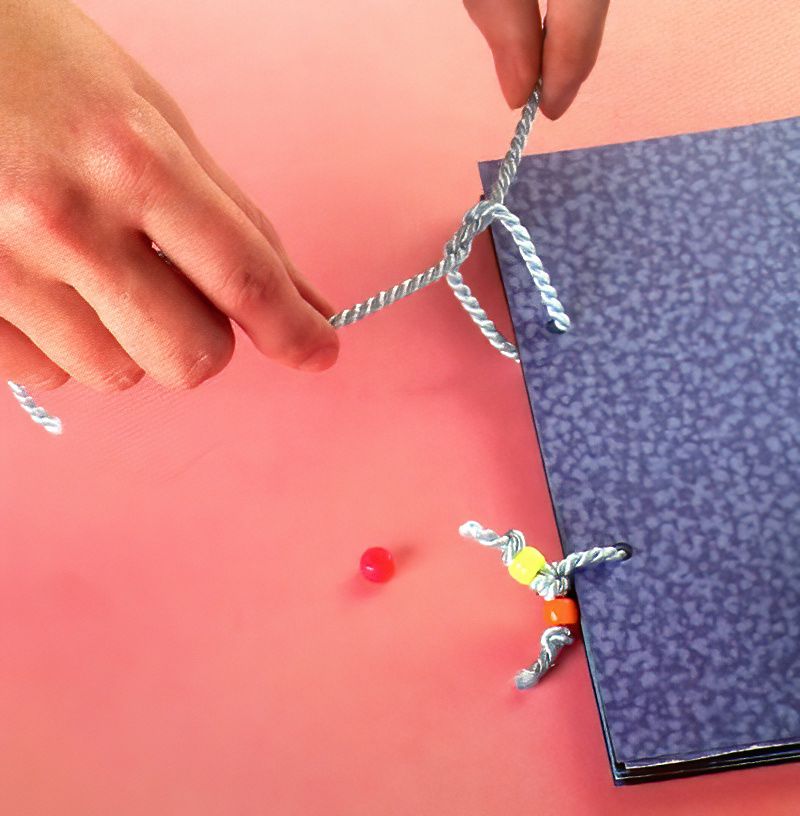
Now assemble the photo album by threading cord or ribbon through all the holes. Add a few extra beads to the cord for decoration. Then tie the cords into a knot. Make sure to not tie it too tightly as you may have trouble opening the pages. So before you finally tie, make sure the photo album still opens as you like.
If you like crafting and making things with your hands, you really should try to make a photo album. Make many over time and change your styles and looks and things you stick in with the photos.
Who knows how many generations after you may look through your photo albums and enjoy your work.

.jpg)




.jpg)

