Creating Easy Origami Stars
Origami doesn't have to be daunting. Sometimes, the final result may seem nearly impossible to achieve, but fear not! With a few straightforward steps, you'll be crafting these exquisite stars in no time.
Once you've grasped the technique, you can fashion stars in various sizes. The smaller ones are perfect for tree ornaments, while a larger star can serve as an impressive alternative to a traditional wreath.
You're not confined to using origami paper for these creations, but ensure that the paper you choose is sufficiently thin for easy folding.
What you need to make easy origami stars
- Papers; enough to make fifteen squares at 70 x 70mm (2 3/4 x 2 3/4in) each
- Ruler
- Scissors
- Glue
Creating Easy Origami Stars
Step One
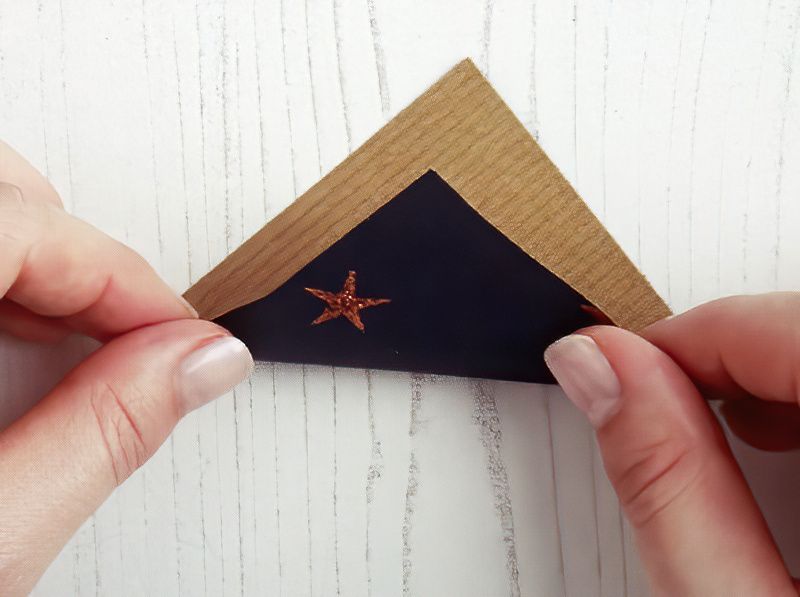
Begin with a square piece of paper. Fold it diagonally from one corner to the opposite corner and firmly press along the fold.
Start Folding Our easy Origami Stars
Step Two
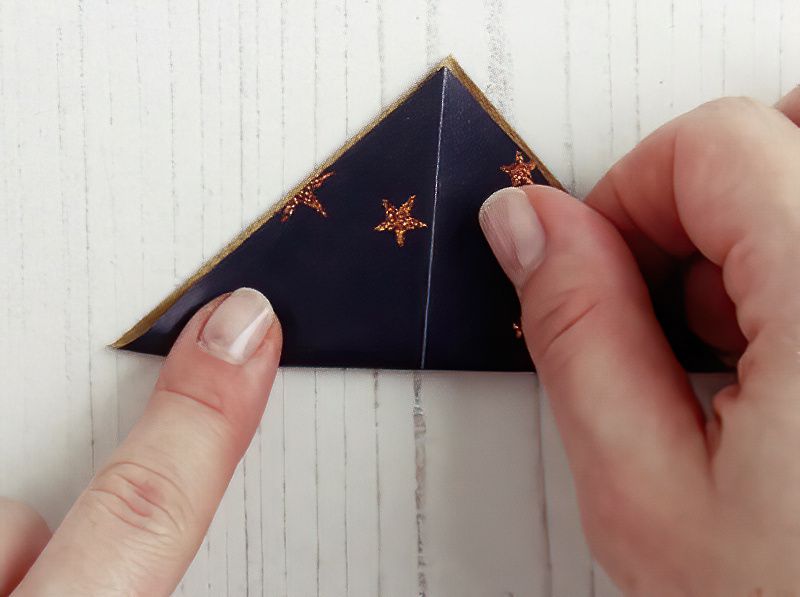
Unfold the square, rotate it 90 degrees, and fold it diagonally once more from corner to corner.
Continue With More Origami Folding
Step Three
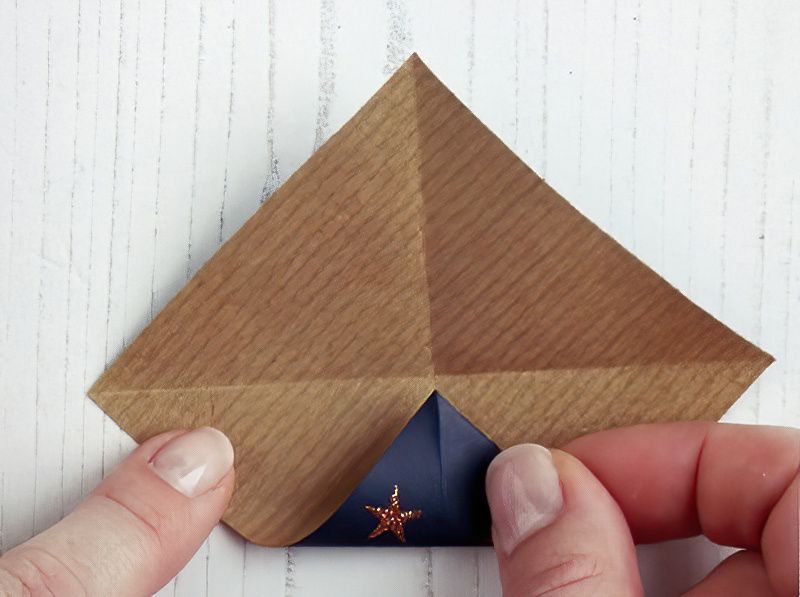
Take one corner and fold it towards the center of the square, pressing along the bottom fold.
Start Bring All The Corners Together For Our Origami Star
Step Four
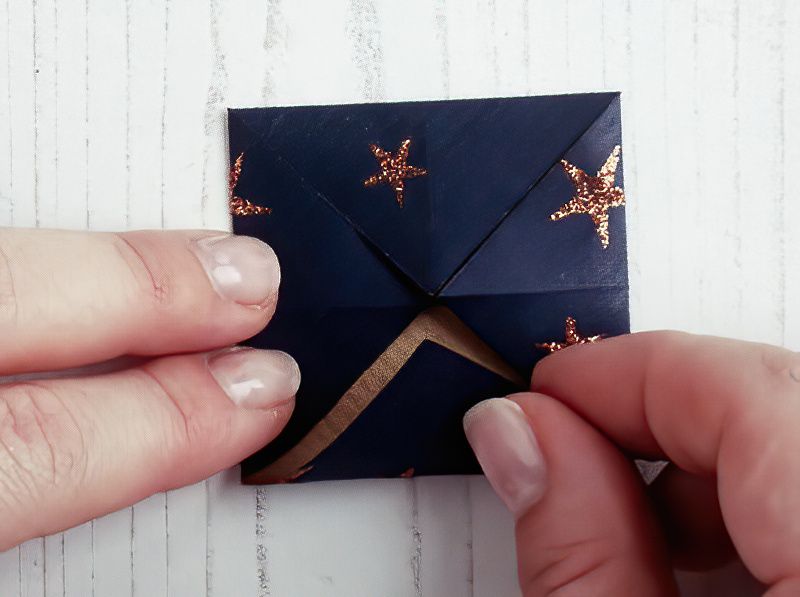
Repeat the previous step for all four corners, folding them into the center of the square.
We Want To Start Making A Origami Kite Shape
Step Five
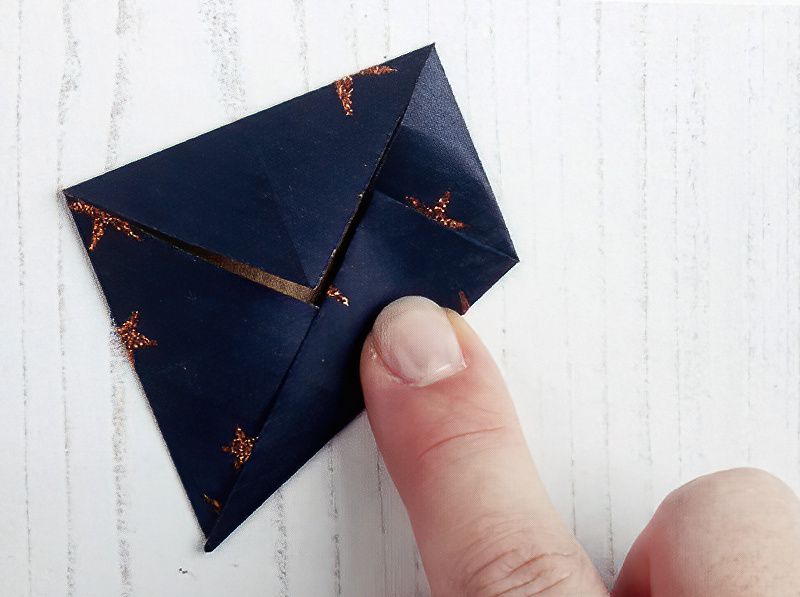
Fold one outer edge inwards, meeting the center line to form half of a kite shape.
Finish Making The Easy Origami Star Kite Shape
Step Six
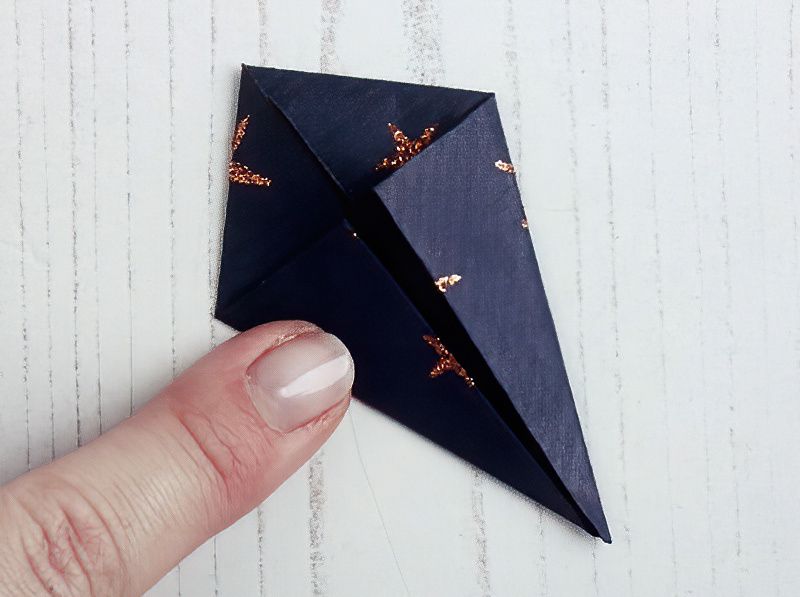
Fold in the opposite outer edge to complete the kite shape.
Finish Making The Individual Pieces Of Our Easy Origami Stars
Step Seven
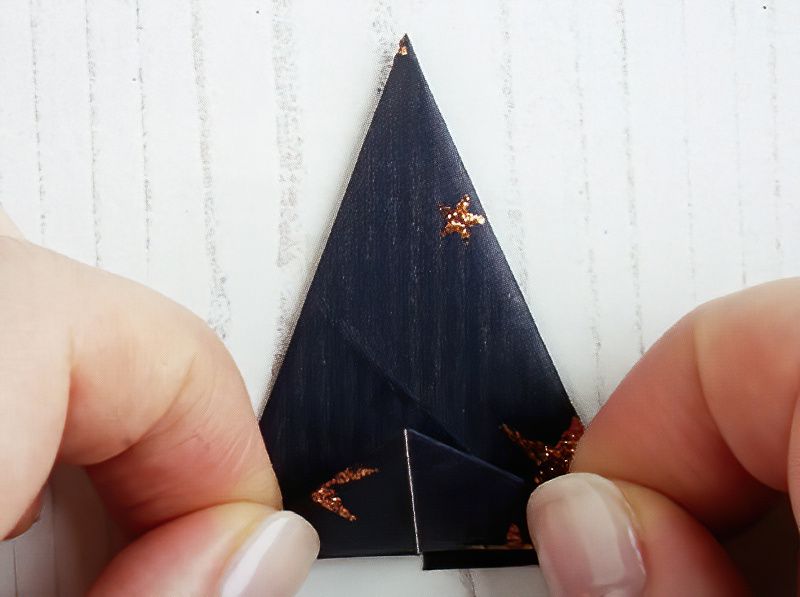
Flip the kite over and rotate it 180 degrees so that the longer point faces away from you. Fold the shorter point backward, creating a fold.
Finish Folding The Individual Paper Pieces
Step Eight
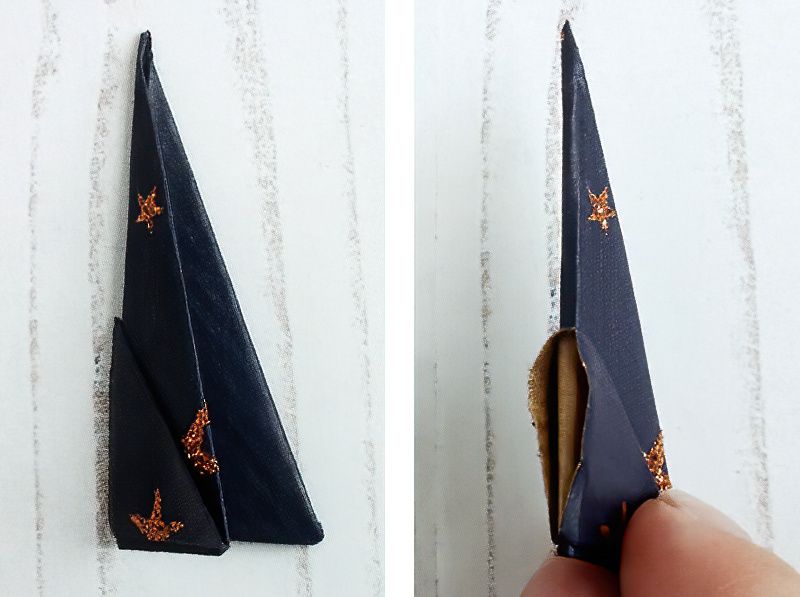
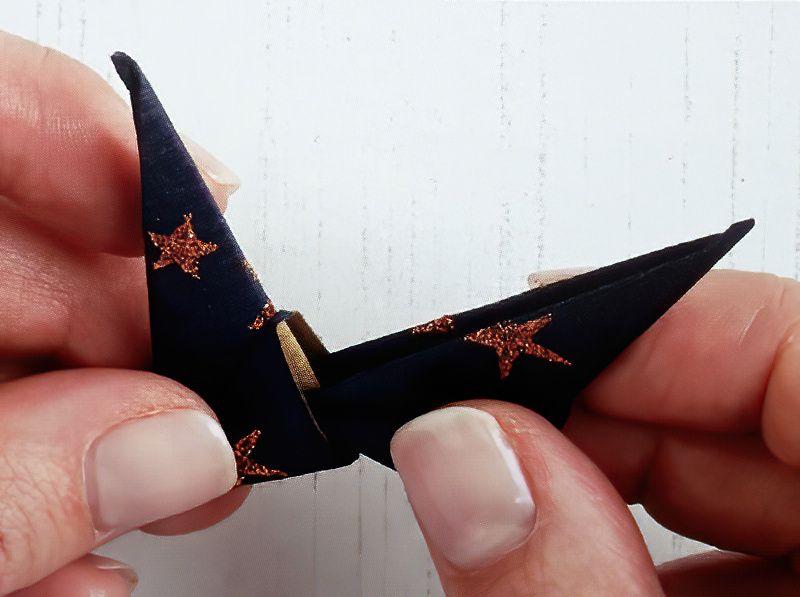
Fold the shape in half vertically and press. This constitutes one completed point of your star. If you tilt the left edge of the point toward you, you'll see two open slots. We just need to assemble our easy origami stars now.
Slot Fifteen Of The Origami Star Shapes Together
Step Nine
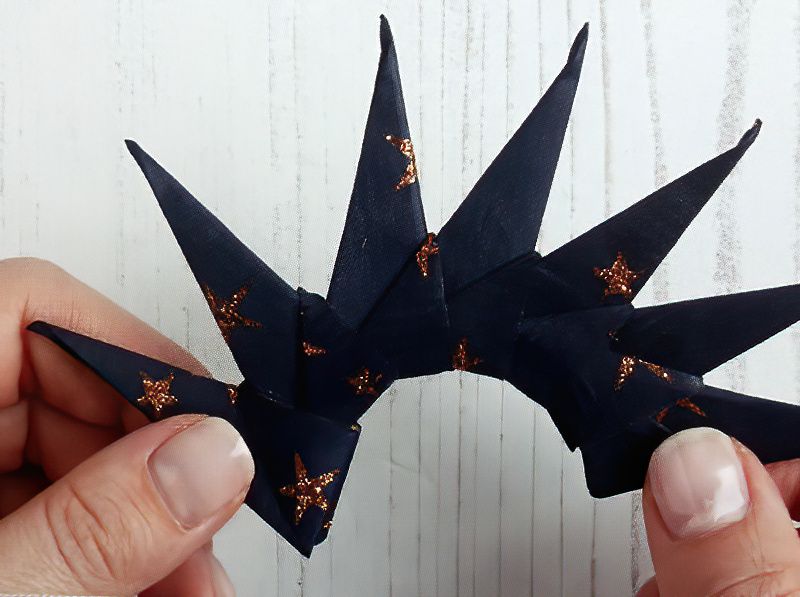
Continue crafting the points of the star, following steps 1-8. Once you have fifteen points, fit them together by inserting the front of one point into the slots on the back of another.
To Finish, Keep Slotting The Origami Star Shapes Together To Form A Circle
Step Ten
Assemble the points until you have a full star shape. To finalise the origami star, use glue or sticky tape to secure the points in place. We have finally finished one of our easy origami stars.
Make a Star Wreath
Our origami star can serve as a fantastic alternative to a traditional wreath. Simply use 150mm (6 inch) square papers and follow the same steps to create a larger version of our decoration. Hang it on your door, above the mantel, or incorporate it into a table centerpiece for a striking display.





.jpg)


