How To Make Marbled Wrapping Paper
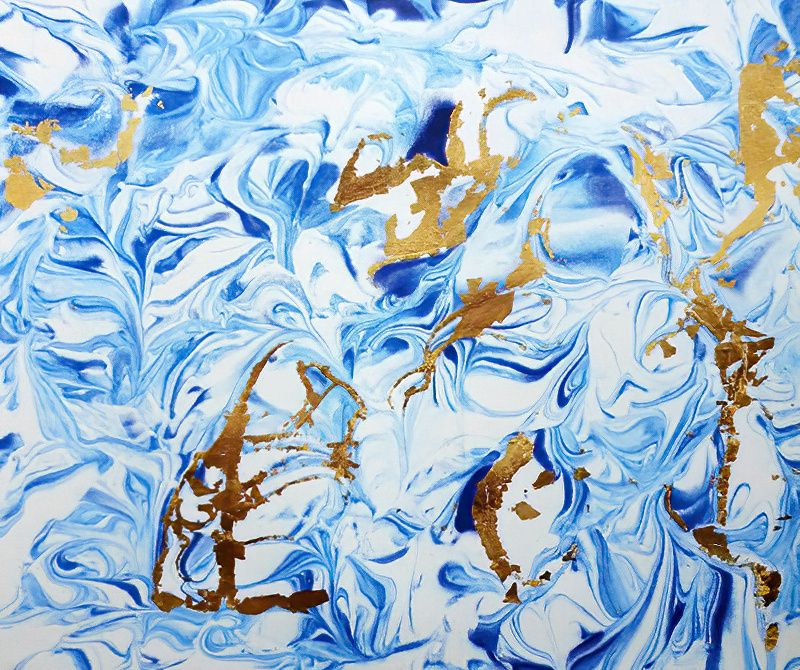
You can craft your own marbled wrapping paper without the need for expensive equipment or specialized inks. With just shaving foam and your choice of colored paint, ink, or food coloring, you can produce unique and beautiful patterns in a matter of seconds.
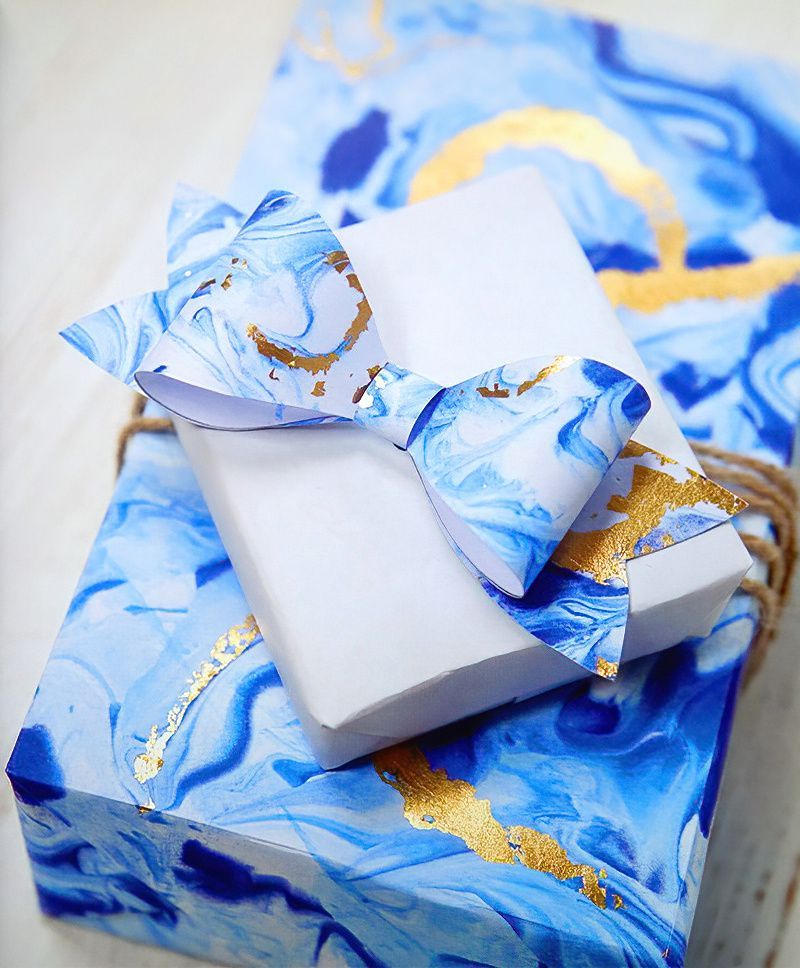
There's no prolonged drying period, making it perfect for last-minute gift wrapping. You can even enhance it with a touch of gold leaf for added elegance. Remember, the key is to have fun with the process, as some of the most stunning marbled patterns emerge unexpectedly.
In addition to wrapping presents, these marbled papers can be used for covering notebooks, crafting gift cards, or even framing as works of art. Ensure you use good-quality paper, such as thin card stock or sketchbook paper, for the best results. Printer paper may yield less attractive outcomes.
What you need to make marbled wrapping paper
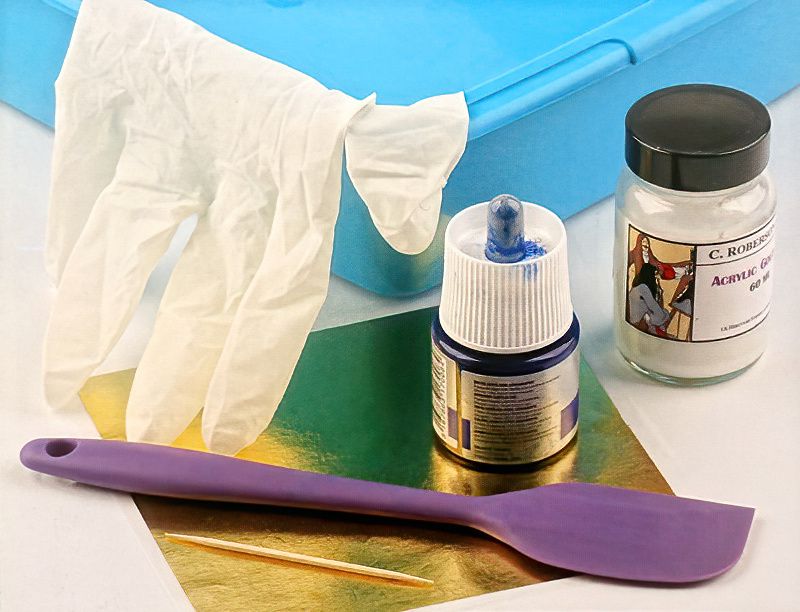
- Paper or thin card. We used 297 x 210mm (11 3/4in x 8 1/4in) cartridge paper, but use the most paper that fits in your tray you are using
- Clean, shallow dish, larger than the piece of paper or card you are marbling
- Shaving foam (not gel)
- Spatula
- Inks, food colouring or paints
- Stick with a fine tip, such as a skewer or cocktail stick
- Newspaper to protect your work surface
- Kitchen paper
- Old plastic ruler
- Protective gloves
- Miniature peg
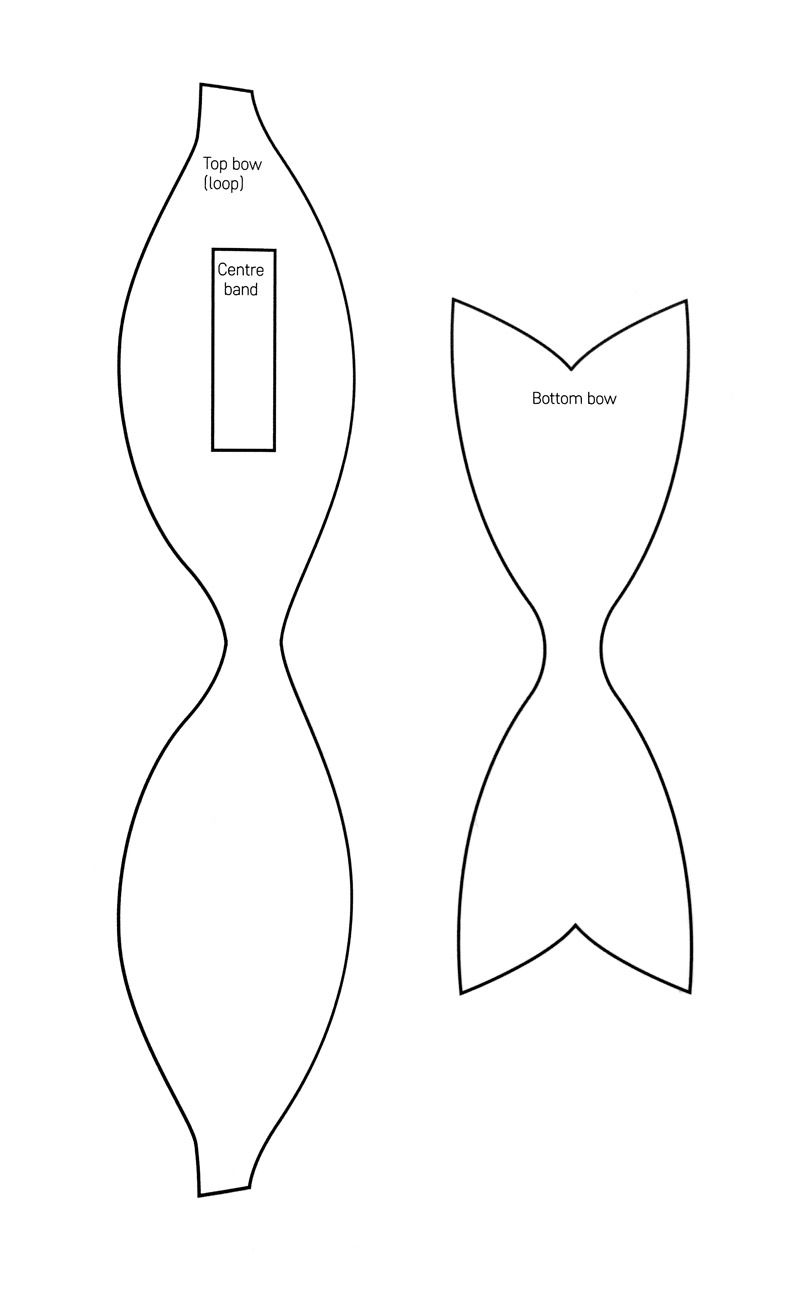
- Bow template
For the gold leaf
- Gilding size (size is the name for the specialist glue)
- Gold gilding leaf
- Small paintbrush
- Soft paintbrush
Start Making Our Marbled Wrapping Paper Project
Step One
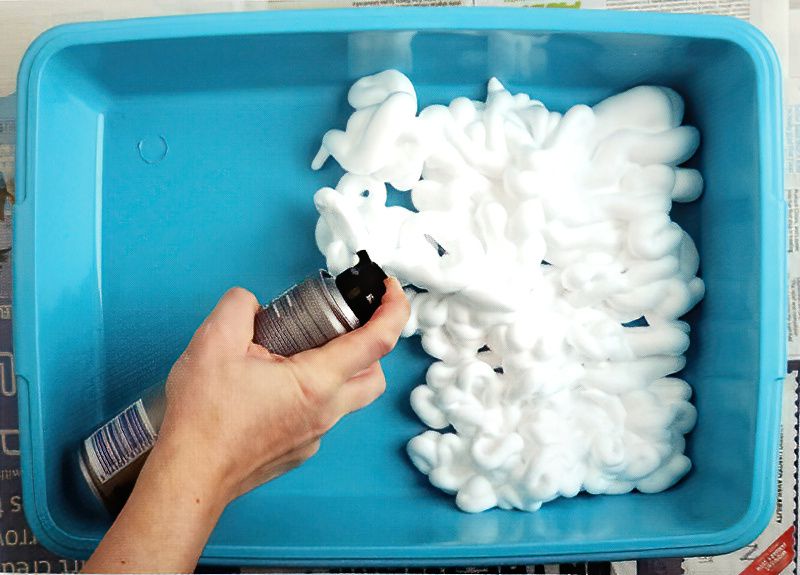
Cover your work surface with newspaper. Clean your marbling tray or dish with soap and water, then dry it. Shake the shaving foam can and apply a layer of foam into the tray.
Step Two
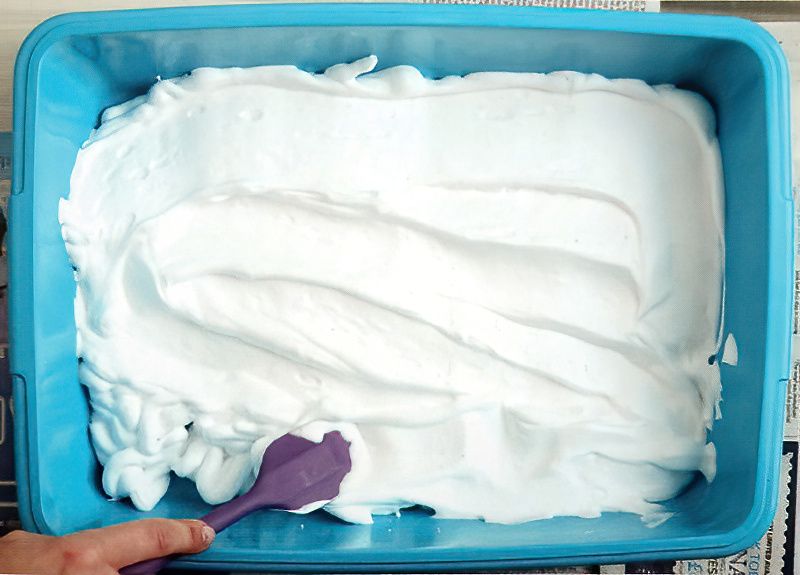
Use a plastic spatula to evenly spread the foam over the tray.
Marbled Wrapping Paper Is A Super Fun But Messy Project
Step Three
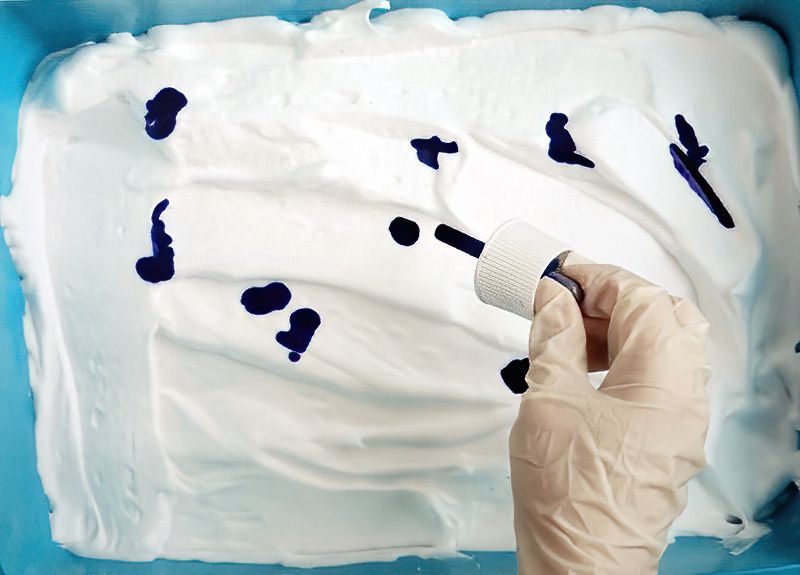
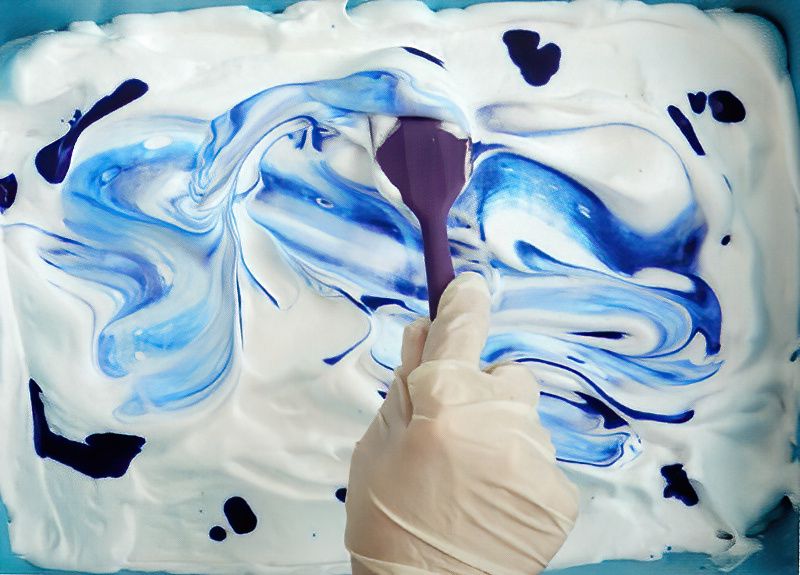
Wear protective gloves and add a few small drops of colored ink into the foam. Mix the ink into the foam using the spatula to create streaks of color. Experiment with different sections for varied color strengths.
Step Four
To enhance your design, use a second ink color if desired, such as yellow for a vibrant green when mixed with blue.
Swirl Up A Fun Design To Print
Step Five
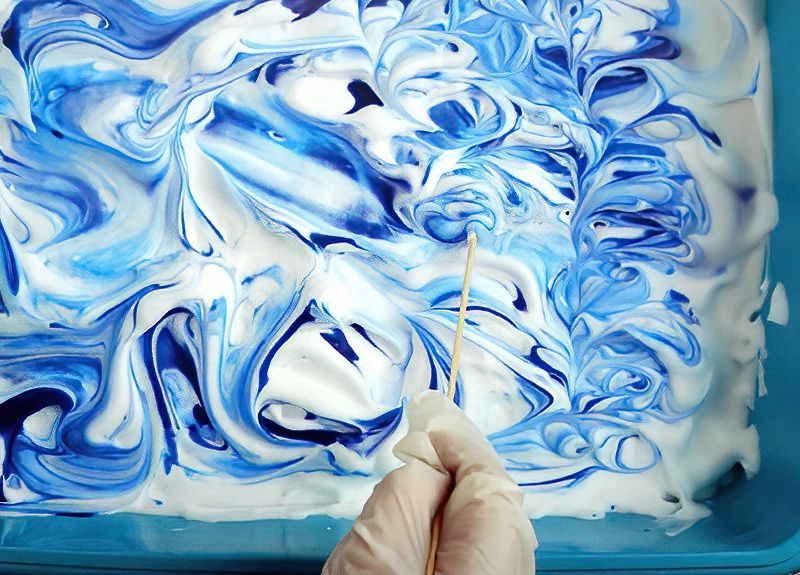
With a cocktail stick or skewer, create fine patterns in the foam with the ink to achieve a marbled effect.
Step Six
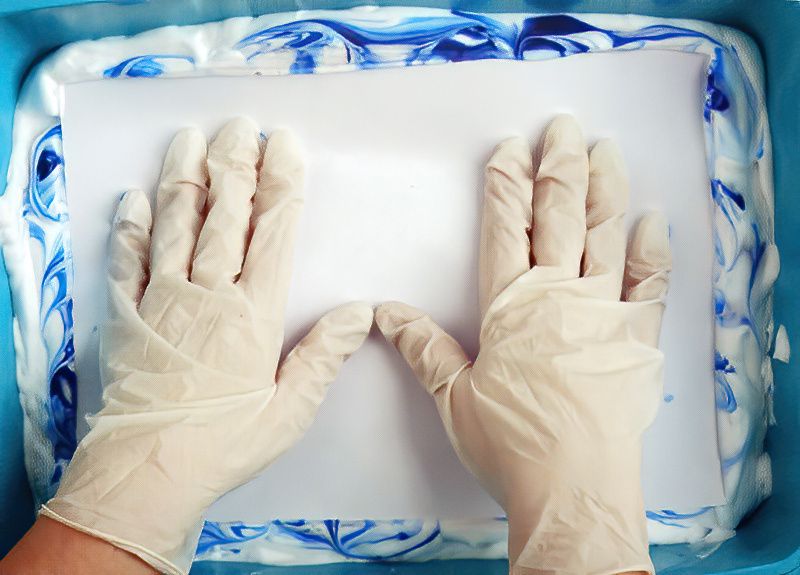
Press a sheet of paper or card into the foam, ensuring there are no air bubbles. Press down to coat the entire sheet.
Be Careful Not To Smudge Your Printed Marled Effect Paper
Step Seven
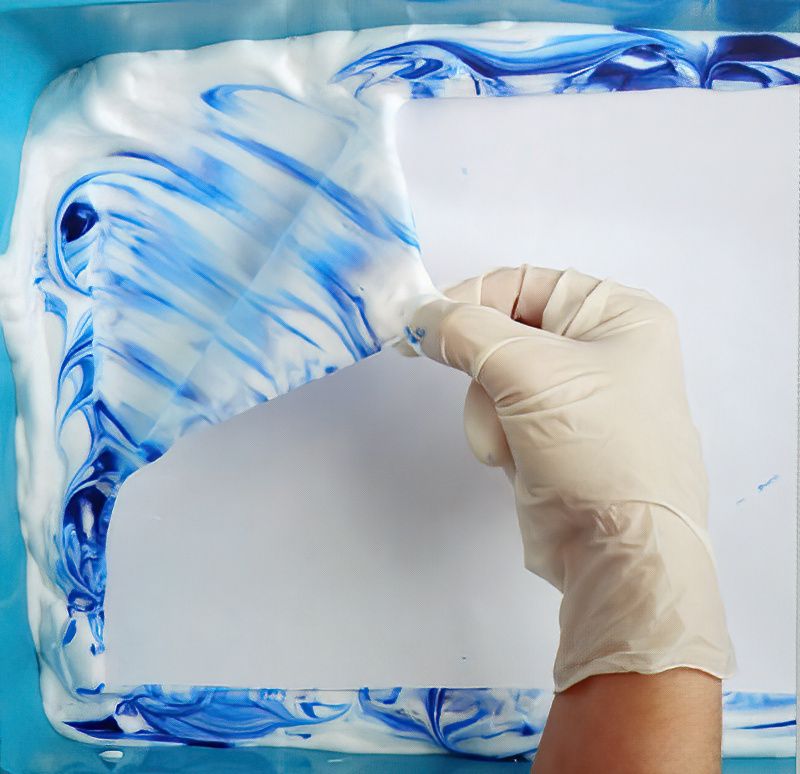
Carefully peel the paper from the foam, starting from one corner, and place it marbled-side up on the newspaper.
Step Eight
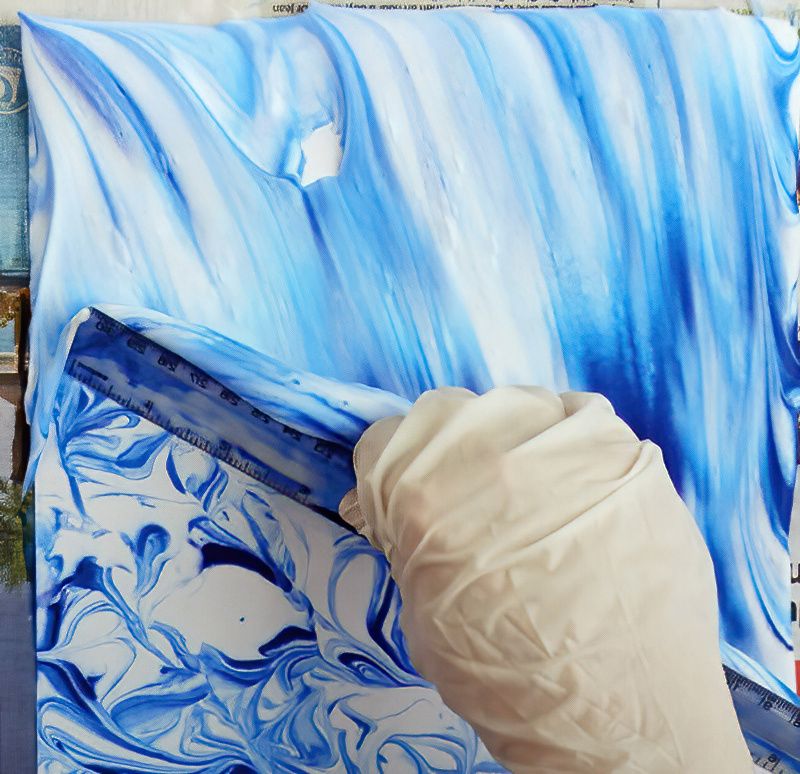
Using an old plastic ruler, scrape off all the foam from the paper's surface. You can either put it back in the tray for later use or wipe it off the ruler with kitchen paper. Allow the marbled paper to dry, which won't take long due to the quick-drying nature of shaving foam.
Embellish Your Marbled Paper With Gold Leaf
Step Nine
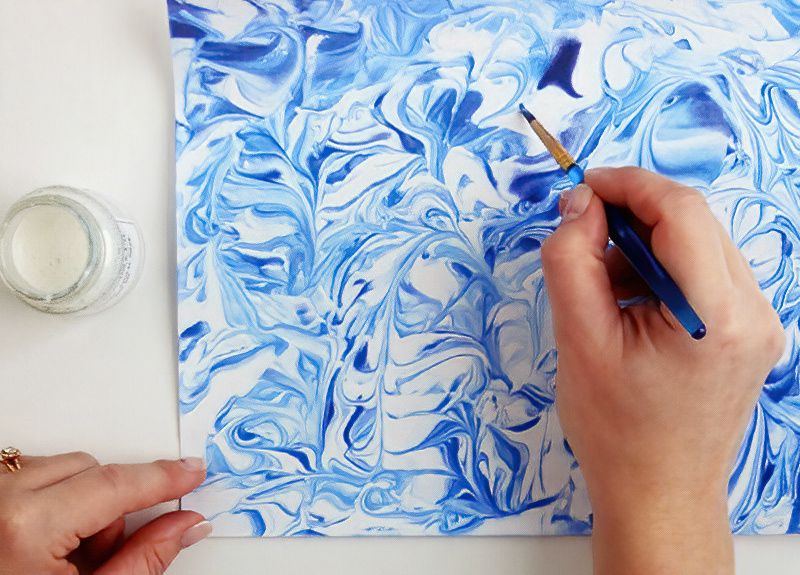
Once your design is dry, apply gilding size with a thin paintbrush along the edges of some patterns. Allow it to become tacky.
Step Ten
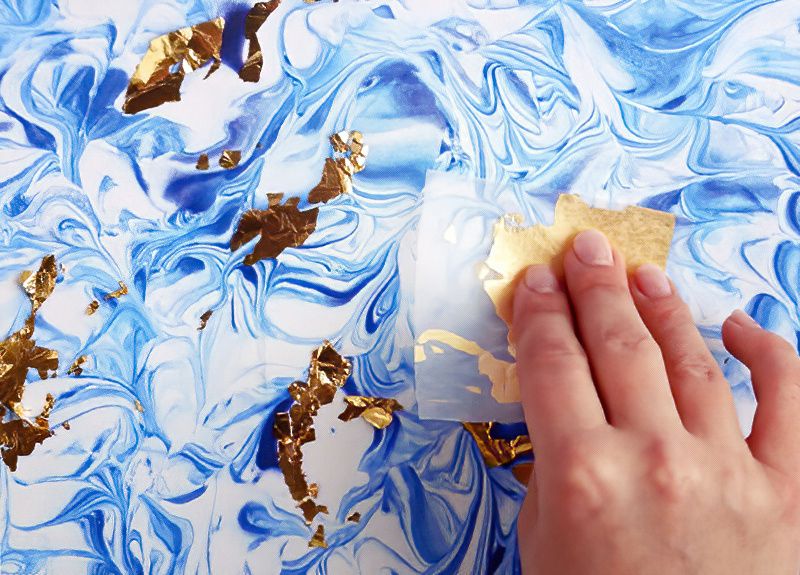
Rub a small square of gold leaf over the tacky gilding size, ensuring it adheres. Let it dry.
Finish Making Our Marbled Wrapping Paper
Step Eleven
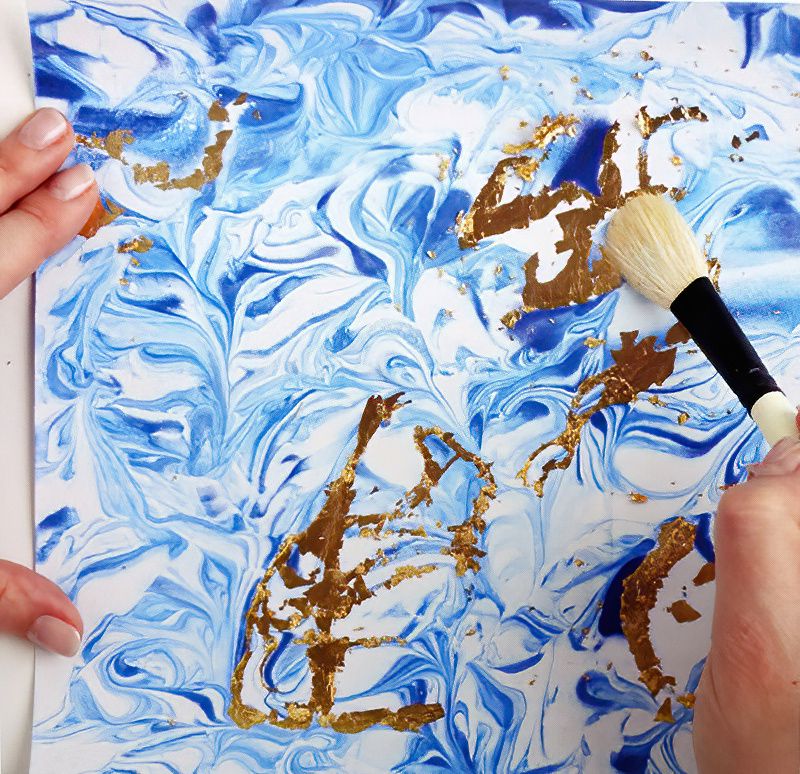
Use a soft paintbrush to remove any excess gold leaf, leaving it only where the gilding size was applied. The flecks can also enhance the design.
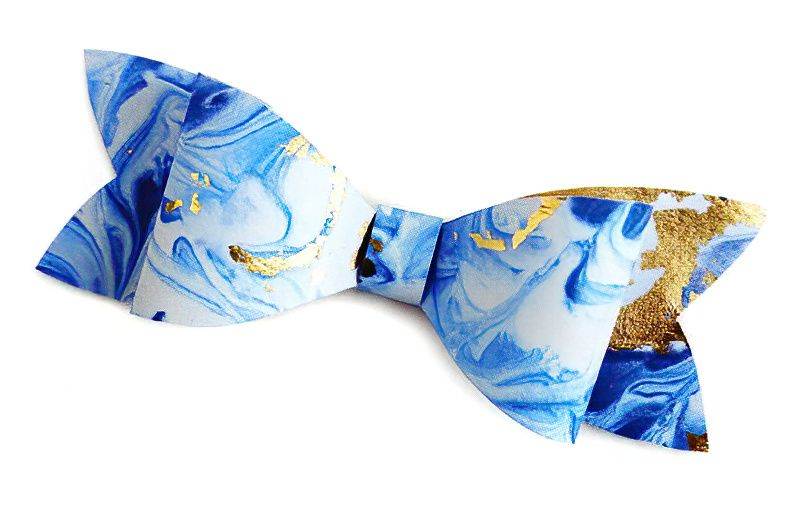
Your marbled paper is now ready for use. It's perfect for wrapping presents, and the added gold leaf creates a magical effect when it catches the light. You can also use this marbled paper to craft a beautiful bow for your gift.
Creating a Marbled Wrapping Paper Gift Bow
Step One
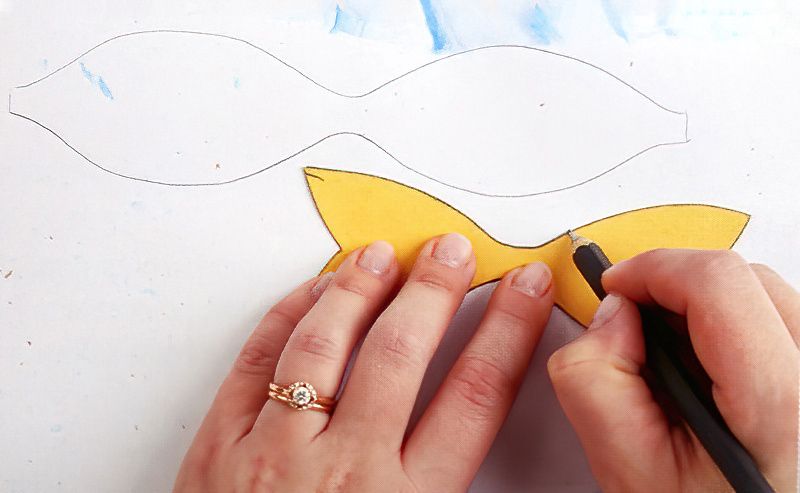
Trace the bow templates from above onto the reverse of your marbled paper and cut them out.
Continue Making Our Marbled Bow Ties
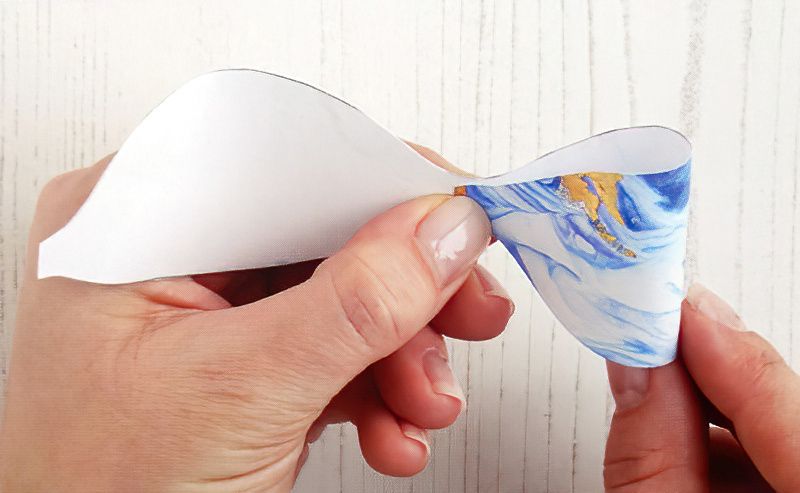
Step Two
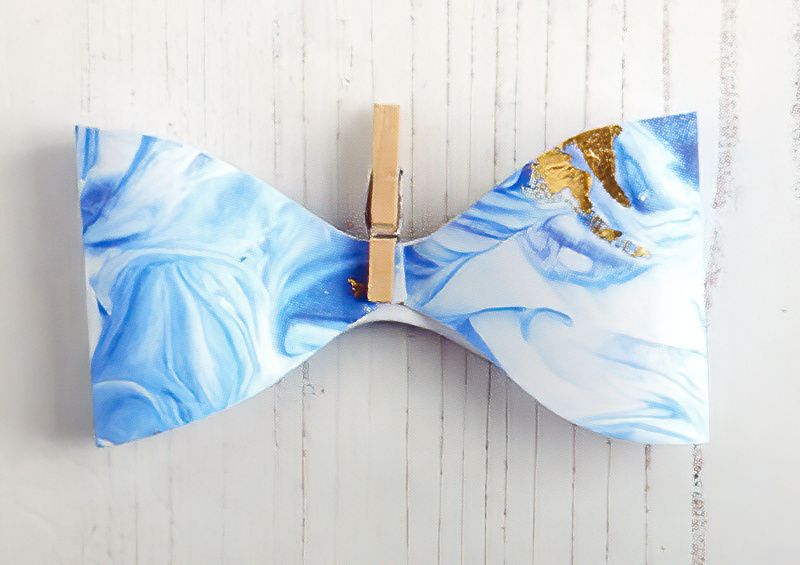
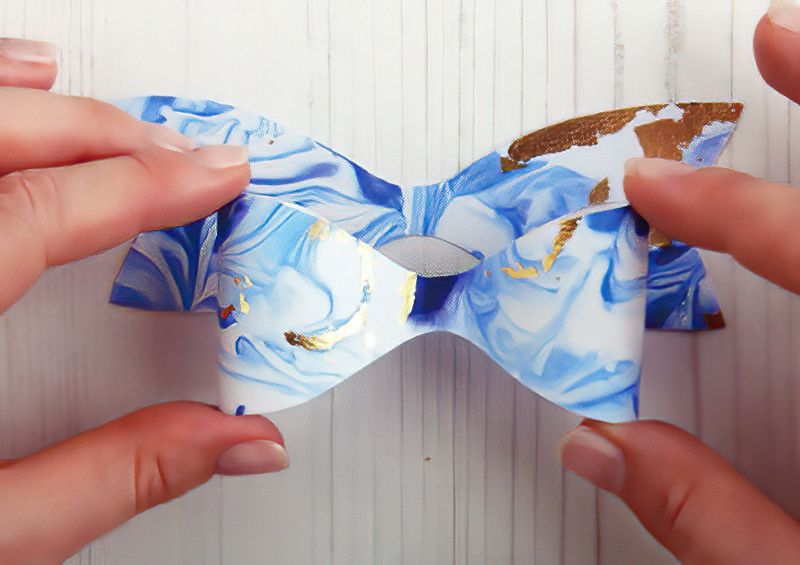
Bend the wings of the top loop inward.
Assemble Our Marbled Wrapping Paper Bows
Step Three
Apply glue to the center of the bow and secure the wings. Use a tiny peg to hold them in place while the glue dries.
Complete The Assembly Of Our Gift Bows
Step Four
Attach the folded bow part to the front of the bottom bow part once the glue has dried.
Finish Making Our Marbled Wrapping Paper Bow Tie
Step Five
Wrap the center band around the double bow and glue the two ends together on the reverse side. Your three-dimensional marbled bow is complete and ready to adorn your wrapped gift.
We really hope you enjoy making this marbled wrapping paper. Let us know in the comments below how you get on. Maybe make your own studio and upload some of your own marbled wrapping paper successes.

.jpg)

.jpg)
