Folded Book Angels Tutorial
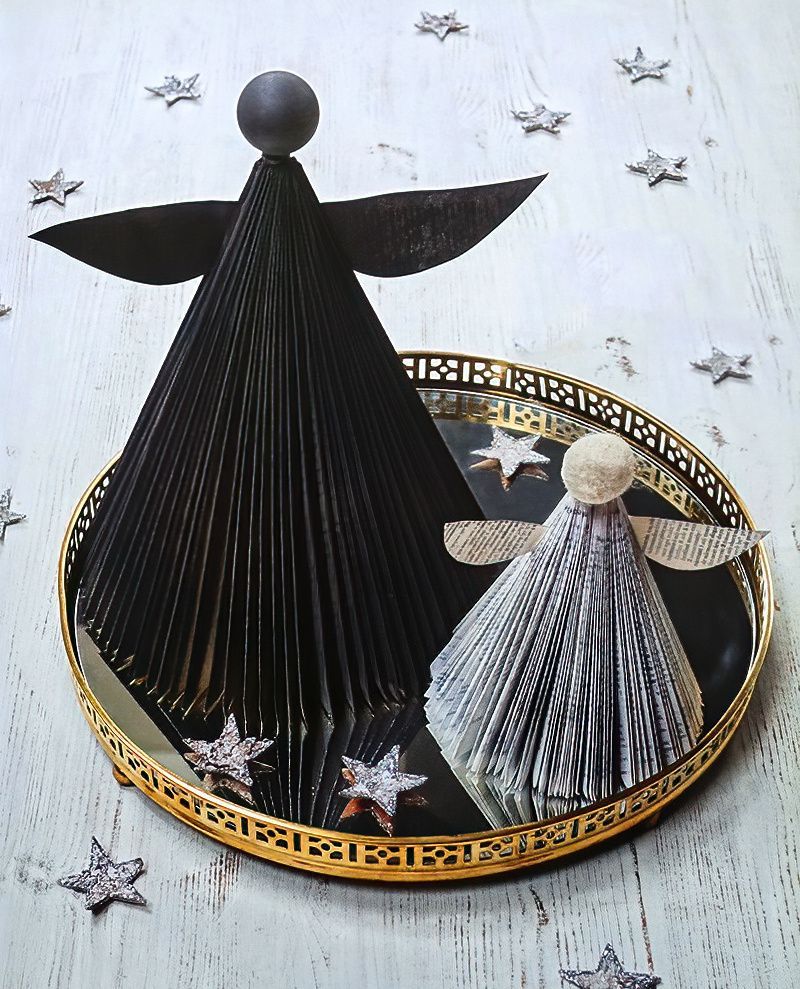
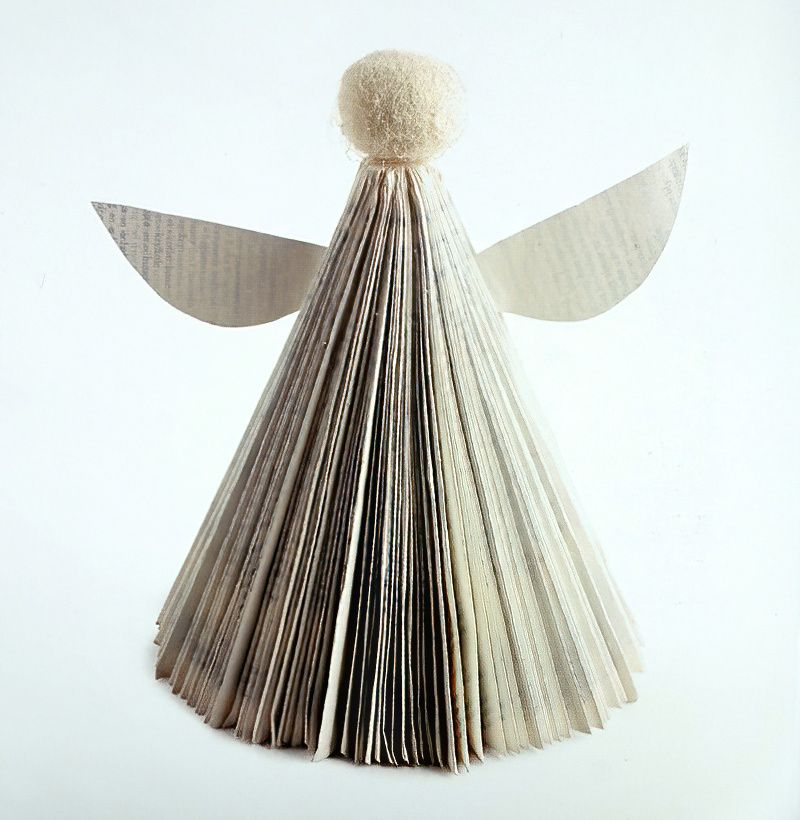
Transform your old books into elegant and stylish paper angels through the art of folding. This upcycling project is a simple yet creative way to turn discarded books into treasures. You have the option to add a touch of sparkle with glitter or keep it minimalist in Scandinavian grey or pure white.
What You Need To Make Folded Book Angels
- Old paperback book with a minimum of 180 pages
- Strong craft knife
- Small felt pompom
- Scissors
- White spray paint
- Newspaper
- Hot-glue gun
- PVA glue and paintbrush
Get Your Book Ready To Make A Folded Book Angel
Step One
Carefully detach the cover of the book. Ensure that the glue on the spine is strong enough to hold the pages together when folded.
Let's Start Making Our Book Angel
Step Two
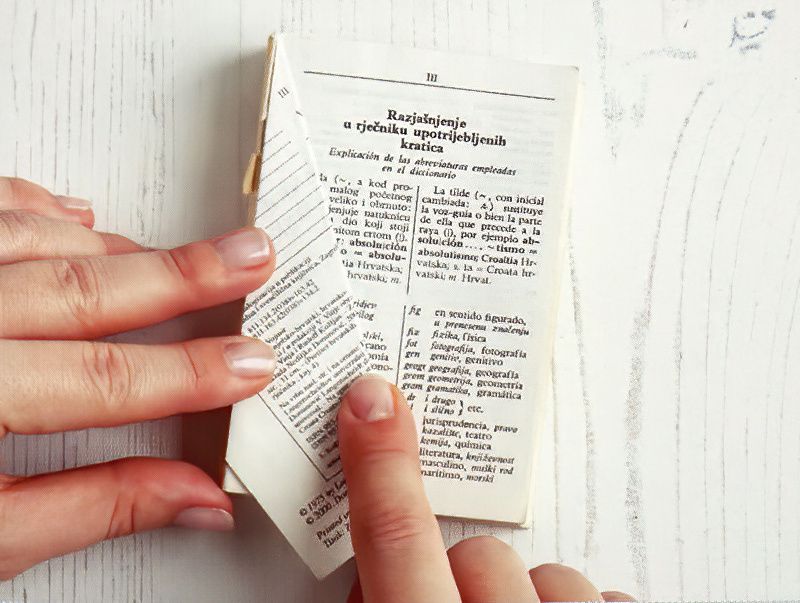
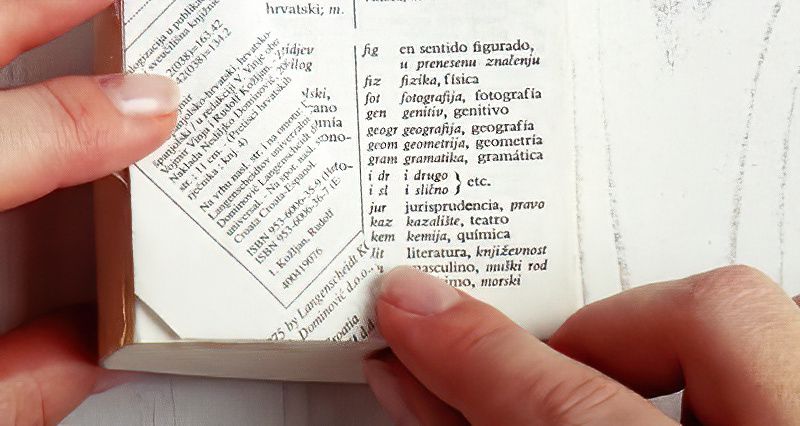
Starting with the first page, fold the top corner inward to meet the spine. Press firmly along the fold.
Start By Folding The Pages In A Certain Way
Step Three
Fold the page once more, aligning it with the spine, and press along the fold.
Fold The Pages To Make Triangle Shapes
Step Four
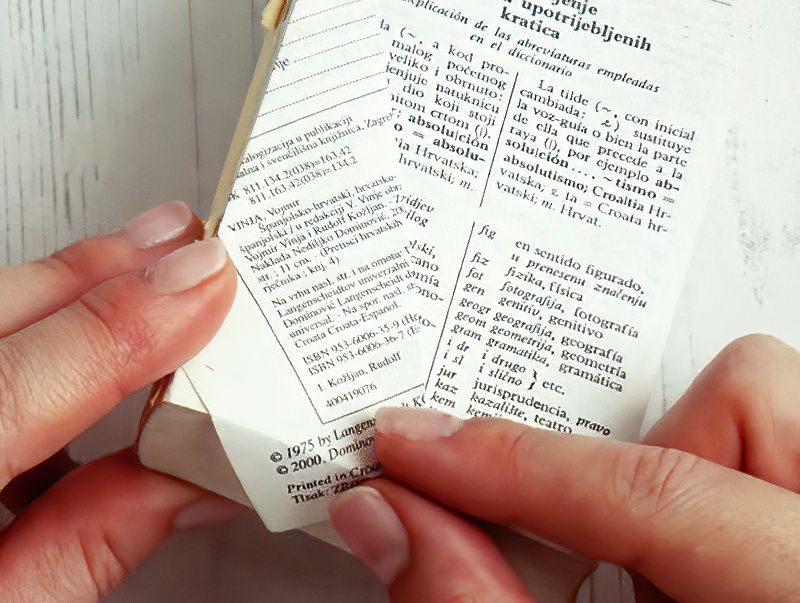
Fold the small triangle of overhanging paper down over the book block (the pages underneath) to create a crease line.
Tuck In The Ends Of The Triangle Pages
Step Five
Tuck the triangle under the page at the crease line.
asdasd
Step Seven
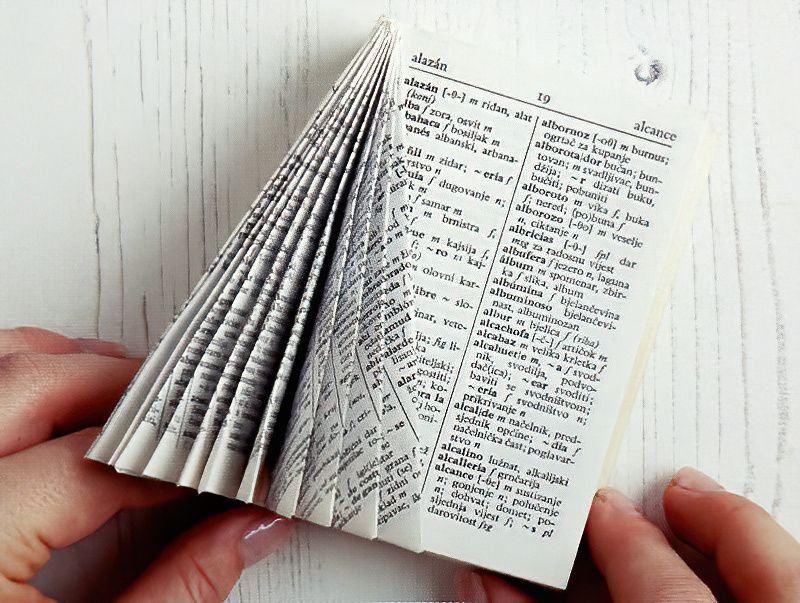
Continue with these folding steps (Steps 2-6) for every page in the book, flexing the spine as needed.
Folded Book Angels Tip
The last pages can be challenging to fold, but keep flexing the spine to help. If there's a gap at the back, apply some PVA glue to the last page and stick it to the first page to secure.
We Will Start Seeing A Cone Shape Emerging
Step Eight
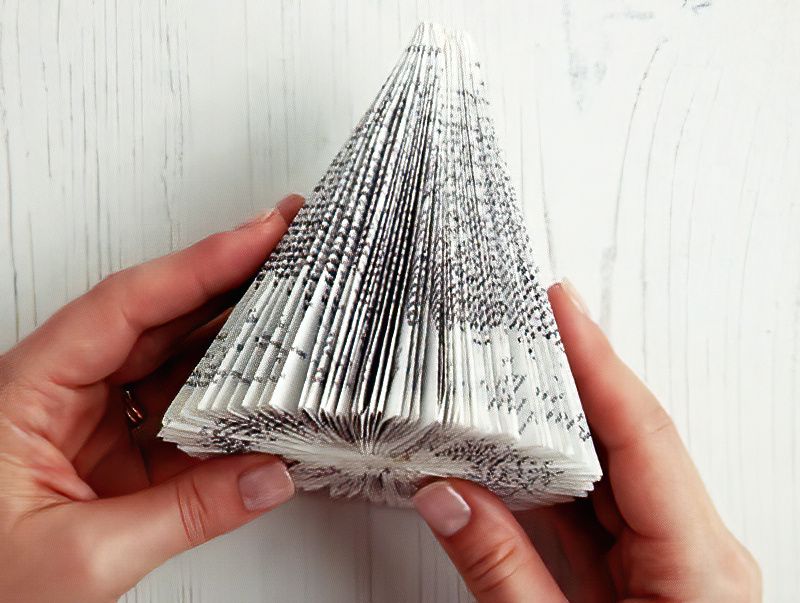
Fold enough pages to form a full cone shape. If necessary, you can remove excess pages by carefully cutting through the spine with a craft knife.
Add On The Pompon Shape For The Head
Step Nine
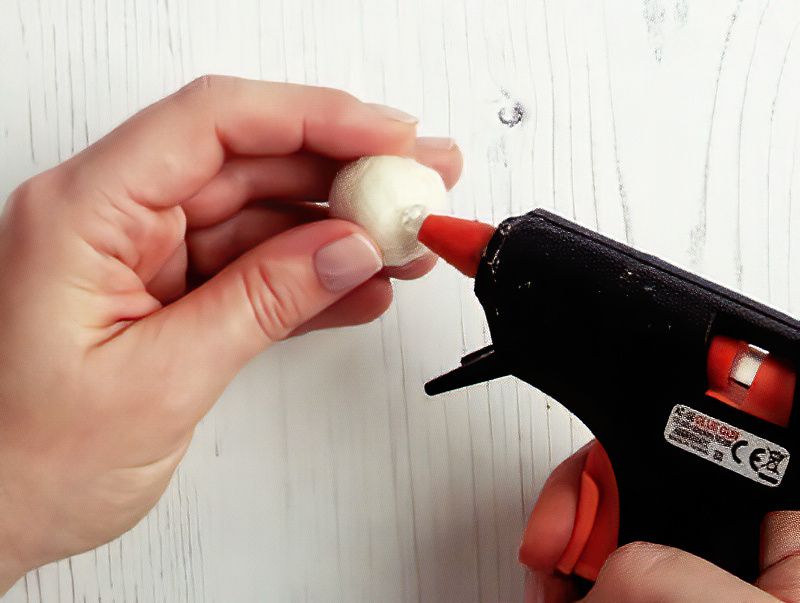
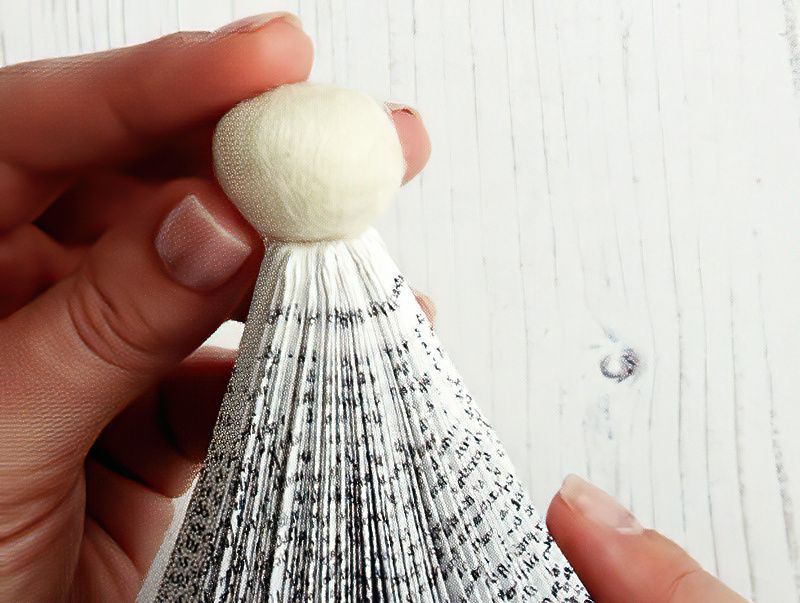
Using a hot-glue gun, apply a small amount of hot glue to your felt pompom.
Place The Pompom Onto Our Folded Book Angels
Step Ten
Attach the pompom to the top of the book angel and hold it in place for a few seconds to ensure it adheres securely.
Now We Can Add Wings To Our Folded Book Angels
Step Eleven
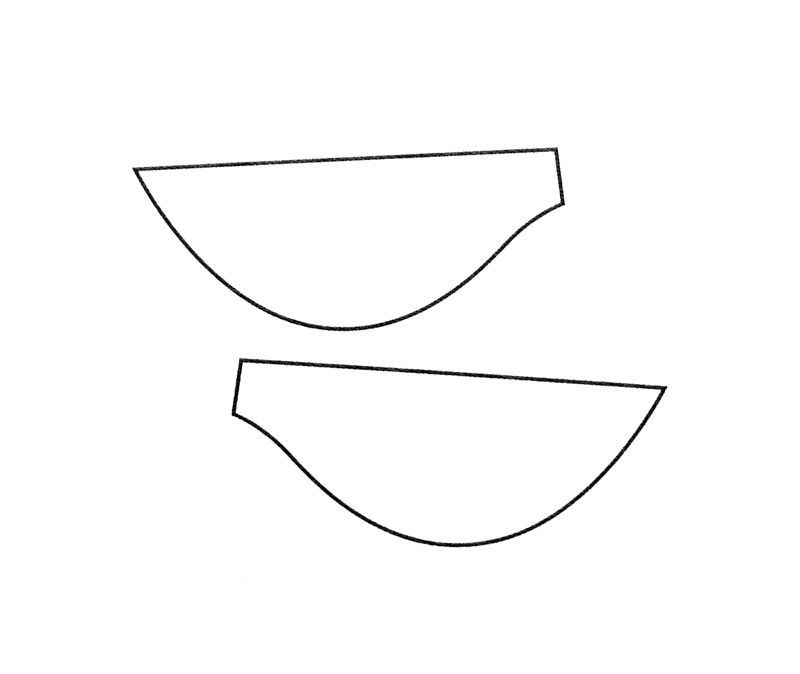
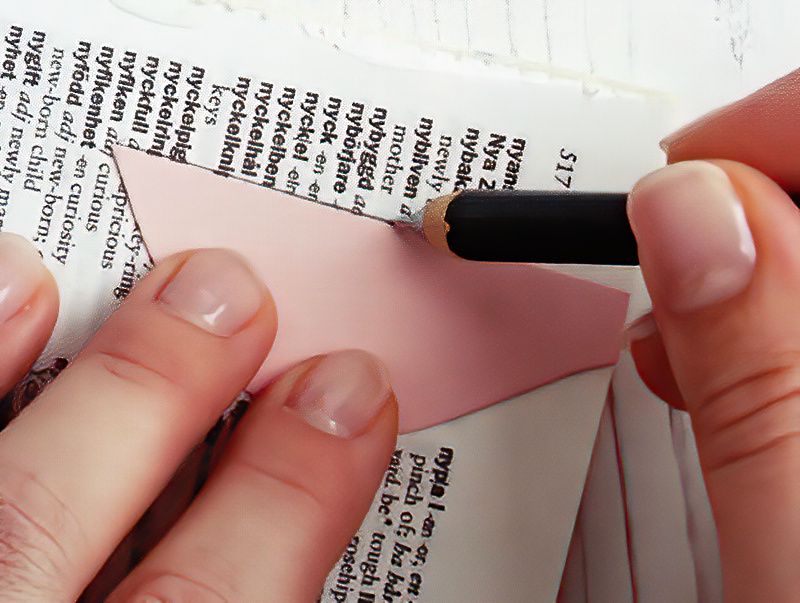
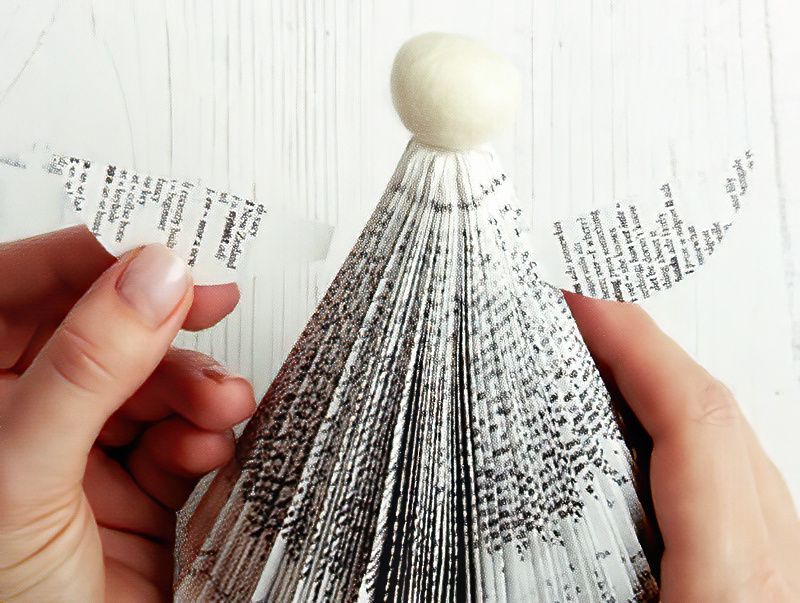
Trace the wing templates from page 101 onto thin cardstock. Then, draw around them on two of the remaining pages of your old book and cut them out. If the book pages are very thin, create two pairs of wings and stick them together to make them sturdier.
Attach The Wings To Our Folded Book Angels
Step Twelve
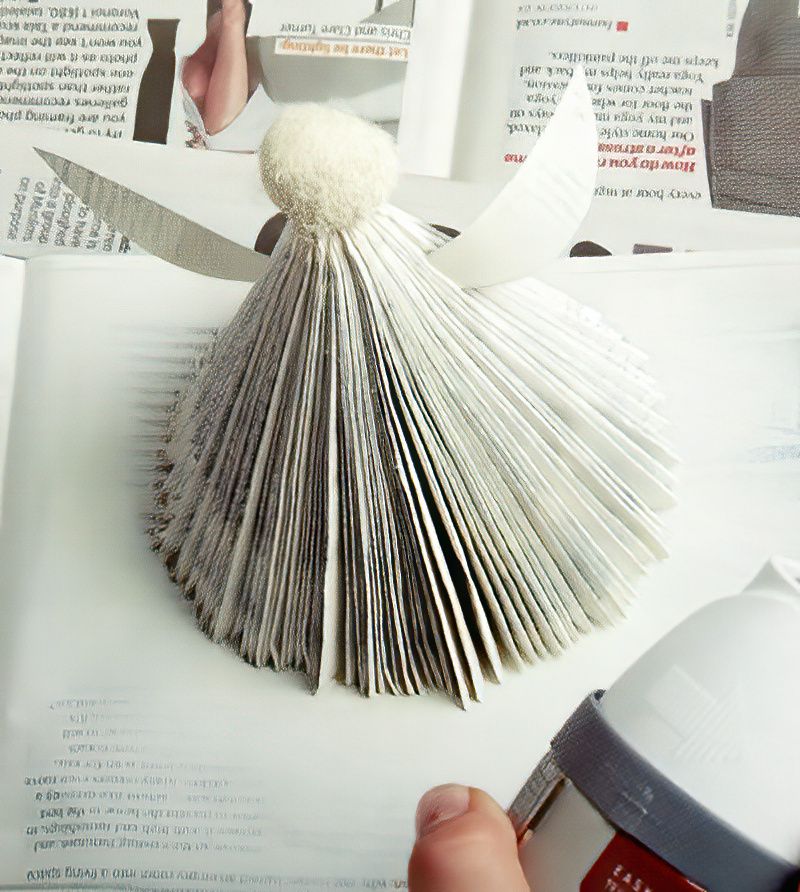
Use glue to attach the wings to your angel, slipping them between the pages to provide support.
Now We Can Finally Paint Our Folded Book Angels
Step Thirteen
Place your angel on protective newspaper in a well-ventilated area. Following the manufacturer's instructions, shake the can of white spray paint and apply thin coats of paint from approximately 30cm (12 inches) away.
Allow each coat to dry thoroughly before applying the next. Once completely dry, display your angel on a table, tray, or window ledge.
Completed Folded Book Angels Tip
For added depth and interest, consider leaving some of the book visible. However, you can choose to paint your angel entirely if desired.
Enjoy your beautifully crafted folded-book angels, adding a touch of creativity and elegance to your decor while repurposing old books in a unique way.















.jpg)
