How To Make Mini Paper Bunting
Everyone adores bunting! It has the power to instantly transform any space, bringing cheer to parties, romance to weddings, and a touch of magic to Christmas. Crafting this mini paper bunting is a breeze, although it does require some cutting.
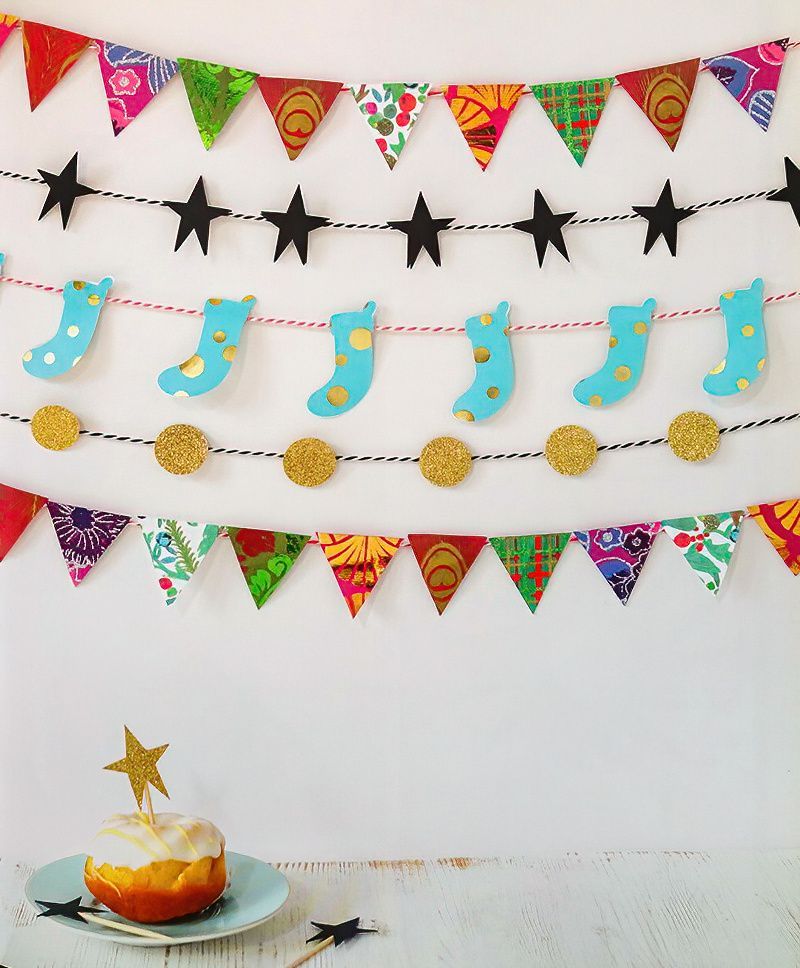
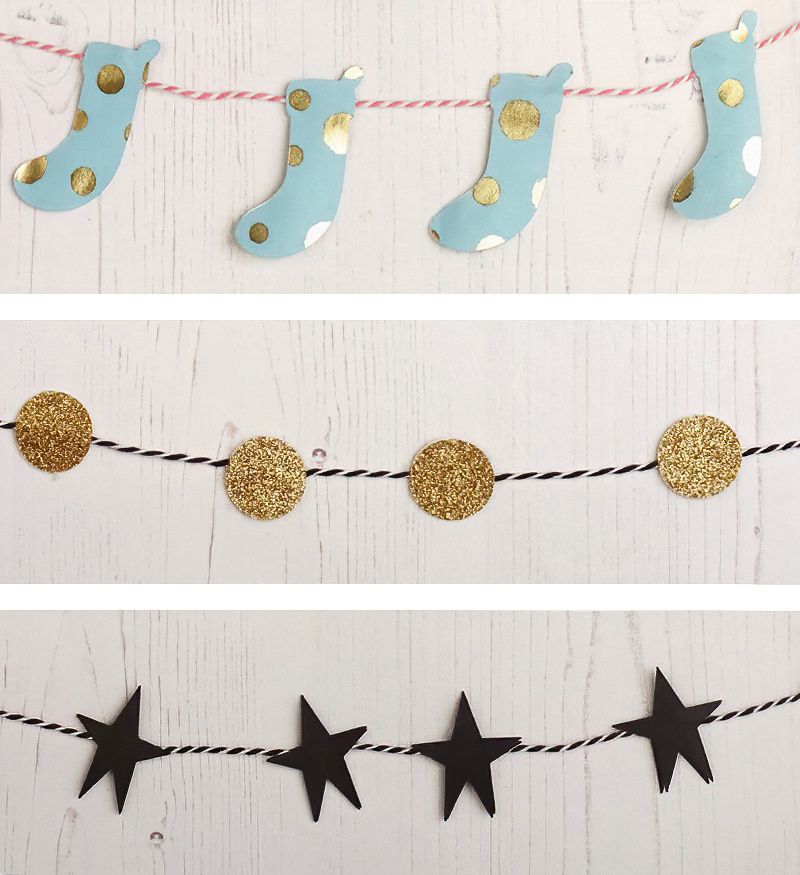
The beauty of it lies in the flexibility to make it as long or short as you desire. In addition to the traditional pennant design, we offer templates for stockings, stars, and circles to add variety to your decor.
Thing we need to make mini paper bunting
- Paper or thin card in six different patterns or colours
- Tracing paper and pencil
- Thin card for templates
- Scissors
- PVA glue and paintbrush, or hot-glue gun
- Baker's twine or thin ribbon
Start Our Mini Paper Bunting Project With Some Templates
Step One
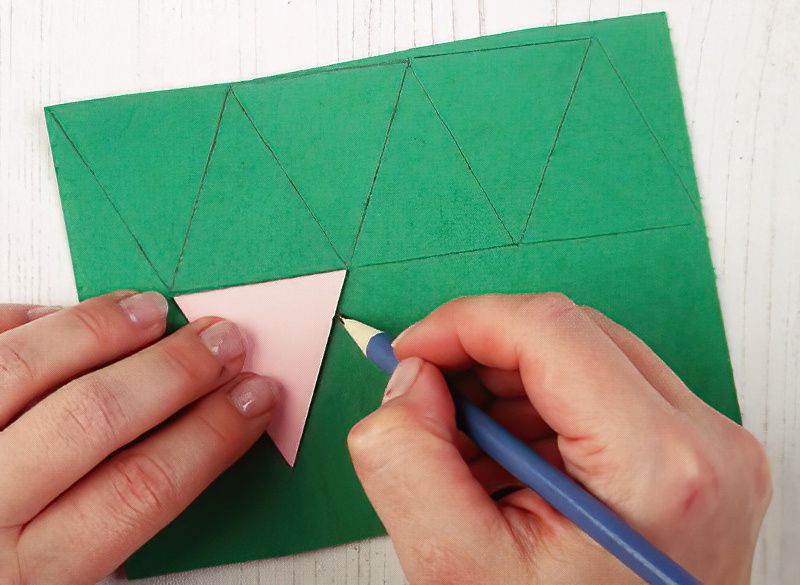
Begin by resizing and printing the templates above. Tracing the pennant template and transfer it onto thin cardboard. Place the template on the back of your chosen patterned paper and use a pencil to sketch out several pennant shapes. The paper shown here is the reverse side of a sheet of green, red, and gold tartan paper.
Start Making The Pieces For Our Mini Paper Bunting
Step Two
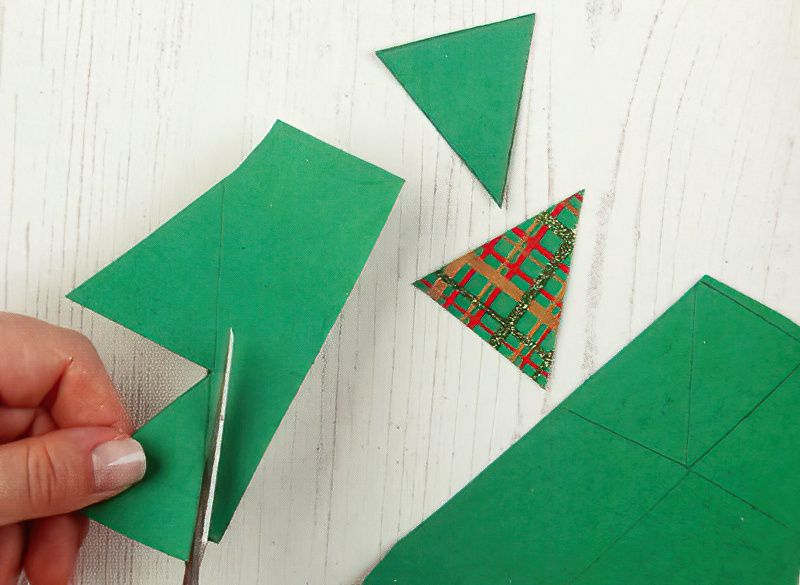
Carefully cut out each individual pennant using small, sharp craft scissors. Repeat steps 1 and 2 for all the pieces of patterned paper you wish to use for your bunting. The number of pennants you'll need depends on the length you want to create. Approximately 25 pennants will yield around 1 meter (39 1/4 inches) of bunting, not including extra twine.
Layout Your Mini Paper Bunting In A Nice Design
Step Three
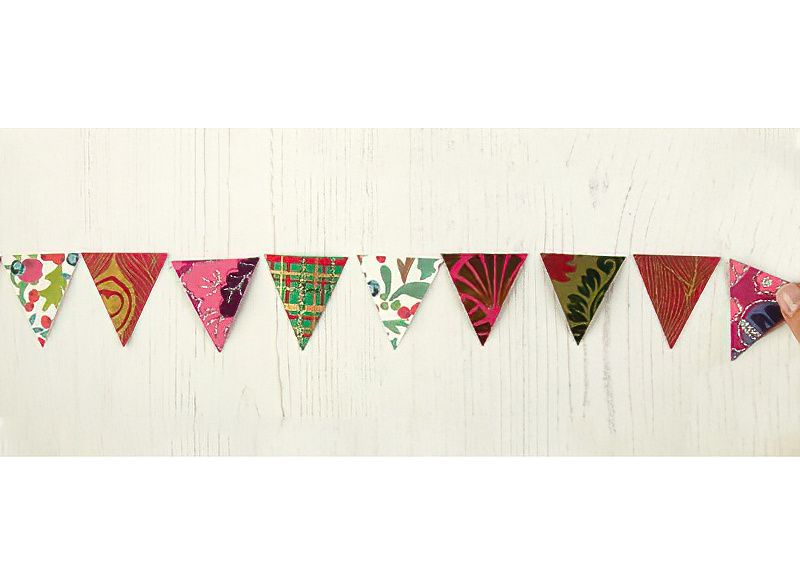
Arrange your pennants in an order that appeals to you.
Glue Your Paper Bunting Together
Step Four
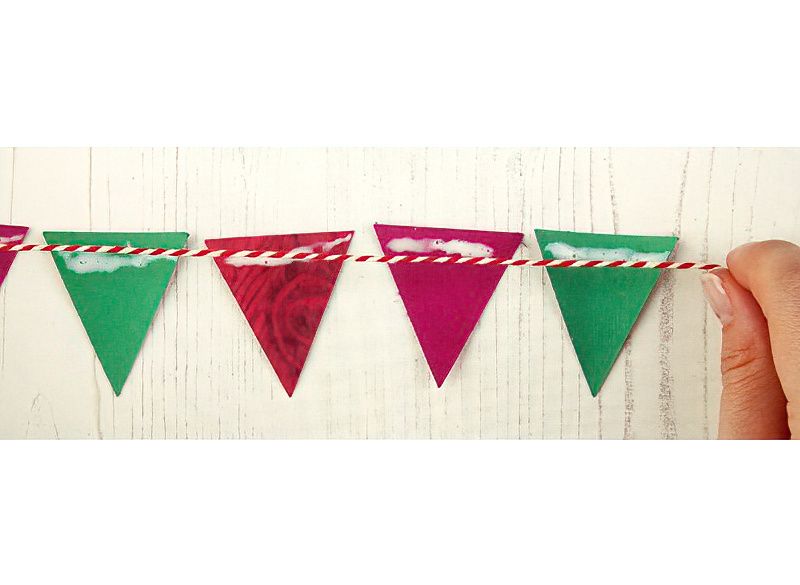
Apply a small amount of PVA glue near the top of each pennant. Carefully place your twine over the glue, ensuring you leave some extra twine at each end for hanging your bunting later. Once the pennants are completely dry, trim off any excess twine.
Congratulations you have the basic idea of how to make mini paper bunting.
The Conclusion Of The Mini Paper Bunting Project
Paper Bunting Tip
If your bunting will be displayed against a wall, leaving it single-sided is perfectly fine. However, if it will be viewed from both sides, simply glue another pennant to the back to sandwich the twine.
Additional Mini Bunting Ideas
Stocking Bunting
For a playful and festive touch, we used cheerful blue-spotted wrapping paper paired with pink twine.
Gold Circles
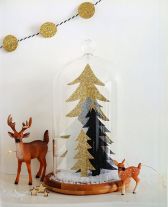
Elevate your bunting with glittered card for added sparkle without the mess of loose glitter. Black and white twine lends a contemporary feel.
Black Stars
These versatile black stars can adorn your space year-round, exuding a modern and stylish vibe. They can also be made in gold, with glitter, or in festive colors.
To Complete Your Bunting:
Cake Decorations
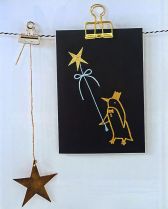
Use the star template to create charming cake picks. Simply attach them to cocktail sticks with glue and use them to decorate your cakes.









.jpg)

