Baby Bunting Makes a Party Look Extra Special
Decorating for a baby party is really fun and frankly a good excuse to make loads of little personal crafty bits and pieces. Not that I need an excuse.
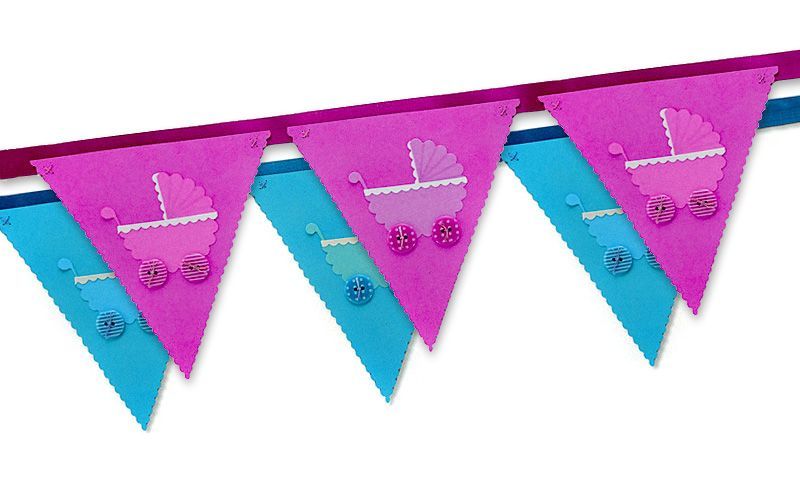
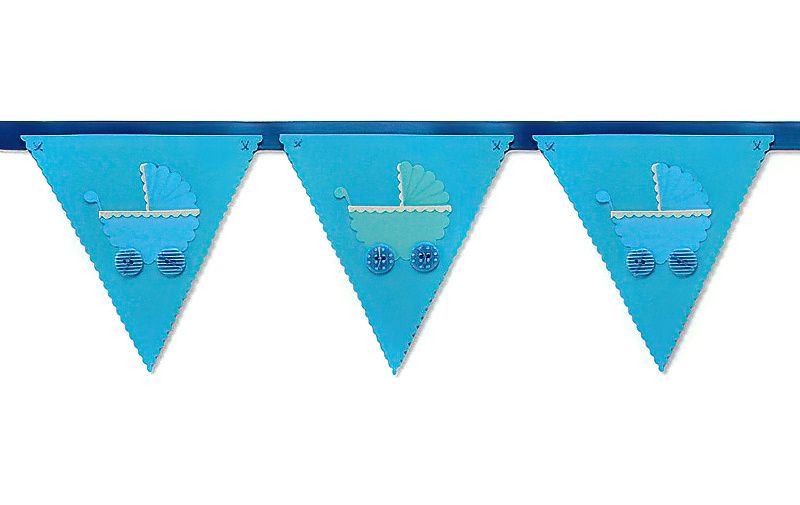
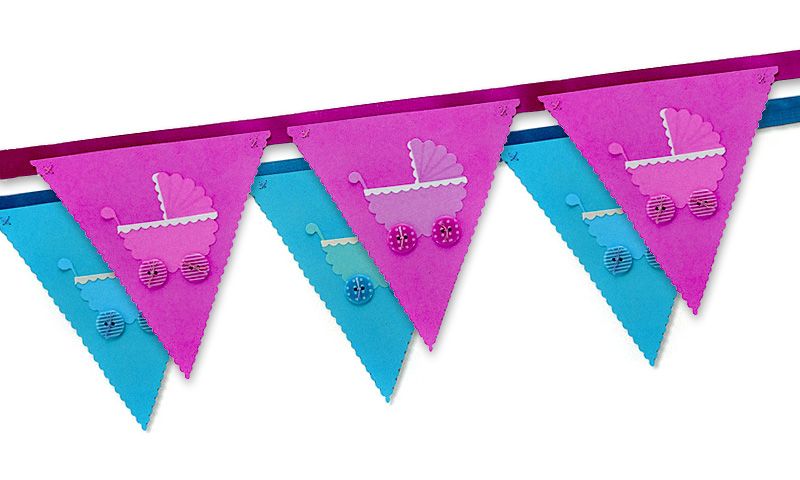
But here we are going to make some beautiful baby bunting and adding the sewn details just makes it that extra bit special. This bunting looks fancy, but really is very simple, once you have a few of the right tools.
And this might be one of those crafting moments where having the right tools really does speed everything up. But then again, get some friends who are chatty types with some sharp pairs of scissors and you have yourself a fun afternoon and a load of bunting.
Stuff You Might Need for Baby Bunting
- Basic crafting tools
- Blue or pink card, 30.5cms square and 12 inches square
- Paper and design, shades of blue or pink and cream, 10cm square for each colour
- Patterned buttons
- Scallop edged scissors
- Die cut machine and scalloped circle, 6cms diameter or 2 and three eighths inches
- Needle and blue or pink thread
- Light blue or pink pen
- Strong glue
How To Make baby Bunting
Step One
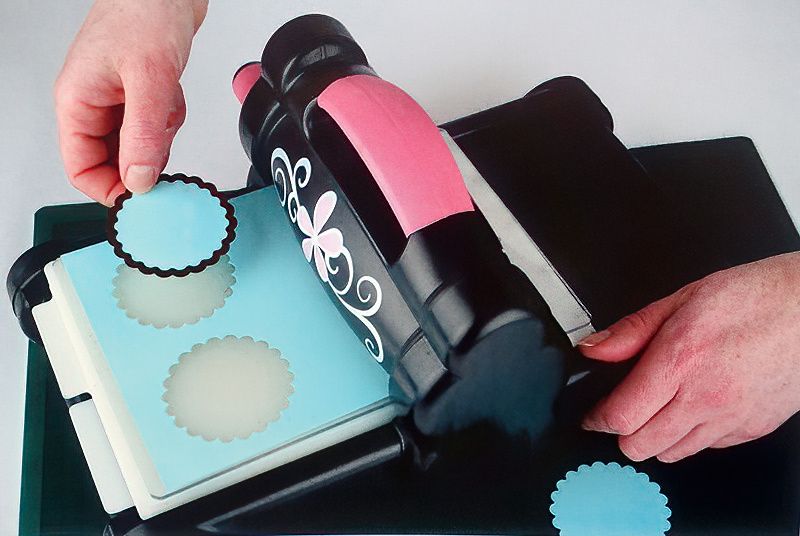
Ok, so we are going to use a die cutting machine. Yes they are expensive, but if you are into crafting, they are actually good value for money. Meaning they are expensive, but you get a lot of use out of them.
I have loads of things that were expensive and frankly are useless.
BUT, you can use your scalloped scissors to cut circles for this stage. Or delegate it to a child. That's what they're for, right!
Making Paper Carriages For Our Baby Bunting
Step Two
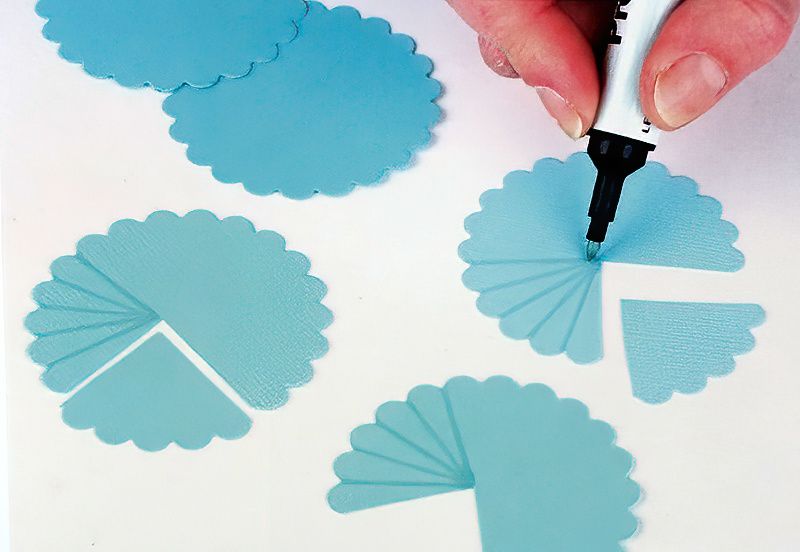
Now we have a load of scalloped circles, take one and cut a quarter segment out from it. Keep these segments we cut out, we can use them in a bit.
The remaining circle piece will become the baby carriage of our baby bunting. Use the felt tip pen to draw lines on the quarter segment adjacent to the missing piece. Draw lines from the centre to the outside, meeting the edge between the scallop bumps.
Add Baby Carriage Details
Step Three
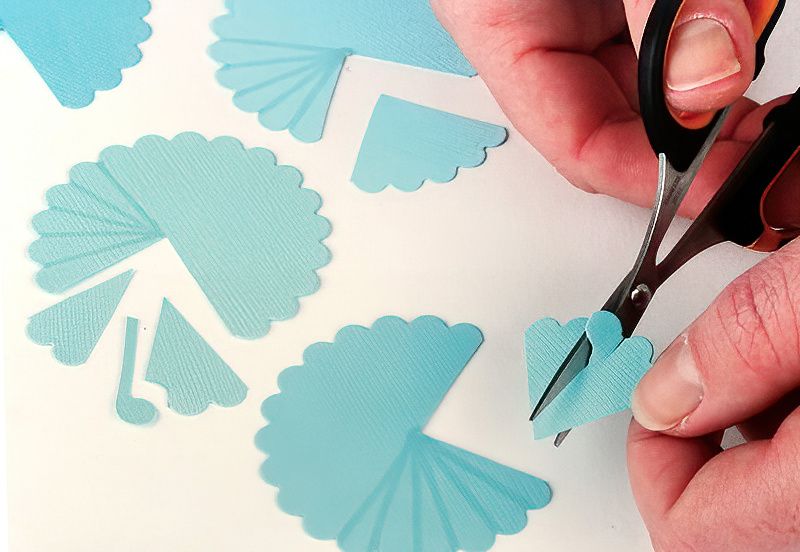
Now find that quarter segment we cut out of the scalloped circle. With some small scissors cut a handle for the baby carriage. Use one of the rounded scallop edges as a curved handlebar. See the above image on the left.
Continue Decorating The Details For Our Baby Bunting
Step Four
Glue the handle to the back of the baby carriage in the correct position, as pictured above.
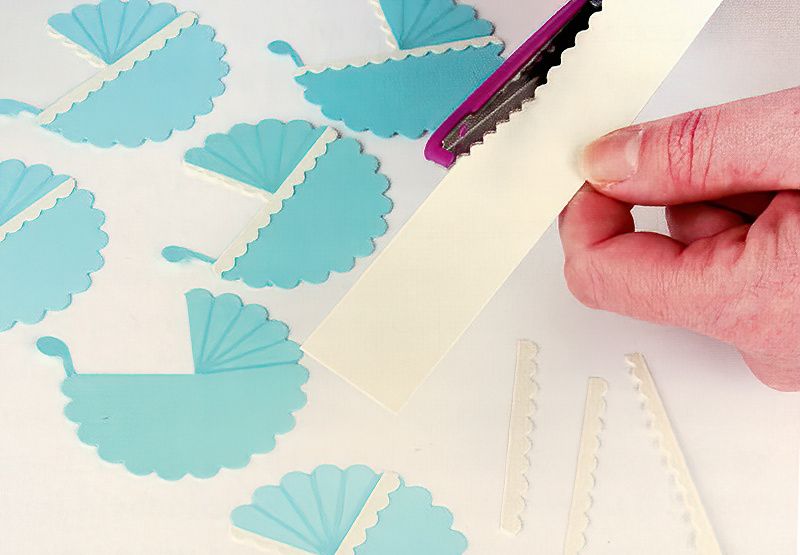
Take the cream paper and use the scalloped edged scissors to cut strips with scallops on one side. Cut a length to fit behind the carriage hood, with the scallops showing. And then a length to fit across the carriage rim.
Glue the hood trim behind the carriage shape. Then glue the carriage trim on top of the carriage. Our baby bunting is coming along nicely.
Finish Decorating The Details Of The Baby Flags For The Bunting
Step Five
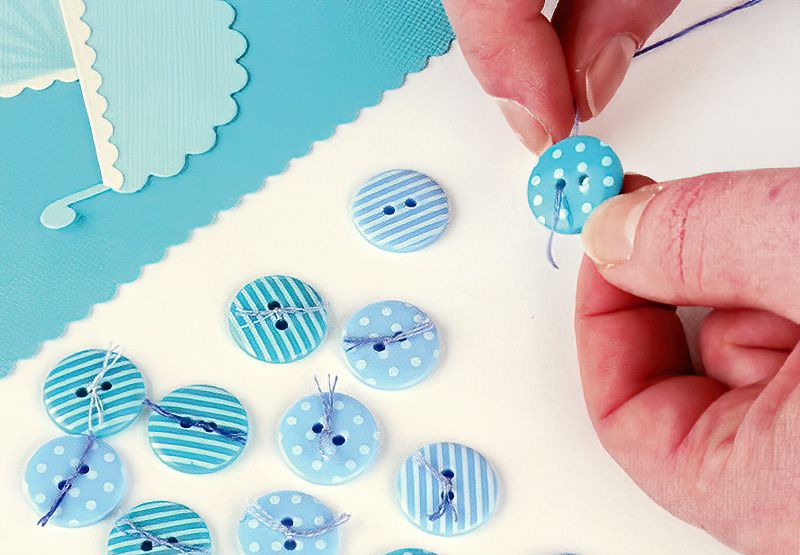
Thread the patterned buttons with matching coloured threads. Tie a knot and cut the ends so the threads don't unravel.
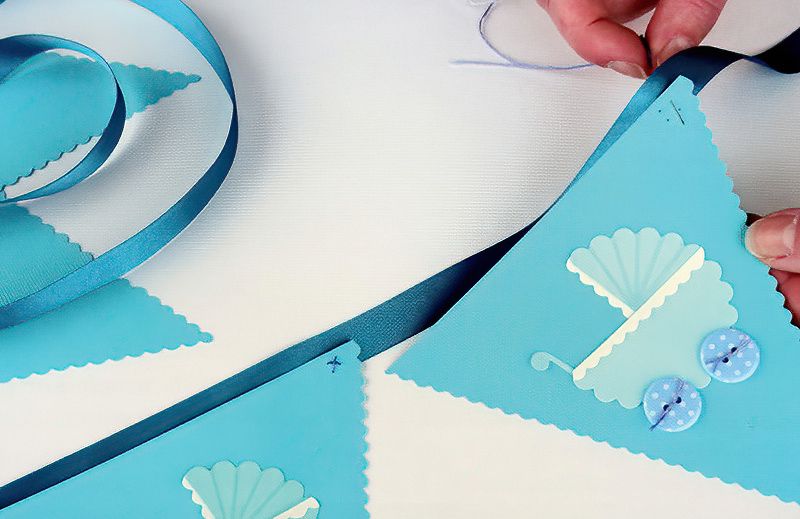
Glue the baby pram carriage to a triangle shape with scalloped edges. Use strong glue or a hot glue gun to attach the buttons to the baby bunting as the carriage wheels.
Final Assembly Of The Bunting
Step Six
Thread a needle with the correct colored thread. Use the needle to prick four holes in the top corners of the triangle bunting cards. Then stitch the corners of the cards to some thick ribbon. Tie knots in the back of the threads so they don't come undone.
You could use a sewing machine for this part, but maybe practice on a scrap first. Now you just have to keep going making baby bunting until you feel you have enough. And that's it.
Making baby bunting is a really lovely project, maybe one where you can get a few friends and family involved and make an occasion of it. Give it a go. Change it up to suit your needs and let me know how you get on.

