If You Are Making Jam, May As Well Make Some Homemade Jam Pot Covers
This is a really simple tutorial on how to make jam pot covers. I used to love watching my Mum and Nan make jam when I was a child. It turns out that as an adult, I am not good at the jam making part, it usually goes solid. So I leave that bit to my Mum and I make the jam pot covers for her.
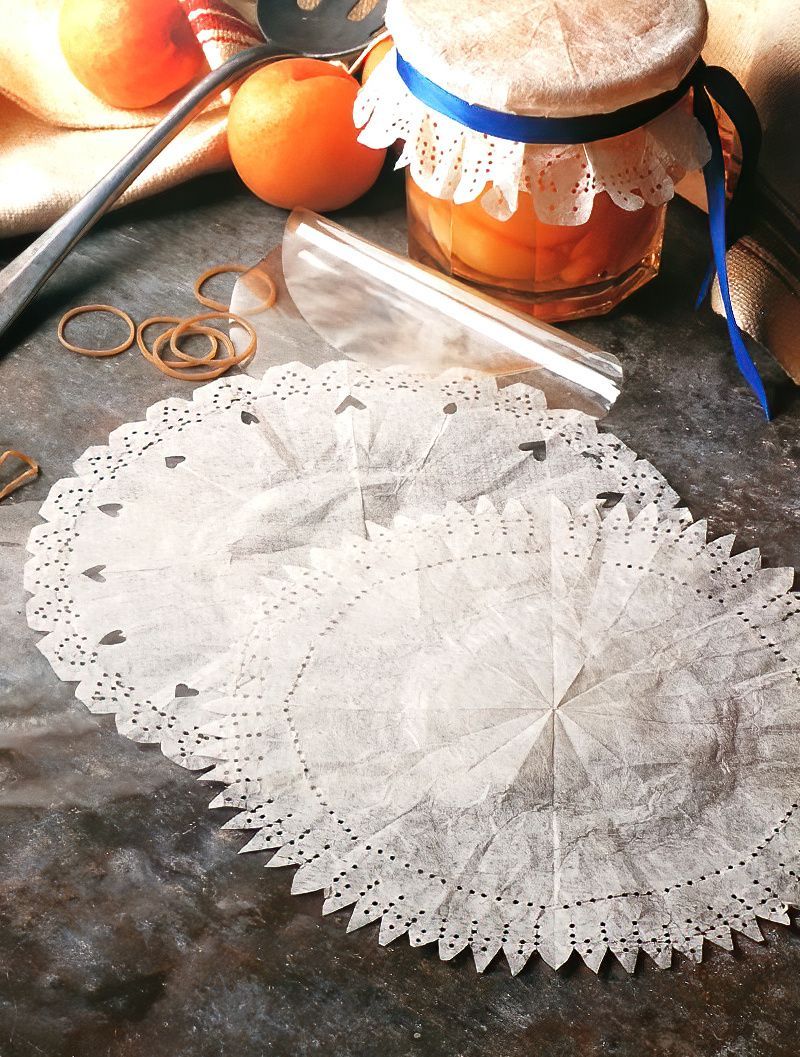
I find that these simple covers really add a little decorative touch to the jam jars. These ones are made using handmade paper, but you can use fabric if you wish. Also with these, you can cut any design into them.
Things You Will Need To Make Homemade Jam Pot Covers
Materials
Equipment
- Small Sharp Scissors
- Larger Scissors
- Jam Jars
- Pencil
- Cutting Mat
- Small Hole Punch
- Small Hammer
Cutting Paper Homemade Jam Pot Covers
Step 1
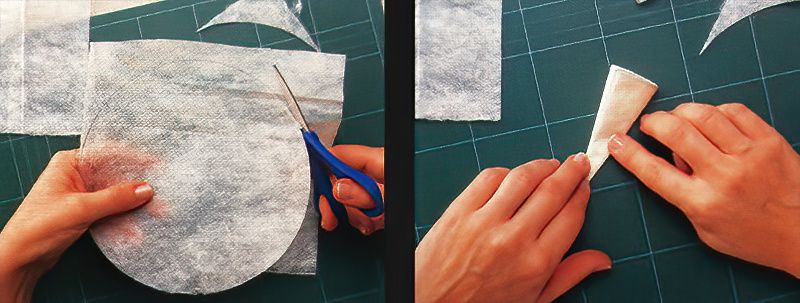
Start by cutting out some circles of handmade paper that are roughly twice the diameter size f the jam jar lids.
Step 2
Then fold each of the circles in half four times. Make sure that you match the edges up perfectly as you are folding them.
Making Paper Heart Shapes
Step 3
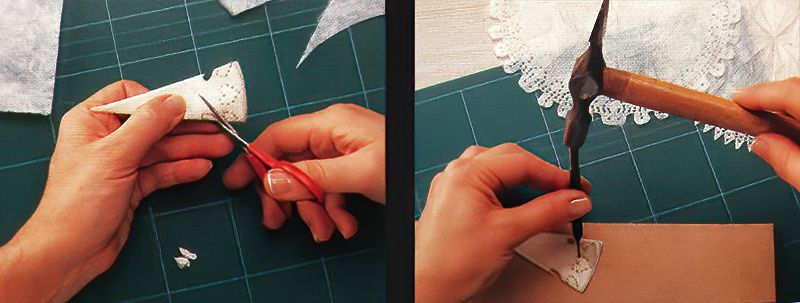
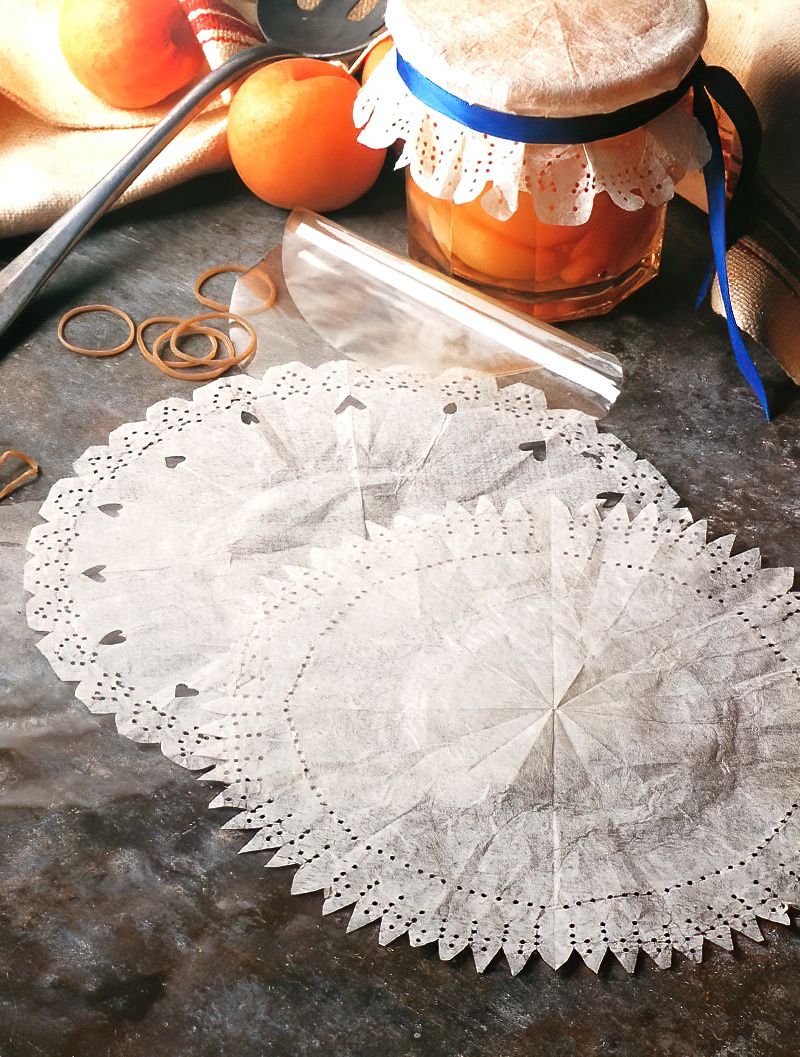
Next, lightly draw some heart shapes with a pencil around the edges, and very carefully cut them out using the small sharp pair of scissors. Then mark out some dotted heart shapes, one in the middle and two on either side of the folded edges of the paper.
Step 4
Then place the folded paper circles onto either a cutting mat or a scrap piece of wood. Then use the small hole punch and hammer to create the dotted holes.
Adding A Decorative Edge To A Paper Homemade Jam Pot Cover
Step 5
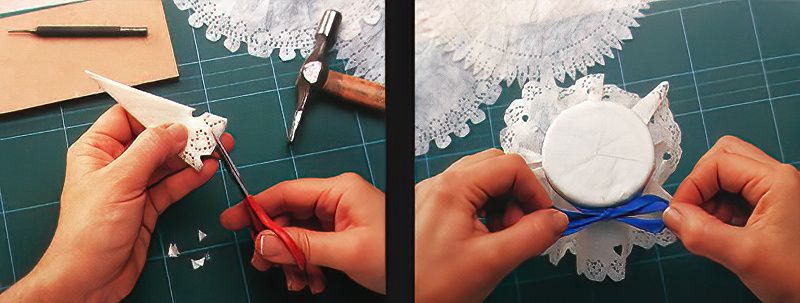
Next, use the small sharp scissors to cut a scalloped edge to the paper jam pot covers. Do this by snipping out triangular shapes in between the hearts.
Step 6
Finally, unfold and flatten the homemade jam pot covers. Then place over some jam jars and secure it with a pretty ribbon, and tie a bow to finish it off.

