I Love This Paper Cut Lampshade Project
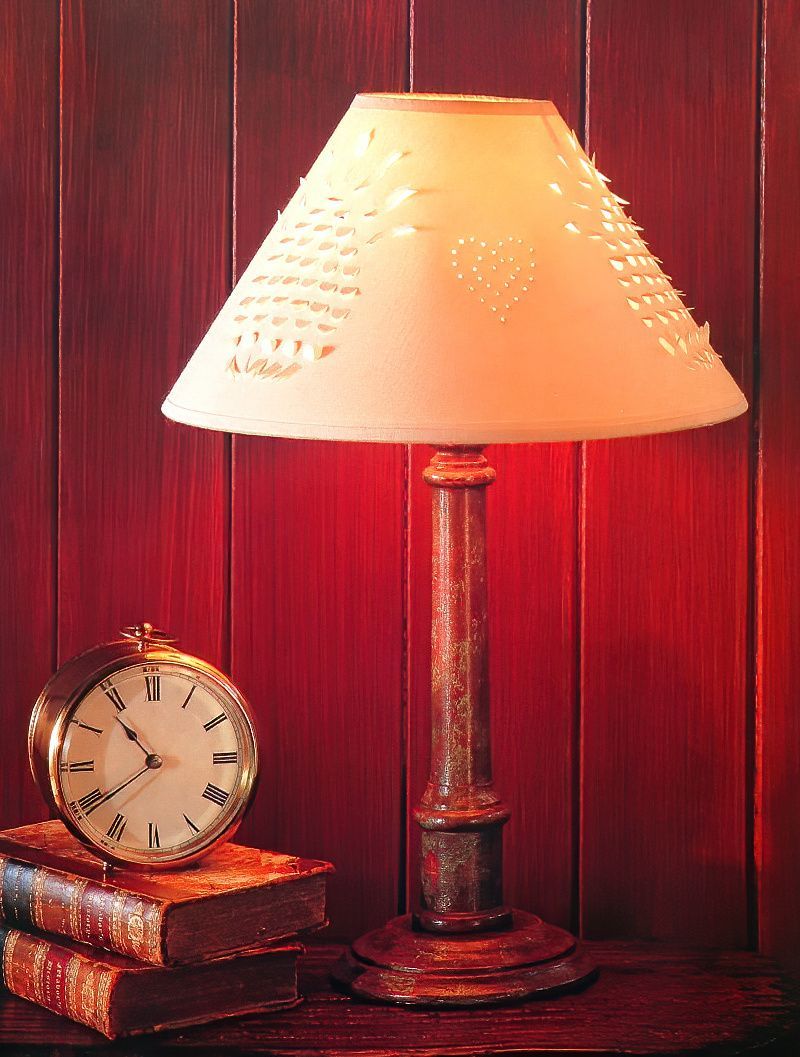
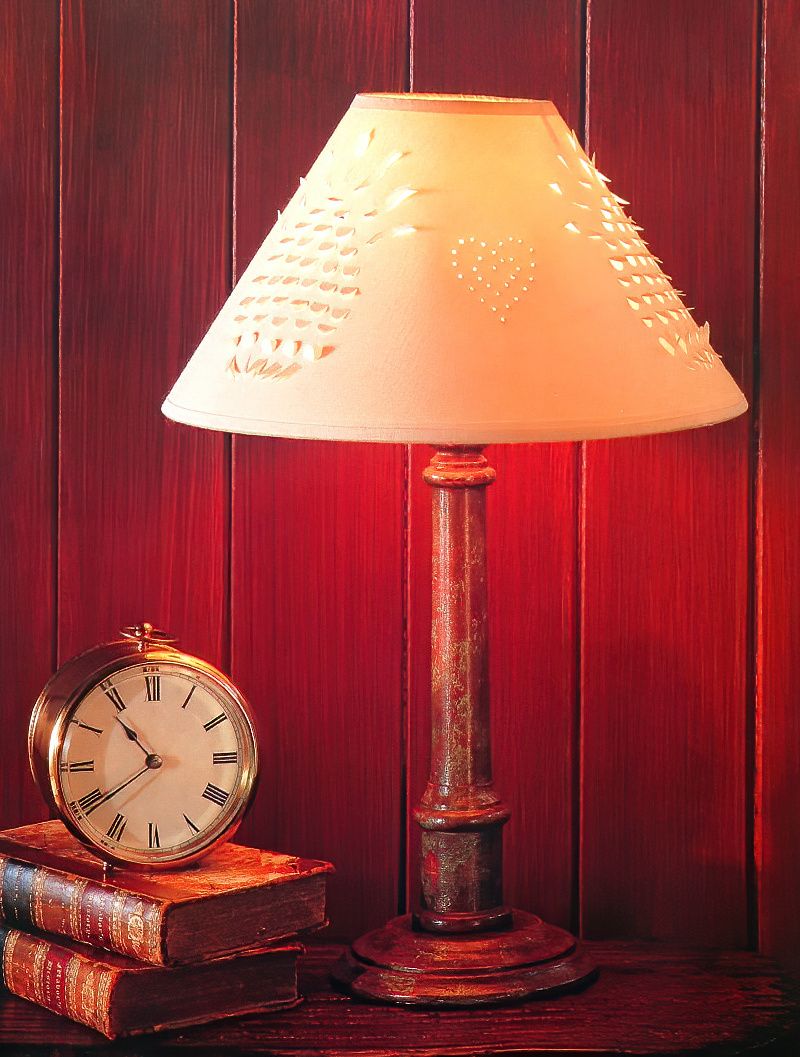
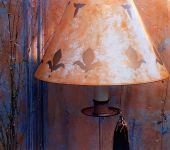
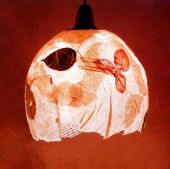
This paper cut lampshade project is a really inexpensive way to personalise a lamp for your home. It uses a ready made paper lampshade, that you will cut and pierce to make your own unique design. You can choose any design that you wish to make yours. And they look great in any room.
I would like to make some for my kids bedrooms next. The cutting is a little bit fiddly for kids, but get them involved with the ideas and drawings.
Things You Need To Make A Paper Cut Lampshade
Materials
- Stiff Paper Lampshade
- Low Tack Masking Tape
Equipment
- Tracing Paper
- Pencil
- Hat Pin
- Craft Knife
- Sharp Pointed Thick Needle
Making A Template For A Paper Cut Lampshade
Step 1
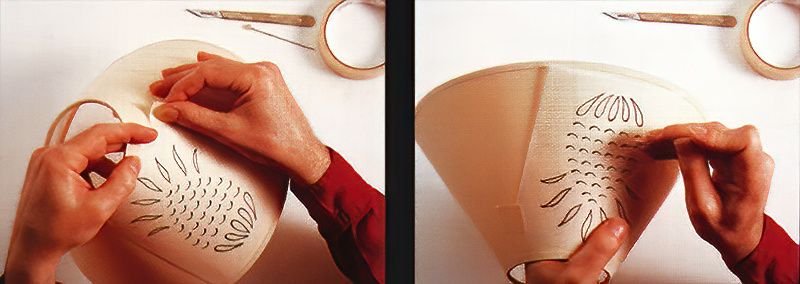
First you need to choose a design for your lampshade and print off or photocopy a template. Then use a pencil and tracing paper to trace your chosen design. Stick the tracing to the lampshade using the low tack masking tape to hold your design tightly in place.
Step 2
Then you need to prick out the design using a hat pin to mark the edges of the shapes.
Paper Cutting Shapes Onto A Lampshade
Step 3
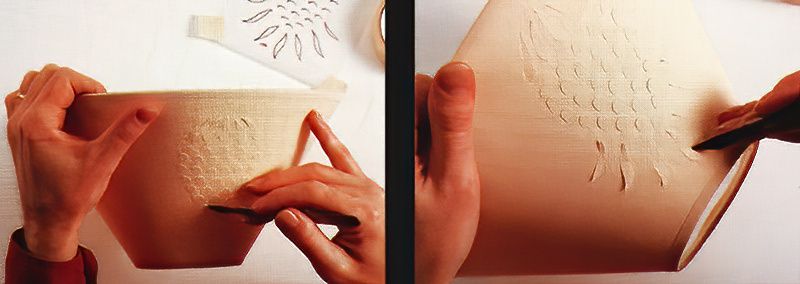
Now, cut any scallop shapes using the pin prick guides that you just made. Do this by inserting the craft knife at one of the pin pricks and creating an arc to the next pin prick. Be careful to hold the lampshade firmly with your other hand, keeping your fingers away from the blade of the knife.
Step 4
For any leaf like shapes, cut each end, but remember to leave a bridge in the middle.
Finishing Your Paper Cut Lampshade
Step 5
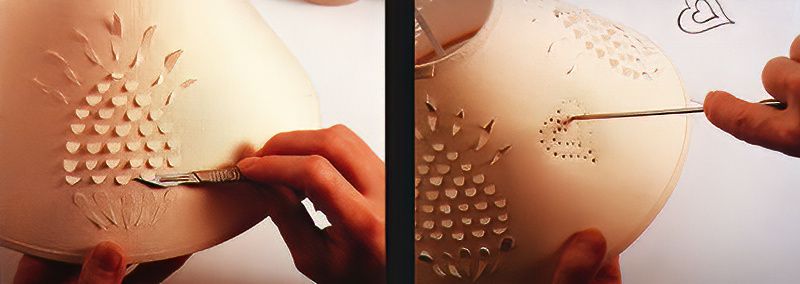
Next, use the blunt edge of the craft knife to ease away the edges of the shape to make them stand out from the background. Carefully lift them forward at a 45 degree angle. This should allow them to settle at around a 30 degree angle.
Step 6
Repeat this process and design equally around the lampshade. Then for any pierced designs in between, use the thick needle to do this. Now you have a beautiful paper cut lampshade.

