Make A Colourful Papier Mache Bowl
I loved using balloons to make papier mache bowls as a kid. I remember making so many that no one knew what to do with them all. I make them with my kids now and they love it as well. Here is a really fun tutorial on how to make a papier mache bowl.
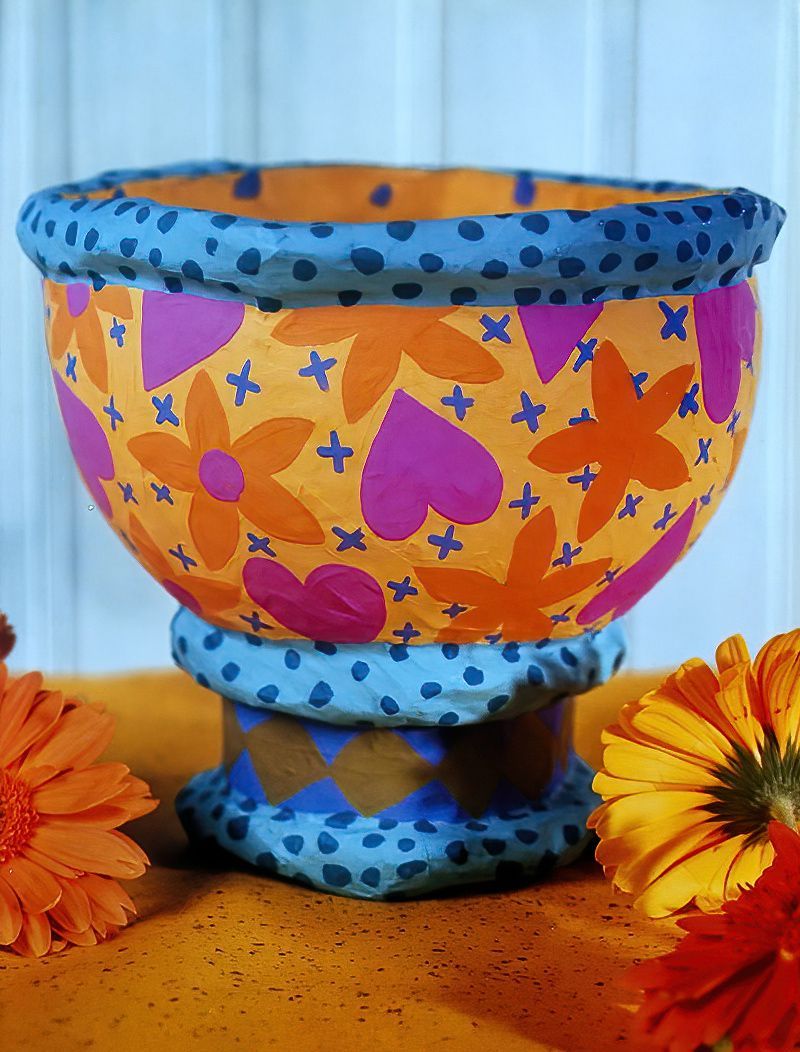
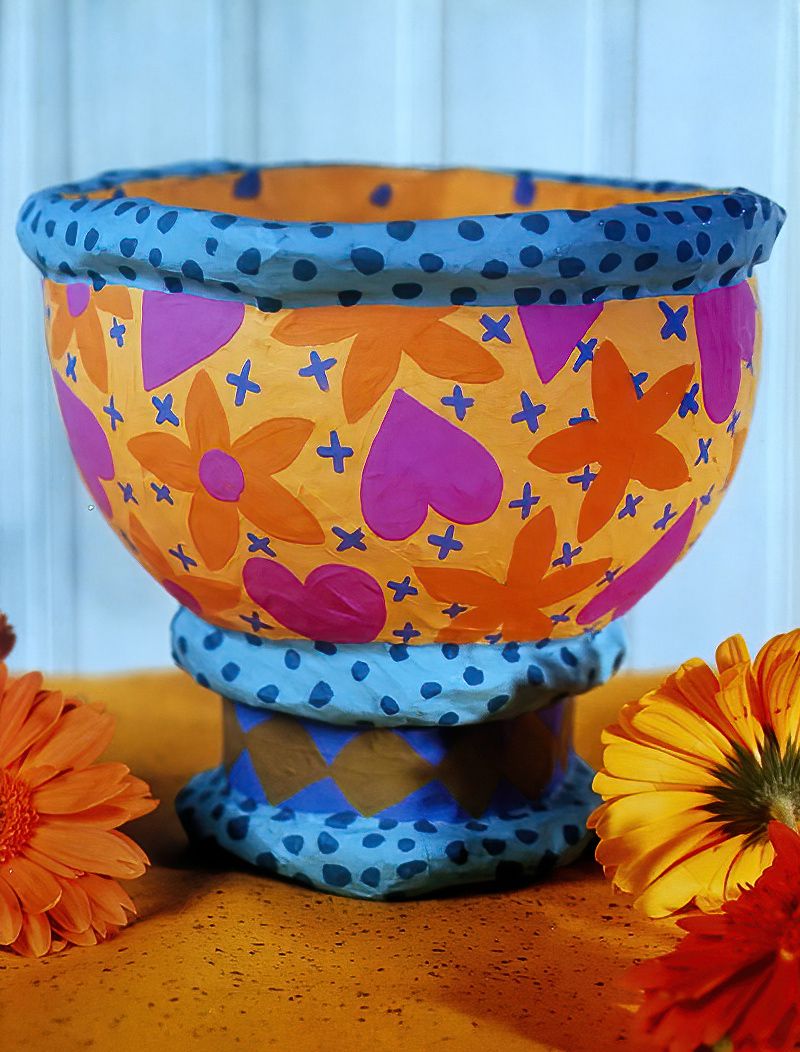
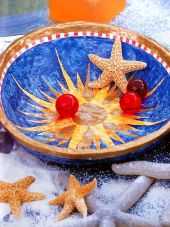
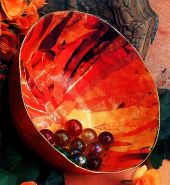
All you need are some simple craft materials and some basic equipment. You can paint your bowl in any colours and any design that you wish. I have kept mine quite colourful and painted on some basic shapes. These bowls are great to use for sweets, craft supplies, anything you like really.
Craft Materials & Equipment
Balloon
Newspaper
Wallpaper Paste
Stiff Cardboard
Masking Tape
White Emulsion Paint
Acrylic Paints
Acrylic Spray Varnish
Container for Wallpaper Paste
Scissors
Pencil
Ruler
Fine Grade Sandpaper
Small Decorators Paint Brush
Medium and Fine Artists Paint Brushes
Container for Paint Mixing
Using A Balloon To Make A Papier Mache Bowl
1st Stage
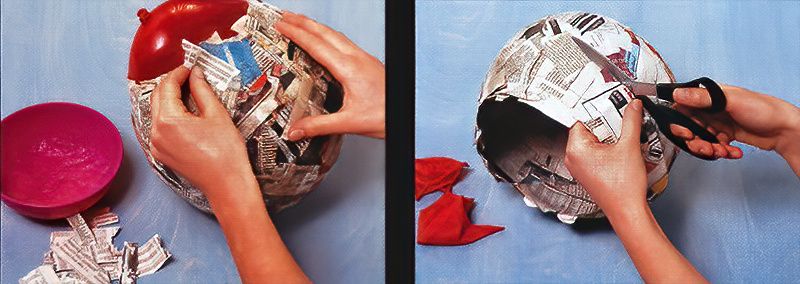
To start making your papier mache bowl, blow up the balloon fully to create a firm base for the papier mache. Then tear the newspaper into 2.5cm wide strips and soak them in the wallpaper paste. You will need to cover the balloon in five layers of papier mache. Make sure that you leave the area around the knot of the balloon bare. Leave it to dry thoroughly.
2nd Stage
Once dry, use the scissors to burst the balloon, and remove it from the papier mache shell. Then trim the papier mache bowl to your desired height.
Making A Base For A Papier Mache Bowl
3rd Stage
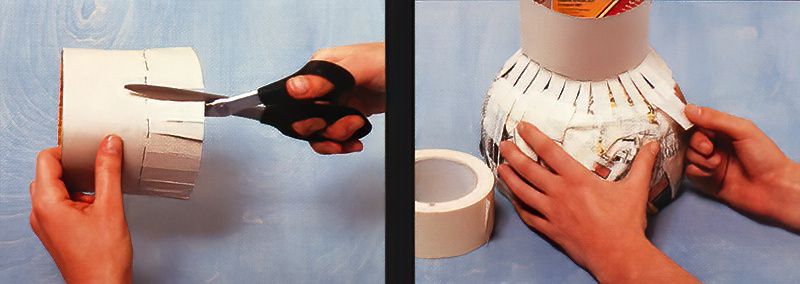
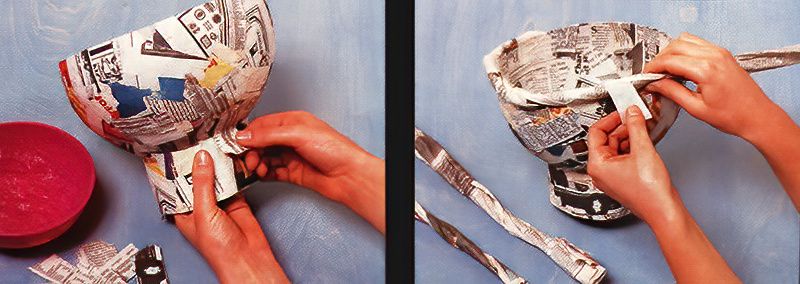
Next, cut out a strip of cardboard measuring roughly 13cm wide and mark a line 5cm from one edge. Then bend the strip into a ring shape, and secure it in place with masking tape. Then cut 2cm tabs all of the way around up to the line that you marked.
4th Stage
Now, stand the papier mache bowl upright and centre the cardboard ring over it, bending the tabs outwards as you go. Then use the masking tape to stick around the tabs, attaching the foot of the bowl to the papier mache.
Adding Details To A Papier Mache Bowl
5th Stage
Next, cover the bowl and the foot of the bowl in two to three layers of papier mache and leave to completely dry. Then roll up some sheets of newspaper and tightly twist them to make ropes long enough to go around the rim and foot of the papier mache bowl.
6th Stage
Then use the masking tape to secure the newspaper twists to the top and bottom of the bowl. Then again, cover with two to three layers of papier mache and leave to dry thoroughly.
Painting A Papier Mache Bowl
7th Stage
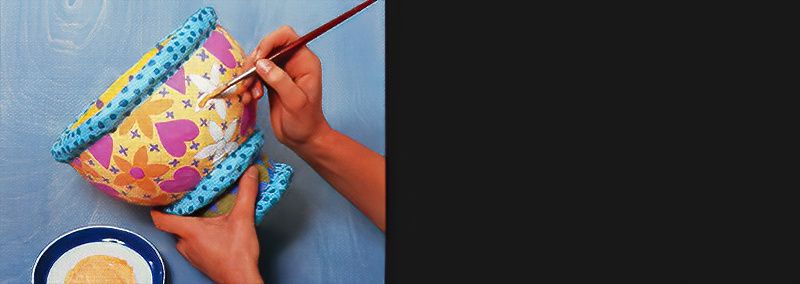
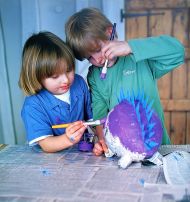
Use some fine grade sandpaper to lightly rub down the bowl. Then prime the inside and outside of the bowl with two coatings of white emulsion paint. Leave to dry thoroughly. Then decorate the inside and outside of the bowl using acrylic paints.
You can paint on any design that you wish. Then finally, finish it off with a coating of acrylic varnish. Once dry, your lovely decorative bowl will be ready to use. You can even add extra embellishments to your design if you wish to.



.jpg)



.jpg)
