Making Paper Punch Tags is an Essential Skill to Learn
Making gift tags is really fun and pretty much an essential part of being a crafty person. Often when I make gift tags I always make a load extra. This way I always have a little stock pile of handy gift tags in many design. Just for the right occasion.
It is nice to learn to make gift paper punch tags, because so often you simply cannot buy a gift tag that is anything more than a basic printed card. And yet the gift tag that we make are so amazingly beautiful. I'm sure everyone will notice who received one.
Things You Are Going To Need For Paper Punch Tags
- Basic papercraft tools
- Yellow paper, 10cm square or 4 inches square
- Card, yellow and orange, 13 x 7cms or 5 and one quarter x 2 and three quarter inches
- Pink and green coloured split pins, size 7mm or one quarter inch
- Orange ribbon
- Daisy punch
- Needle tool or similar
How To Make A Basic Gift Card
Step One
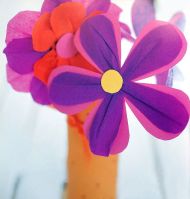
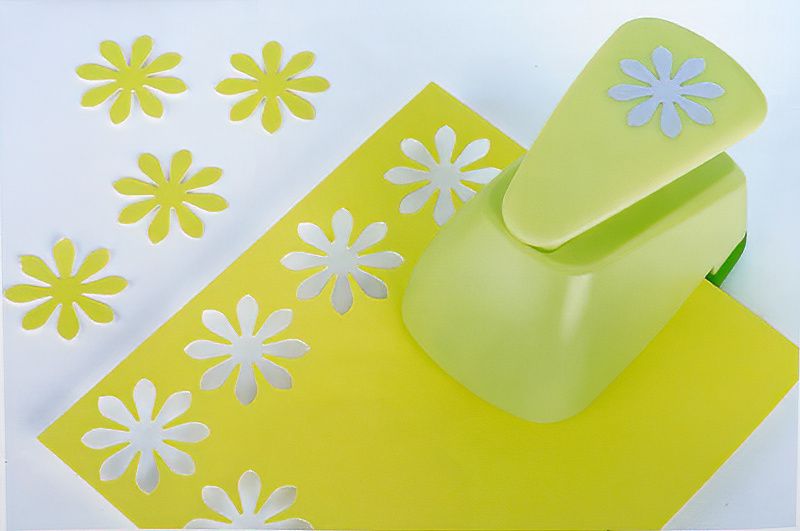
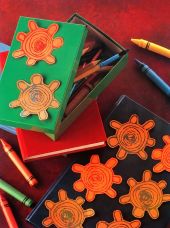
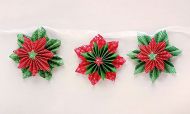
Insert the yellow paper into your flower punch and punch away. We want three flowers per tag, so punch out the appropriate number of yellow flowers. Remember, it really doesn't have to be flowers. So if you have a paper punch in a different design. Feel free to go to town using that one.
Tip
A paper punch can become dull after lots and lots of usage. You can actually sharpen them again, by punching through regular kitchen foil several times.
Start Assembling Our Basic Gift Tags
Step Two
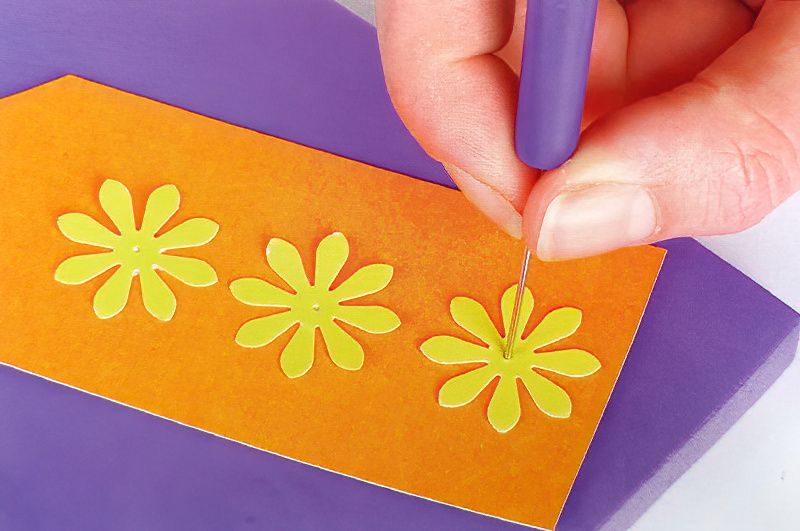
Make a simple tag shape with the orange card. Glue down the three paper punch flowers in a row on the tag shape. Press the needle tool through the centre of each flower shape making a small hole. If you don't have a needle tool you can make a small hole using something similar.
Tip — I always put some blue tac underneath when I make holes in card. This stop me pricking my finger or damaging the work surface I am working on. You don't have to use blue tac, but a good work mat with definitely help you avoid poking holes in your table.
Add Split Pin Details To Our Card
Step Three
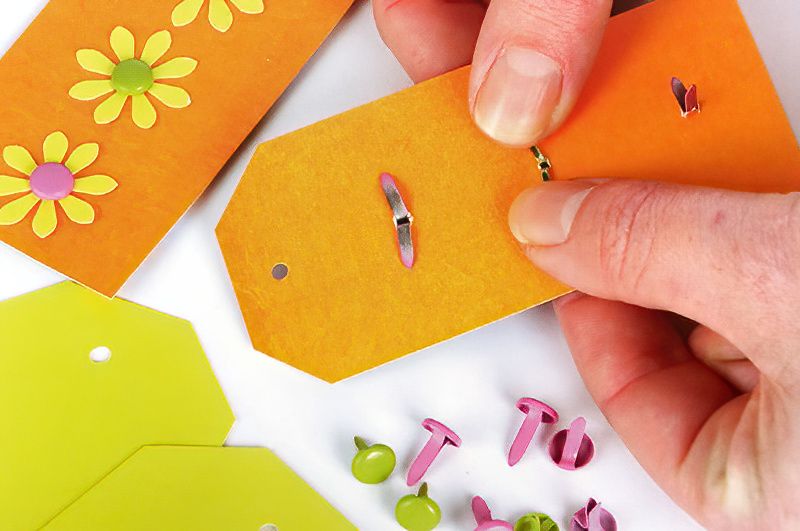
Once you have three little holes in the centre of the three paper punch flowers you can move to the next step. Poke the split pins through the holes to create the centre of the flowers and spread the prongs on the back to gold in place.
Once this is completed you can mount the orange card tag into the slightly larger yellow gift tag. Glue the orange tag to the yellow tag serve two purposed. One it hide the back of the split pins; and two makes your tag card thicker and stronger.
Gift Card Tutorial Conclusion
Step Four
Finally, make a hole in the end of the card with a hole punch or you can even just carefully cut a hole with a sharp craft knife.
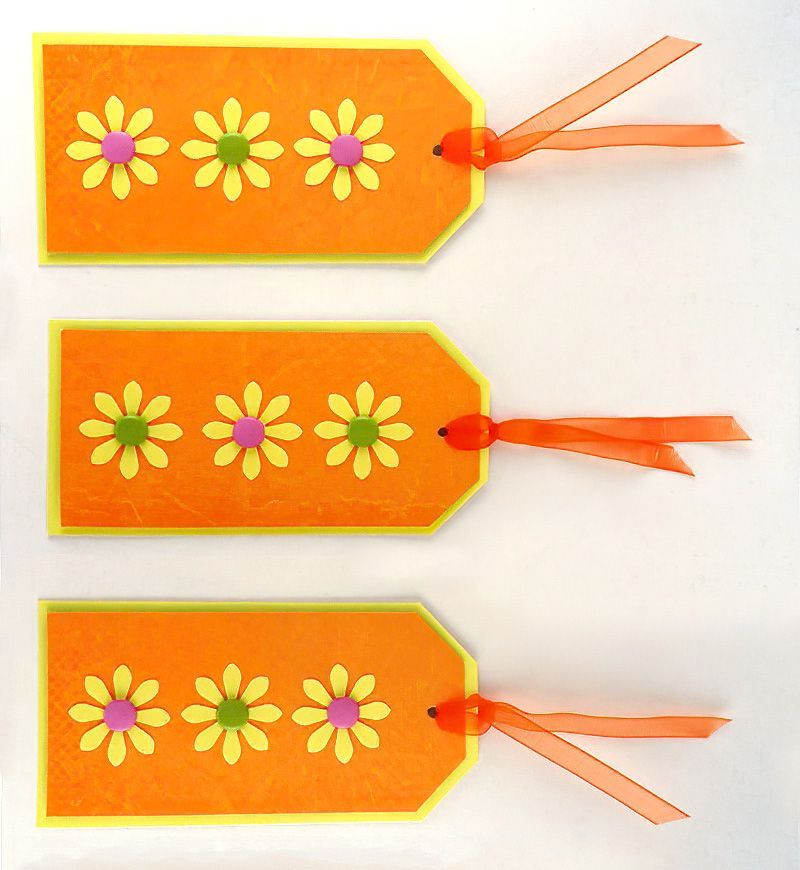
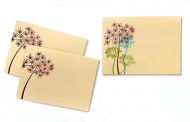
Loop some ribbon through the hole and your paper punch tags are complete.
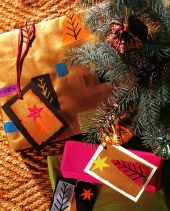
TIP — to create the nice look for the ribbon as pictured above, here is how you do that loop. Take a length of ribbon and fold in half length ways. Poke the end with the bend through the hole so you have a loop of ribbon sticking out through the hole. Now take the other loose ends and poke them through that loop that is sticking out. Now gently pull everything tighter, making sure all the lengths are even.
Thanks for reading and have fun making paper punch tags. I would love to see other tags people have created so maybe consider making a post on here so we can all check out your handy work.


.jpg)