Simple Paper Folding Map Picture
Don't Tell Anyone This Simple Paper Folding Cheat!
Everyone knows origami and everyone has made a paper plane or two. But origami can get very fiddly and complicated quite quickly and that is the skill that is appreciated by many.
However, I am all about the shortcuts :)
I love the idea of having fun, creating something that looks incredibly complicated, but doing it in a way that, frankly is a bit cheaty!
So, here I am going to show you a technique that LOOKS like it is a complex origami fold, BUT is actually many pieces folded separately and then assembled together.
It's a bit like when you used to take your Rubik's cube to bits, instead of actually learning to complete it. Really, who has time for that!
What Do We Need for This Simple Paper Folding Cheat?
- Basic paper crafting tools
- Old maps
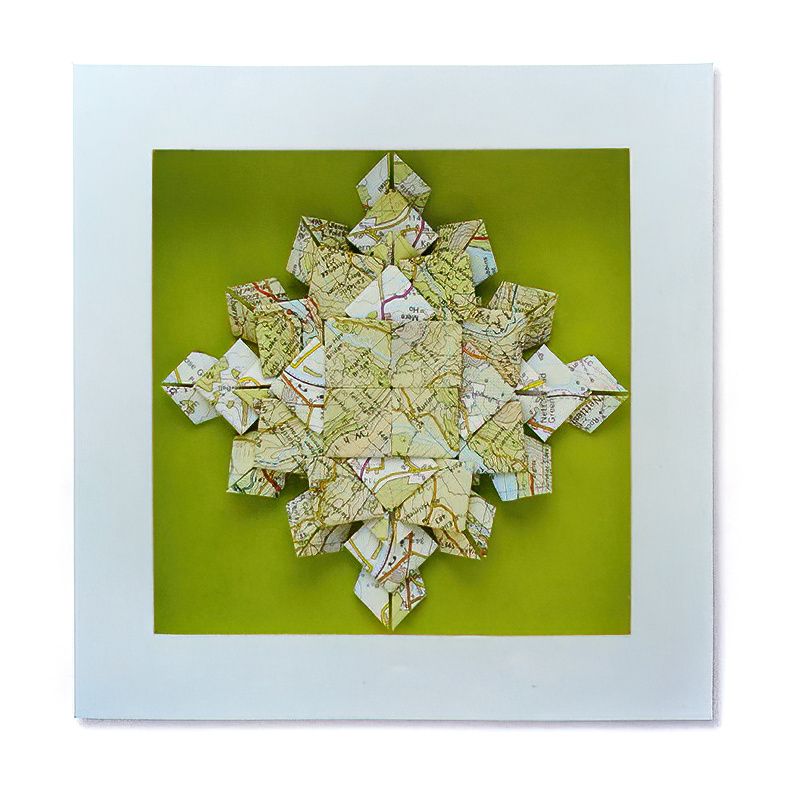
- Picture frame, 16.5cms square or 6 and half inches square, measured to the outer edge
- Green card, 14.5cms square or 5 and three quarter inches square
How To Make A Map Picture Wall Art
Step One
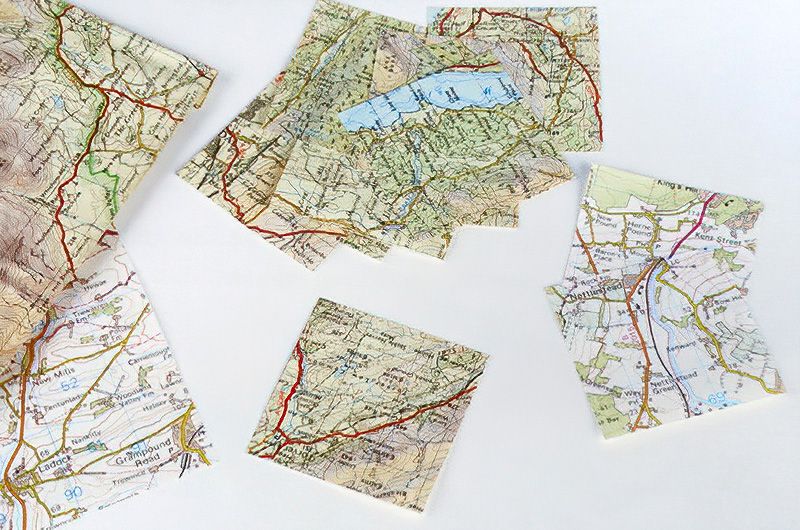
We are using some old maps for our simple paper folding because they are an interesting visual. But obviously you can use any paper you like, blank or with patterns. Maybe papers that are more personalised would work well. Music paper, wrapping, get creative.
We need many, many squares of the paper. Each square will be 5cms square or 2 inches square. Maybe chop up more interesting map squares, as the end picture will be more interesting that way.
Right, let's get on with our simple paper folding.
Careful Folding Of Maps For Wall Art
Step Two
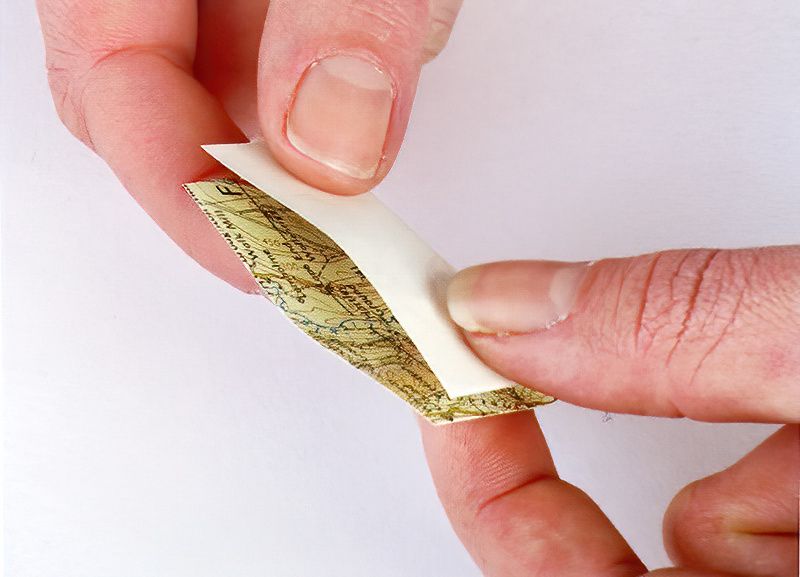
Take your first square of paper and fold it in half, to make a rectangle. Fold with the pattern side on the inside. Make a nice sharp crease along the edge with your fingers.
Start Making Pieces For A Map Picture
Step Three
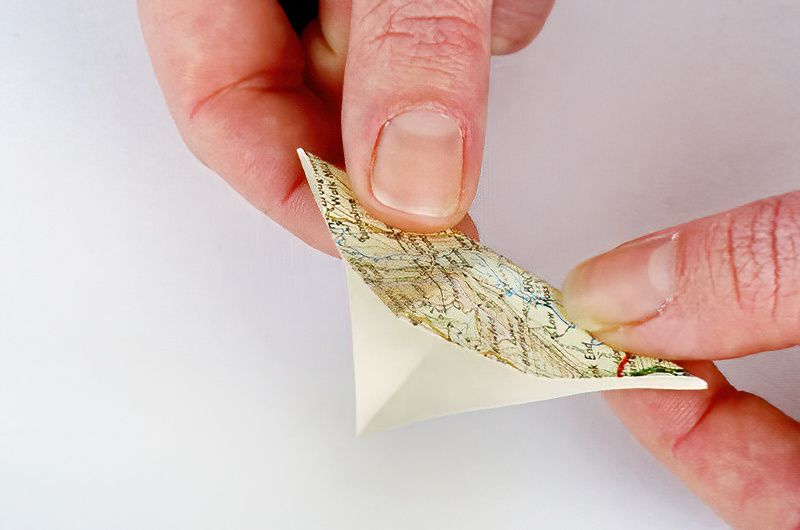
Now open it out again and now fold with the pattern on the outside, but this time fold corner to corner to make a triangle. Make a neat crease.
Now open again and fold the same way, into a triangle but using the other corners.
So to recap:
- Fold into a rectangle, image on inside, crease and open
- Fold from one corner to the other, into a triangle, image on the outside, crease and open
- Fold from the other corner to corner, into a triangle, image on the outside, crease and open
Fold A Triangle Shape With Our Map Pieces
Step Four
So now when we lay our square on the table, image face up, we will see we have 3 creases.
- One innie crease across the centre
- Two outie creases from the corners to the other corners
When you push the sides in, you will notice the square wants to form into the shape pictured above. Like a pyramid with the sides pushed in. Let's keep going with our simple paper folding.
Continue Folding Maps To Make A Picture
Step Five
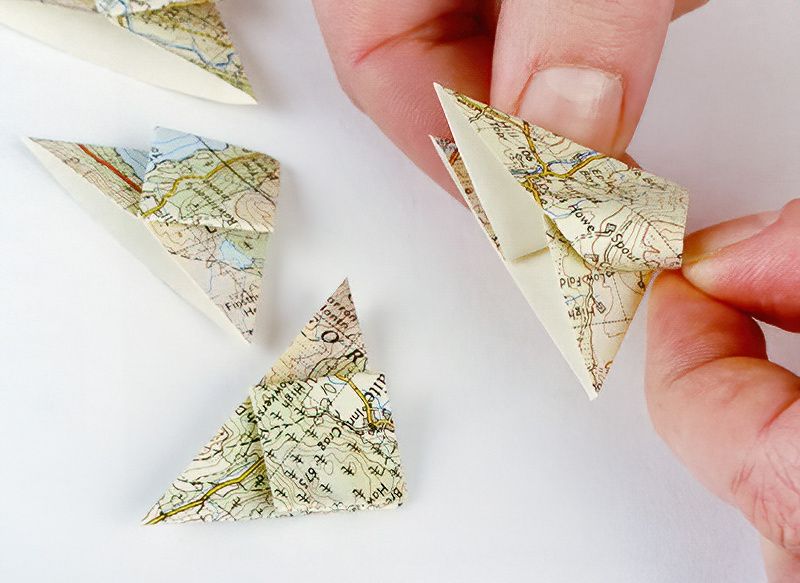
Gently flatten the pyramid on its side, into a short, wide triangle shape.
You will notice that each of these shapes has four sharp points on the open bottom side. Layered two points on top of each other on either side. And then the top of the triangle has no open sides.
Now take one of these bottom points from the bottom open side and fold it UP and under itself, making the pointy end point UP towards the top of the triangle. Tuck it in and crease neatly and press flat.
Do the same for the other side.
We now have what looks like a triangle with a folded square on top.
Keep Going Making Your Map Wall Art
Step Six
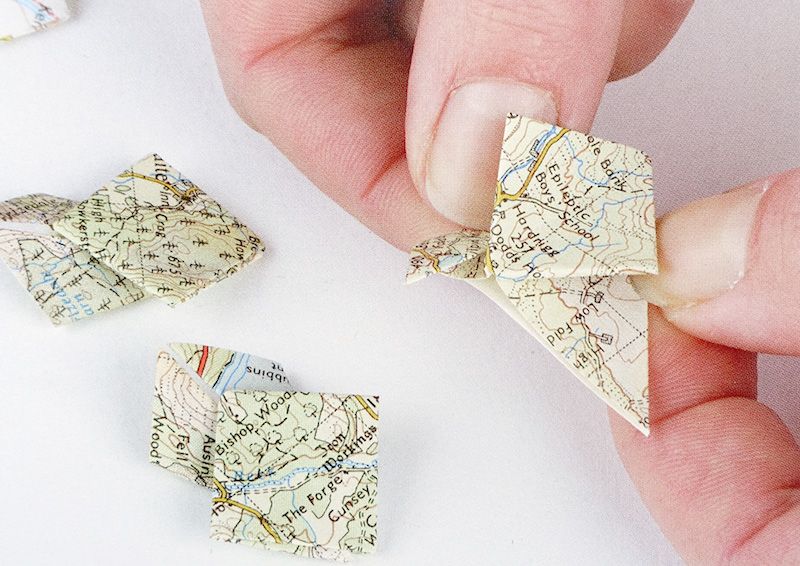
We now are going to work on the other two bottom points. BUT, instead of folding these points UP to meet the top of the triangle, like we did before. We are going to fold them DOWN.
So now take a bottom pointy corner and fold it forward and DOWN, away from the top of the triangle. Be careful and fold it neatly and crease and press it flat.
Take the last remaining corner and repeat. Fold it forward and down to match the other point.
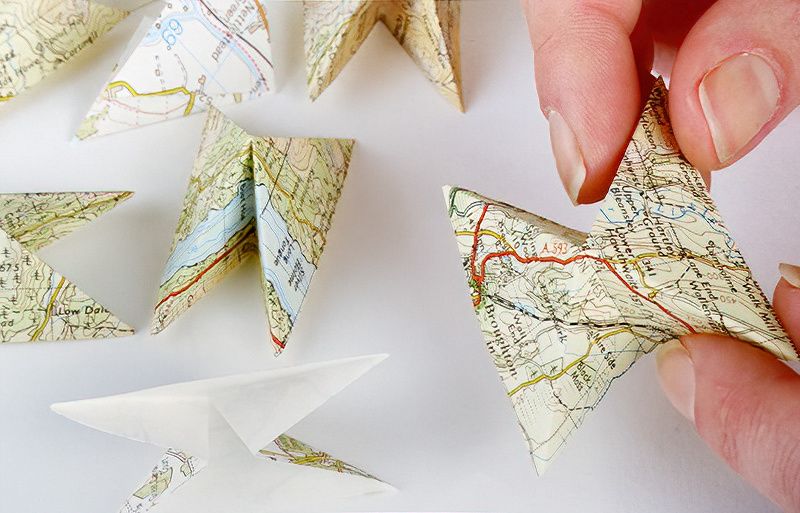
Now, we have what looks like two paper folded squares joined together. This simple paper folding is clever!
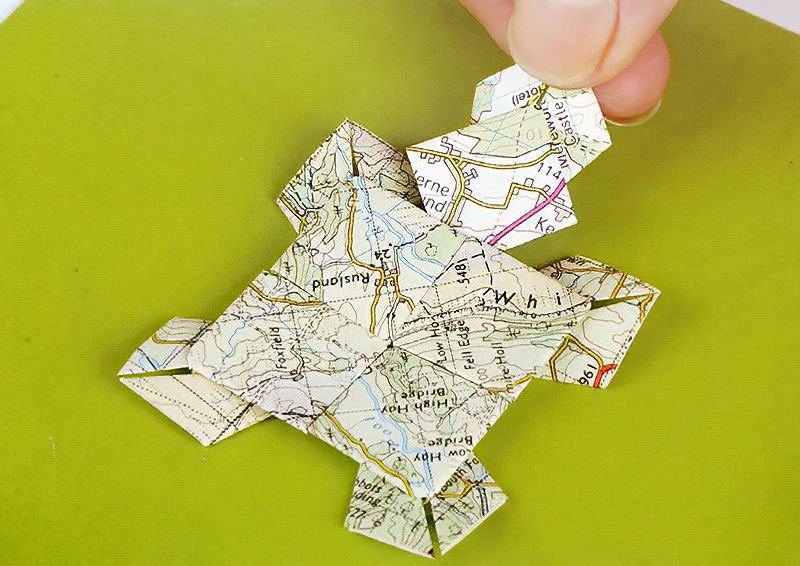
Start The Assembly Of Our Map Collage Picture
Step Seven
Now you know the basic folding process, make up a load of these folded double squares. I'm not sure exactly how many we need, but we need a load.
Arrange four of the folded double squares into a square shape at the centre of the green card. At this point pick squares with patterns that compliment each other and look interesting.
You can now glue these four in place.
Now take the next piece and glue it under one of the edges of the central group.
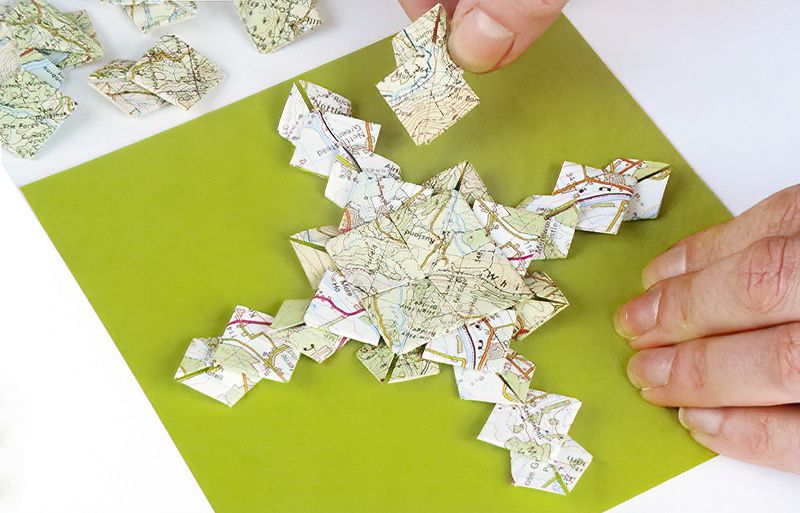
Final Assembly Of Our Folded Map Mosaic Artwork
Step Eight
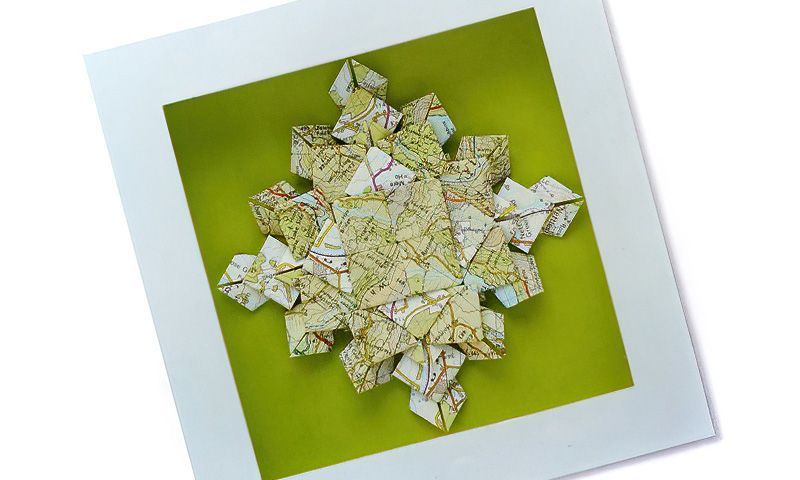
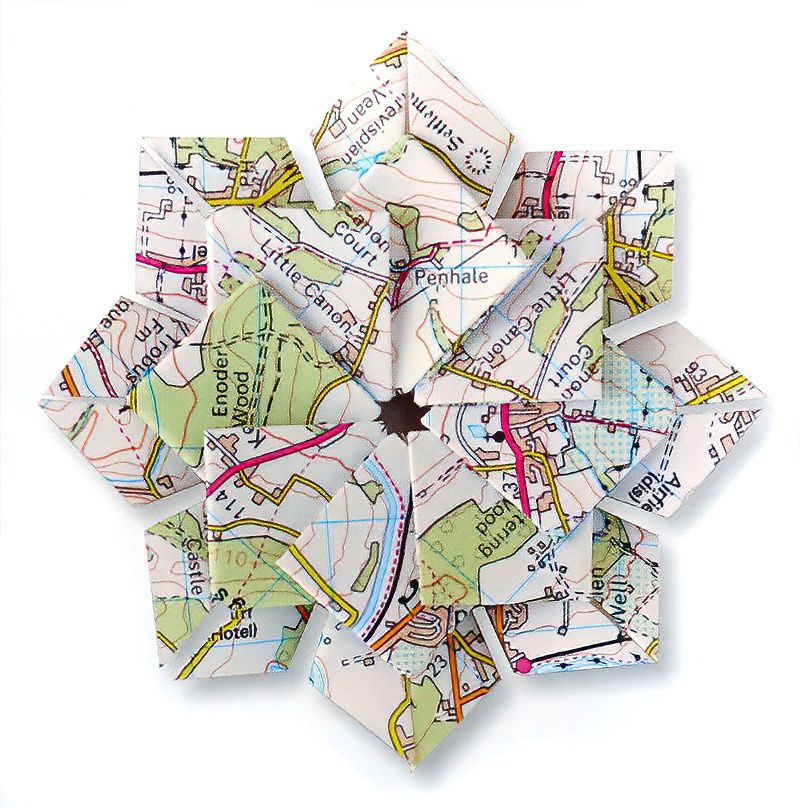
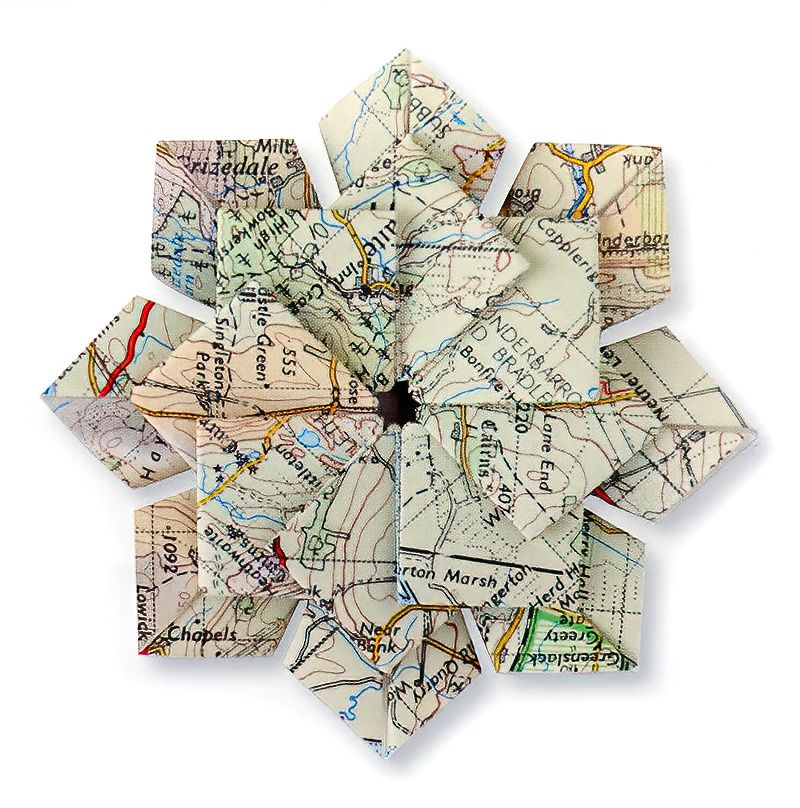
So now you have all the tools you need, to do some cheats origami. You can arrange these little individual pieces in many different ways. But here we will complete the flower or gem type shape.
Continue to build up the design by sneaking more and more shapes underneath the previous ones you have glued down.
To keep everything straight and neat, we can build up a cross shape first. Then simply fill in each side with more and more pieces.
Magic!
Simple Paper Folding Cheat
Once you have completed all the shapes and assembly, mount the completed picture in the picture frame.
Really, now you know the secret, don't you agree, it looks monstrously complex? But we know it is really a bit of a cheat.
But which ever way you think about it, this simple paper folding is still impressive and interesting. I have one on my wall and people always comment on it.
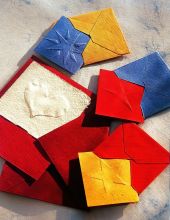
Map Gift Tags Anyone?
Use this simple paper folding technique to create other things, like the gift tags above.

