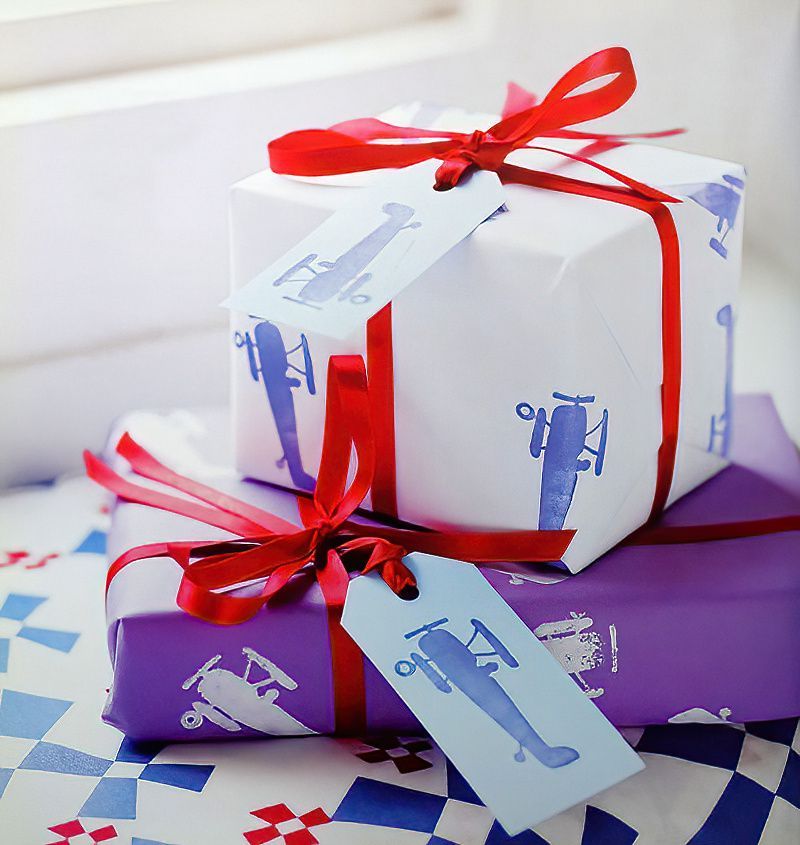
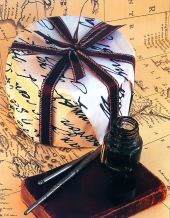
Add Extra Magic To A Present With Personalised Gift Wrap
There are lots of cheap wrapping papers out there. And that is great for most presents we want to hand over. But sometimes it would be nice to make something more personalised. Maybe a special present or even a special occasion.
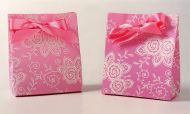
Often I find it nice to go that extra miles and make your own personalised gift wrap and gift tags. You could use Kraft paper or here we are just using a large piece of regular plain white paper. So making personalised gift wrap can also be much cheaper than fancy wrapping paper.
What We Need To Make Personalised Gift Wrap
- A rubber stamp with a meaningful motif
- Ink pad
- Large piece of plain white paper
- White card
- Scissors
- Hole punch
- Ribbon for a gift tag
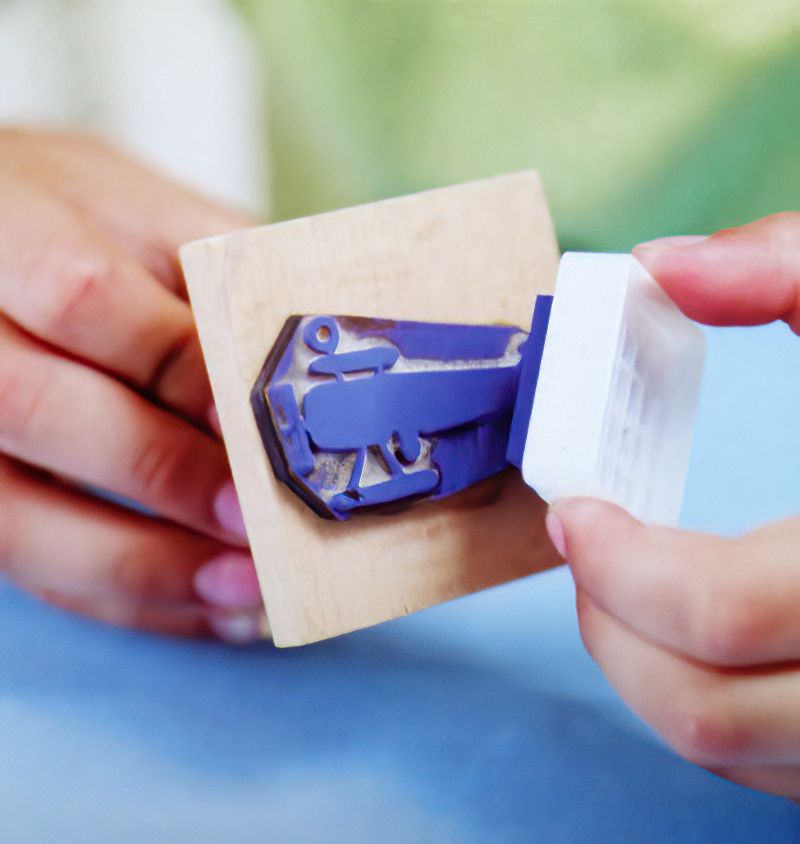
First We Need To Ink Our Stamp
Step One
To make our gift wrap really personal, pick a stamp design that means something to the person you are giving the gift too.
The first step to making personalise gift wrap is to ink the stamp. Hold the stamp of your choice and carefully press the ink pad onto the stamp. Dab ink all over it, so the stamp is covered in ink.
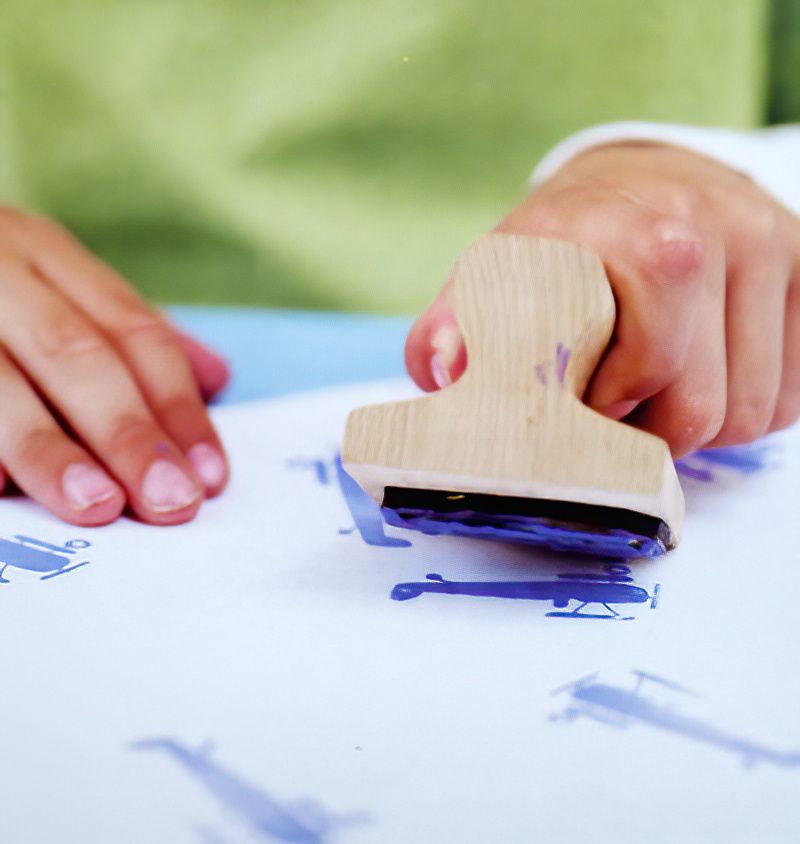
Start Stamping Our Personalised Gift Wrap
Step Two
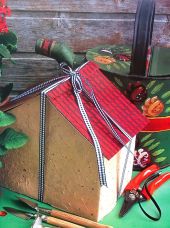
Next we can take our stamp and start making a pattern on the large piece of plain paper. Be careful when stamping not to move the stamp sideway. This will blur the image. Press the stamp down firmly. Maybe rock it forward and back slightly. Then lift it off vertically.
Don't worry if some of your stamps don't come out too well. This is actually good. It shows that this gift wrap is actually homemade and hasn't come through a mass produced machine.
Continue stamping your shape all over the paper. Change the angles and directions and try and spread out the shapes as evenly as possible.
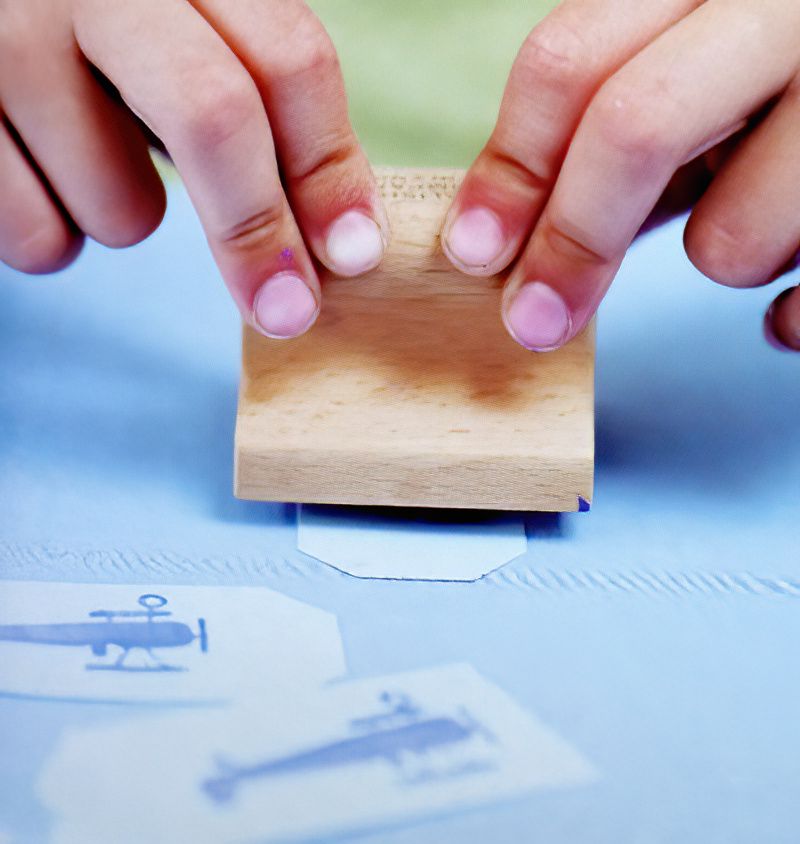
Now Let's Make Personalised Gift Tags
Step Three
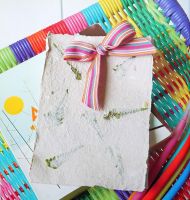
Now it is nice to follow the theme through onto some gift tags. You could also make a greetings card too the same way.
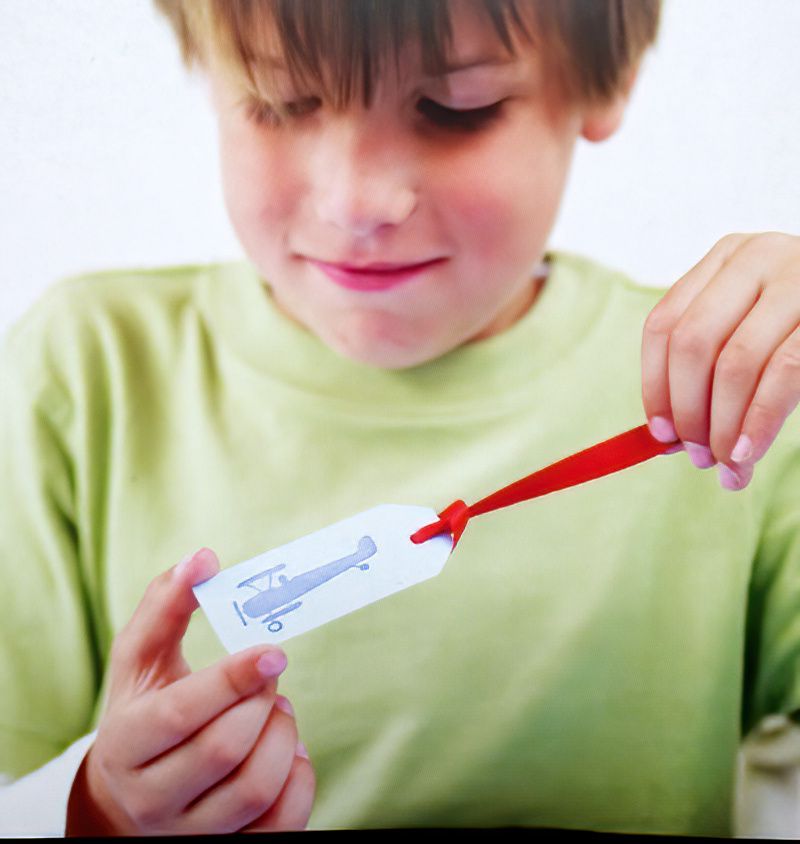
Cut out some gift tag blanks from the white card. Cut rectangles that measure 7 x 4cms or 3 x 1 and a half inches. Cut the top corners off the rectangle to make the tag shape. Then use a hole punch between these two chopped off corners.
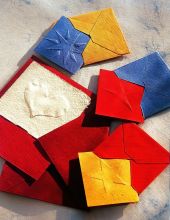
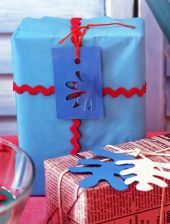
Make a nice print of the plane motif onto the personalised gift tags.
Finish Making Our Personalised Gift Wrap And Gift Tags
Step Four
Let all the ink dry on your personalised gift wrap and gift tags. Then finally pop some ribbon through the hole in your gift tags to complete this fun little project. You can use the same ribbon to hold your gift wrap closed.
Well done making your own gift wrapping paper and gift tags. I'm sure whoever is lucky enough to receive these gifts will just love that extra effort you made.