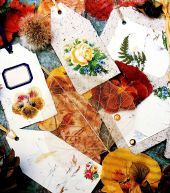
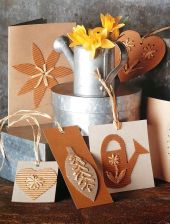
Make Your Own Flower and Leaf Paper
Making Flower And Leaf Paper Is Simple And Magical
Making handmade paper can quickly become an addiction. Decorative paper can be used for so many crafting projects. So if you make your own paper, this makes every single project super special.
Each paper making project can be totally unique and different. And the more you learn, the more amazing your themed, homemade papers can be.
What We Need To Make Flower And Leaf Paper
- Scrap paper
- Blender
- Water
- Washing-up bowl
- Embroidery frame
- Cheesecloth, muslin or tulle fabric
- Flat leaves, flowers or seeds
- Spoon
- Towel
- Hole punch for decoration
- Ribbon for decoration
How To Start Making Flower And Leaf Paper
Step One
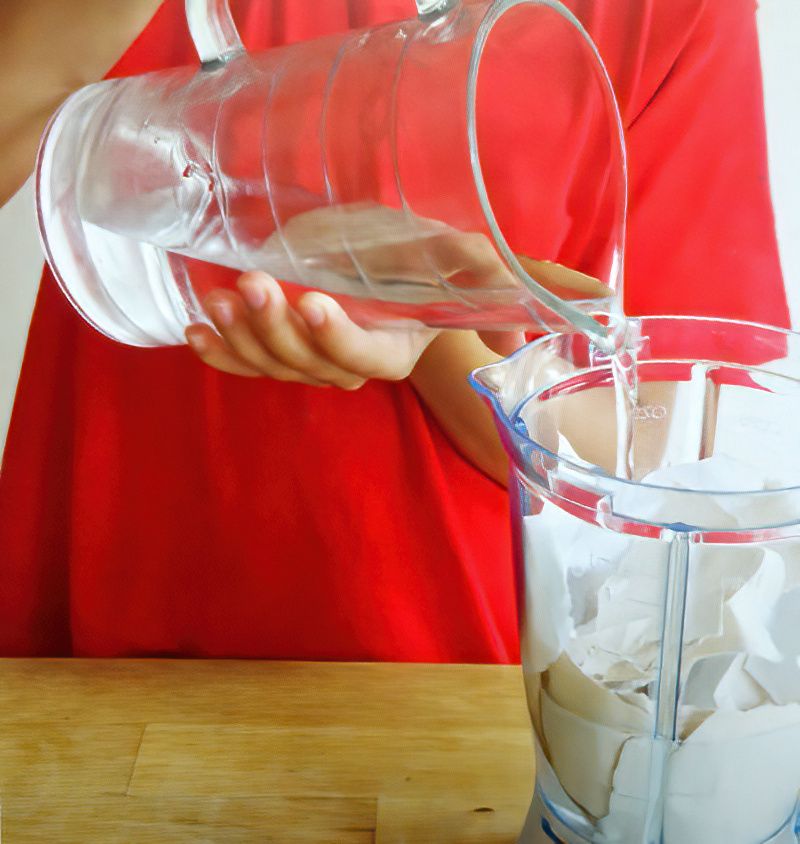
When we make paper we have to start with some paper pulp. To make paper pulp, we start by ripping up pieces of scrap paper. Tear the paper into small pieces. Then we pop the pieces of ripped paper into a blender. Fill the blender until it is half full of paper pieces.
Next pour water into the blender. Fill the blender until it is three-quarters full of water. Now we need to do some blending. Ask an adult to help you blend up your paper and water mixture. Keep blending until you have made a paper pulp.
Make More Of A Mixture Of The Paper Pulp
Step Two
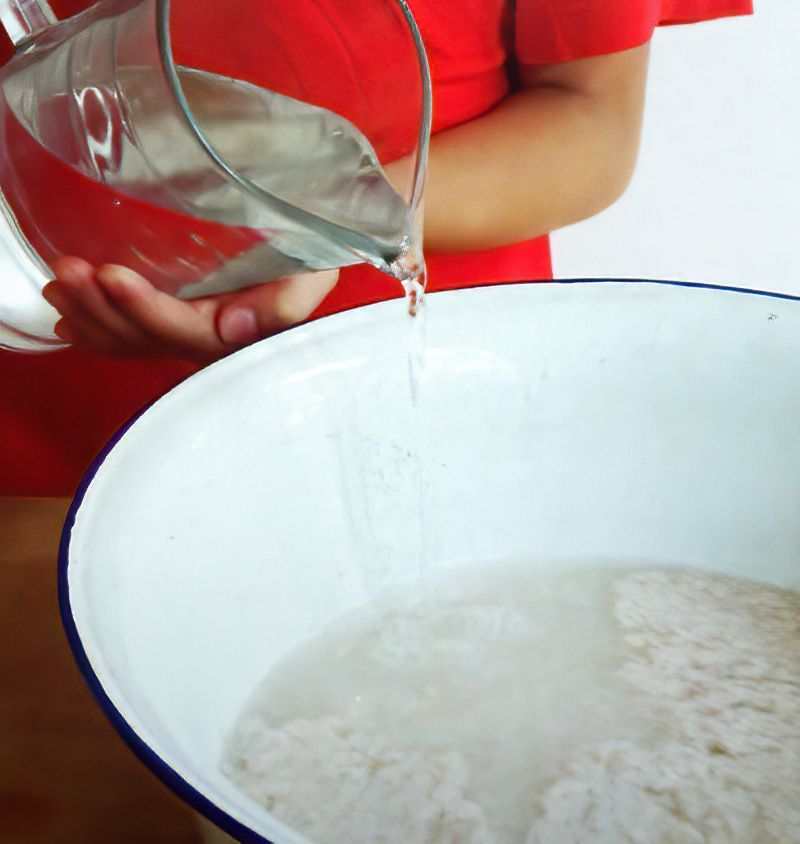
Now we can take our blended mixture and pour it into a large bowl. Next add 2 more jugs of water into the mixture. Add about 2 litres extra or 3 and a half pints.
Now pop your hands in the mixture and gently continue to stir it all around, mixing it up even further.
To Make Flower And Leaf Paper We Need A Fabric Frame
Step Three
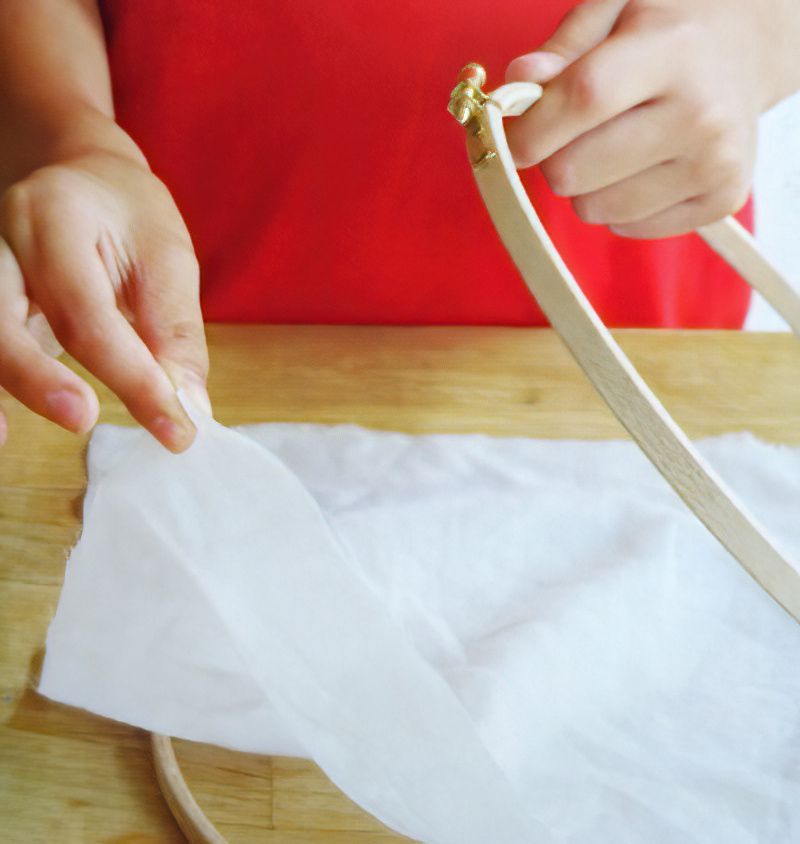
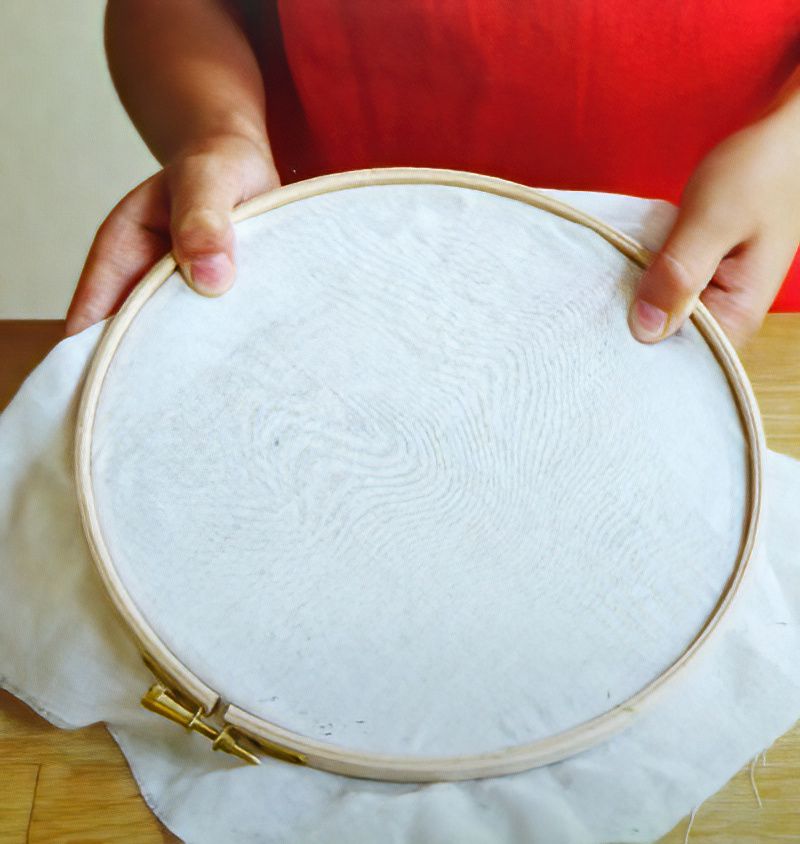
Now we need to prepare our embroidery frame. Separate the frame into the two pieces. Now we need to lay our fabric between the two frames and clamp it shut.
We can use cheesecloth, or similar fabric. Cut the fabric about 3cms or 1 and one quarter inches larger all around, than the embroidery frame you have.
Complete The Frame For Making Paper
Step Four
Once the fabric is cut larger than our frame, we can assemble the paper making frame. Clamp the frame over the top of the fabric. Pull the fabric tight inside the hoops.
Now we need to make a small adjustment. Usually embroidery frames are squeezed together so that the edges are level with each other, and the fabric is in between.
However, we are going to pour our pulp into this frame. So it would be good if we had a little lip around the edge, so our pulp doesn't just slide off. To make the lip judge nudge the outer frame up very slightly all around the edge. This will make the little edge lip we need.
Dip The Frame Into The Flower And Leaf Paper Pulp
Step Five
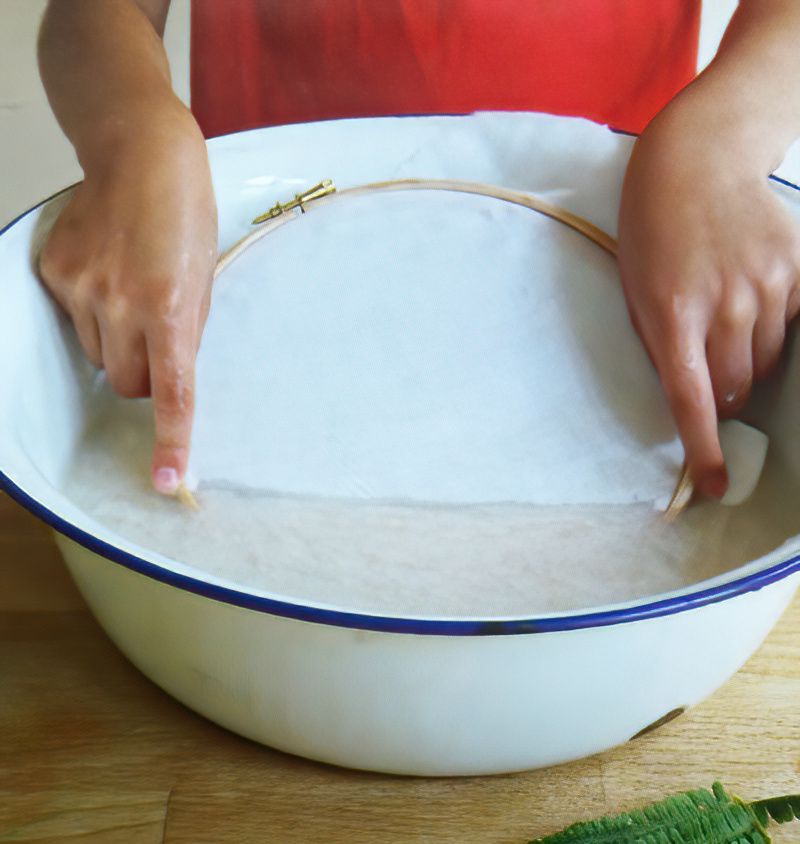
Now is the exciting part of making flower and leaf paper. Swish all the paper pulp around in the water. Then slip the frame into the bowl nearest to you. Move to forward under the water and straighten the frame out horizontal and lift it up back up, out of the water.
We want to catch an even layer of pulp in the frame. If you are not happy, you can dip the frame again to get a more even layer of pulp. When you are happy, hold the frame full of wet pulp above the bowl and let the water drip back into the bowl.
Now Add The Flowers And Leaves To Our Flower And Leaf Paper
Step Six
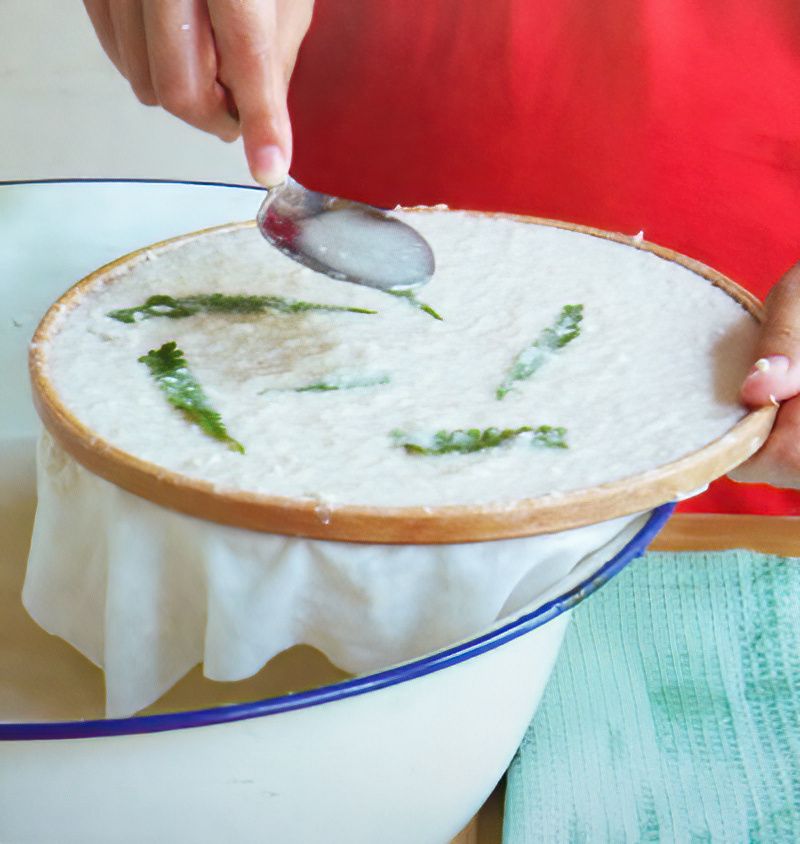
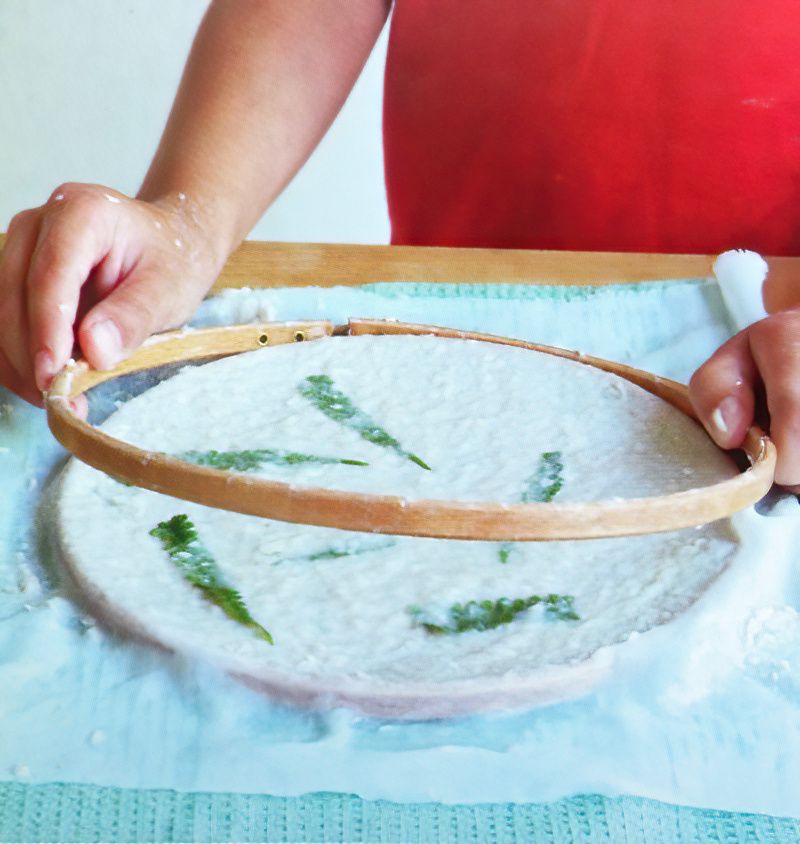
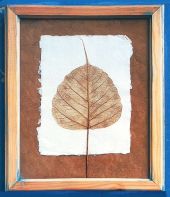
Now we can lay the frame gently on the side of the water pulp bowl. Carefully position your leaves, flowers and seeds in a nice arrangement. Finally, use a spoon, to trickle more of the pulp water over the top of the pieces you just added. This extra pulp layer will capture the leaves and flowers inside the paper.
Remove Our Flower And Leaf Paper From The Frame
Step Seven
Once most of the water has drained off above the bowl, we can move on. Now we need some tea towels set up in a quiet spot. Very carefully position your frame above the towel and gently release the fabric from the frame. Lay the pulp paper fabric onto the towel to dry out.
Depending on how warm your room is, your new paper will take several hours to dry out. Possibly over night is best.
Once the paper is dry, you can carefully peel it away from the fabric. Turn it over and again let it thoroughly dry out.
How To Finish Making Flower And Leaf Paper
Step Eight
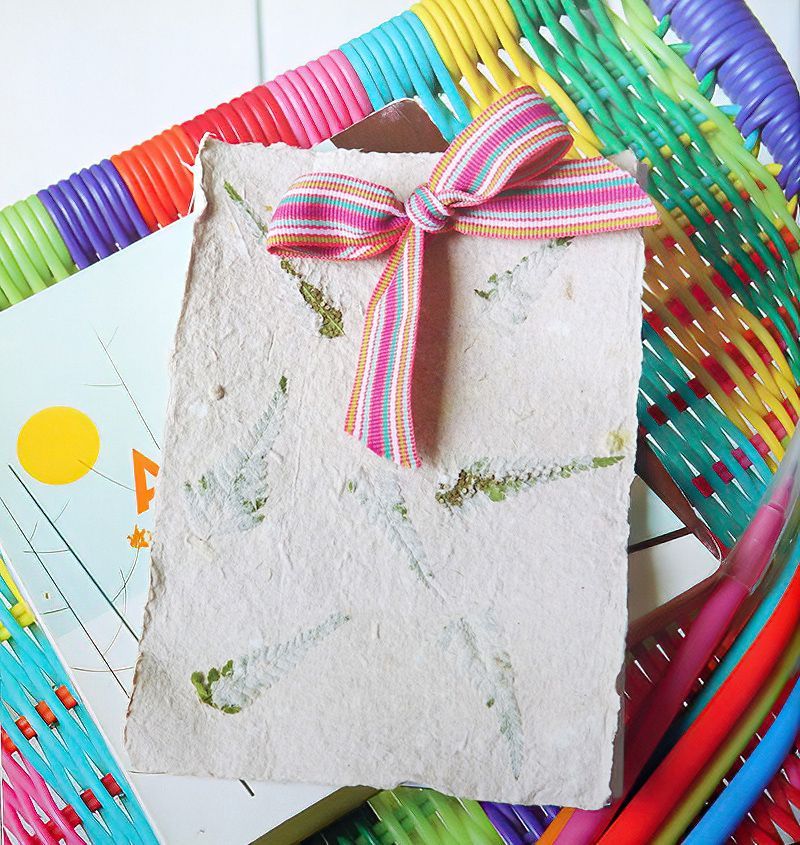
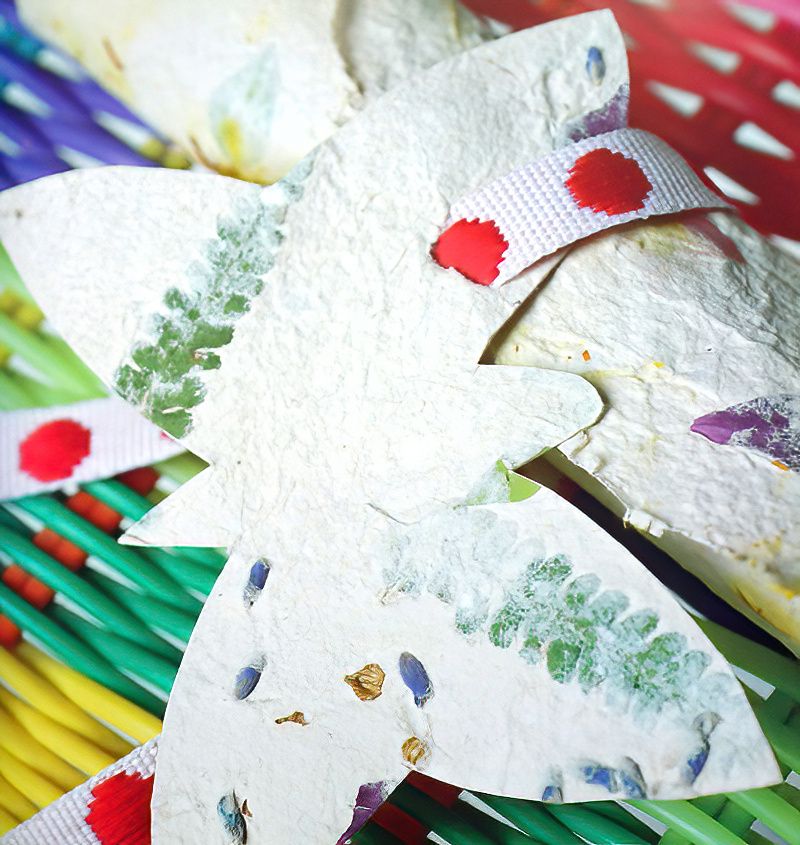
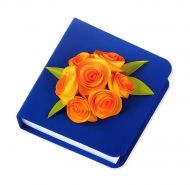
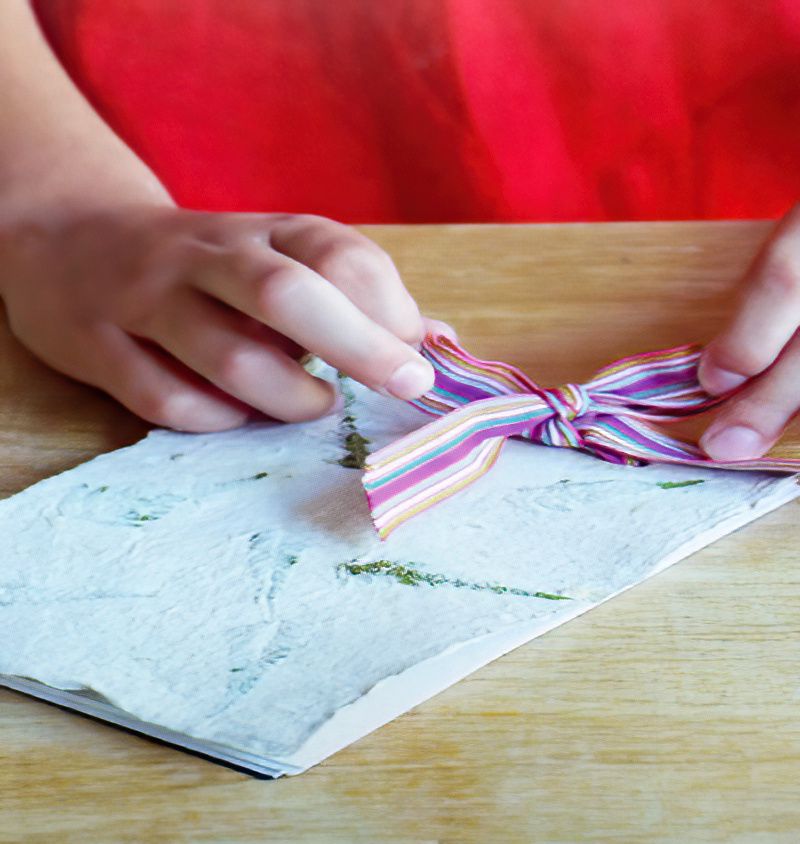
To finish, now we simply can cut our new paper into the shape we want. To make a simple notebook, cut a rectangle of flower and leaf paper for the front and back of the notebook. Then add some plain paper for the pages of the notebook. Punch holes in all the pages and the covers and tie with a ribbon.
Here is an extra tip. Sometimes if you paper is a little wrinkly, ask an adult to use an iron on a flat surface to flatten your paper out.
Making your own paper is a really exciting idea. Even just making paper for a fellow crafting friend is a wonderful gift. But also using your own homemade papers in your own projects, makes them that extra bit special too.

