Decorate Your Childs Room With Stencilled Wall Art
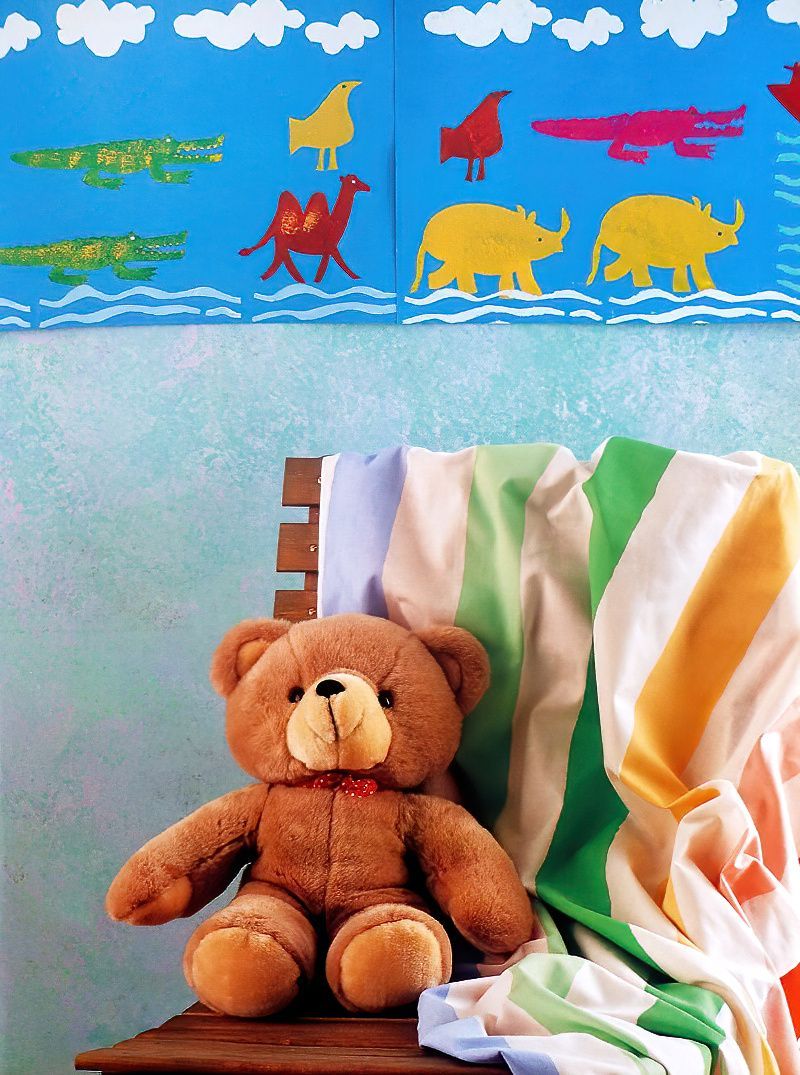
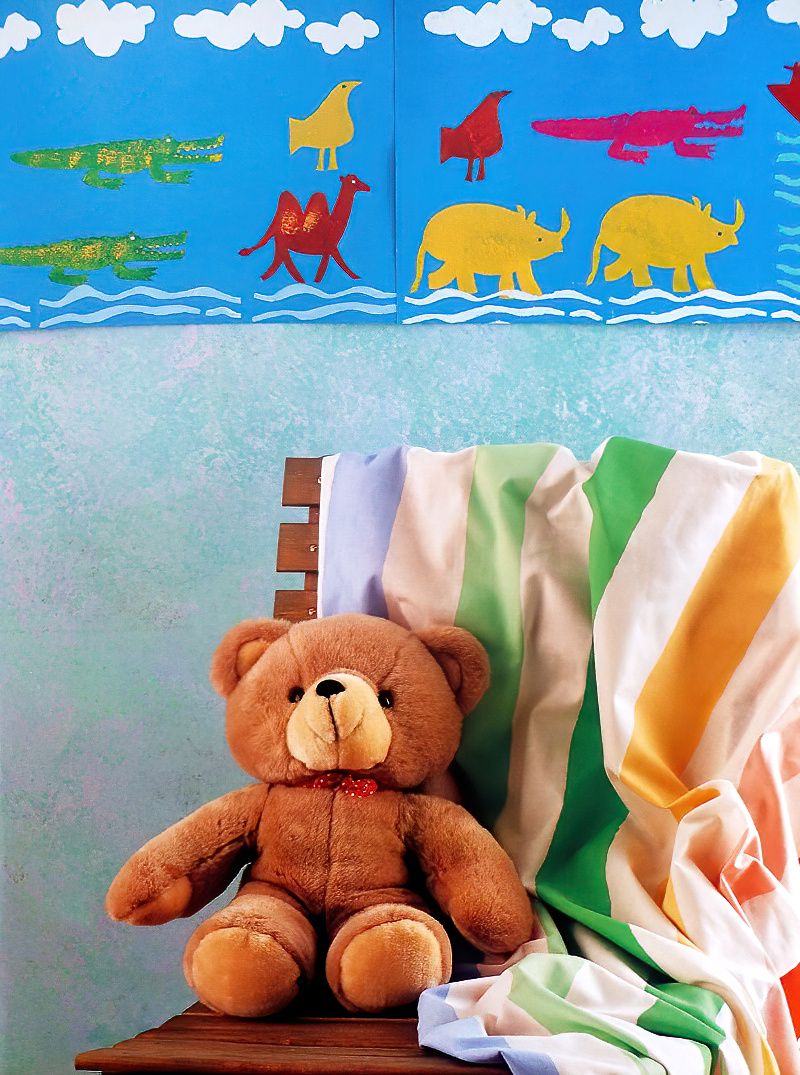
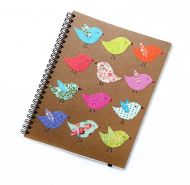
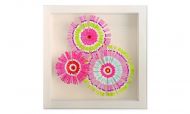
Really simple stencilled painted wall art, can add fun and colour to a child's bedroom or playroom, and they really love to get involved with it. My children really love animals and all things colourful, so we made some colourful animal inspired painted wall art. However, you can choose any colours and any stencil designs that you wish. This is such a great craft as you only need a handful of basic craft materials and equipment.
Craft Materials & Equipment
Thin Coloured Cardboard
Paint in a Variety of Colours
Paper Glue
Ruler
Pencil
Scissors
Waxed Stencil Cardboard
Craft Knife
Cutting Mat
Saucer
Sponges
Preparing To Make Wall Art
1st Stage
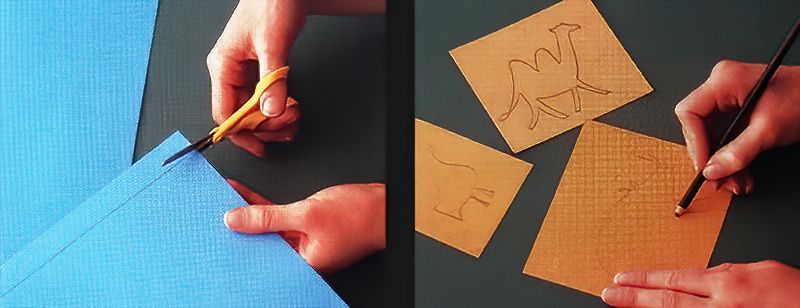
To start making your painted wall art, begin by measuring and cutting out a length of coloured card, measuring 25cm X 90cm, or two pieces of 25cm X 46cm if easier with what you have available.
2nd Stage
Next, draw some animal shapes, or any shapes that you like onto rectangles of waxed stencil cardboard.
Making Stencils For Painted Wall Art
3rd Stage
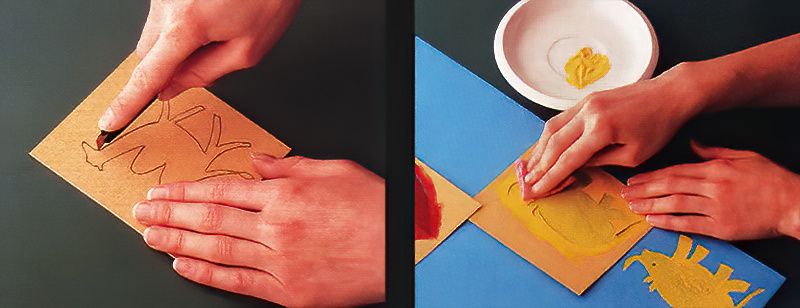
Next, carefully cut out each of your stencils using a craft knife and cutting mat.
4th Stage
Then place the stencils in position on the coloured card strips. Put small amounts of paint onto saucers. Then using a sponge, gently dab some paint over the areas showing through the first stencil. And then carefully remove the stencil from the coloured card.
My children love this part, anything messy seems to make them really happy. My nephews and nieces are the same, they look forward to spending time with their cousins and getting really messy.
Finishing The Wall Art
5th Stage
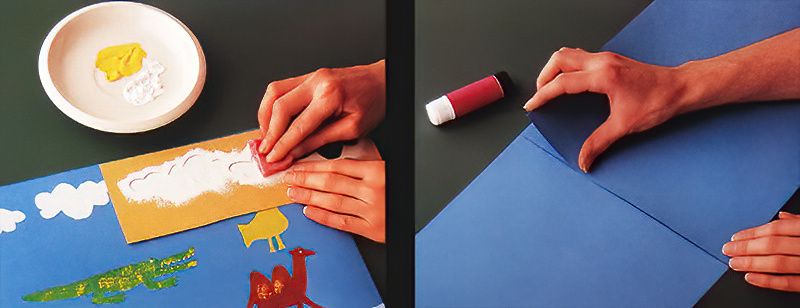
Now, continue to repeat the same process with the other stencils, until you have a design that you are happy with.
6th Stage
Let the whole thing dry thoroughly. And if you have used two pieces of card, glue them together. Now your painted wall art is ready for display.

