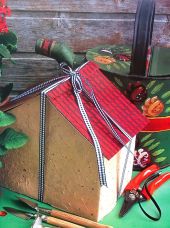
Making Envelopes Can Be Fun and Adds a Touch of Class
Whether you are sending a special greetings card or just sending a personal note, a home-made envelope is a thing of beauty. Once you have the basic principals of making envelopes you can customise them in a million ways.
Rubbers stamps are the perfect solution to making your home-made envelopes look like the most premium stationary set.
Why not send a hand written letter to a loved one, friend or family and see their reaction. It is likely something they will treasure forever.
What do we need to make envelopes?
- Basic paper craft tools
- Rubber stamps, here I am using grass theme stamps
- Acrylic block
- Inks, I like burgundy, green and turquoise
- Cream paper, A4 size, 100gsm
- Corner rounder punch
- Glue stick
- Paper towel
How To Make A Simple Envelope
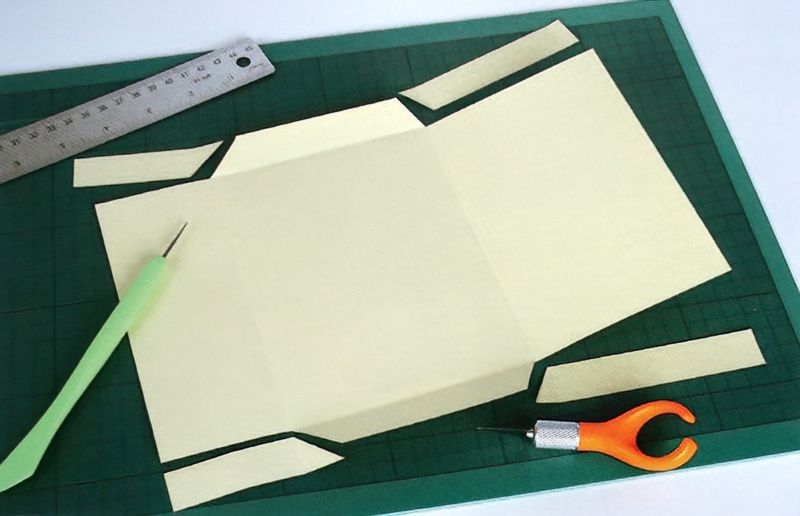
Step One
Practise folding the A4 paper into thirds. The last third can be slightly thinner as this will be the fold over closure flap. Create flaps on the central third by removing the edges of the top and bottom thirds as pictured above.
You can adjust the dimensions to make envelopes of any size and dimension.
Use a scoring tool or equivalent to get really crisp edges to the envelope.
Preparing The Cut Paper For Envelope Assembly
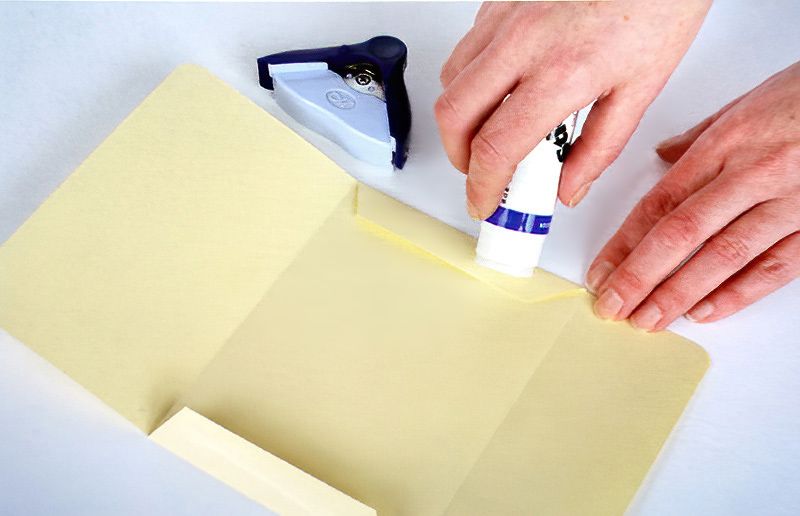
Step Two
Finally you get to use your corner rounder punch. It does seem like everyone has one and never uses it. Round off the corners of the top and bottom piece of the A4 paper.
If you don't have a rounding corner punch, simply use a pair of scissors and carefully round the corners manually.
Fold the side tabs inwards and carefully apply glue with the glue stick along the top of the tabs. Be careful to remember which end is the closure. Fold the bottom of the paper and press firmly down on top of the glued tabs smoothing the envelope flat.
Making envelopes is easier than you think.
Decide How We Want To Decorate Our Envelope
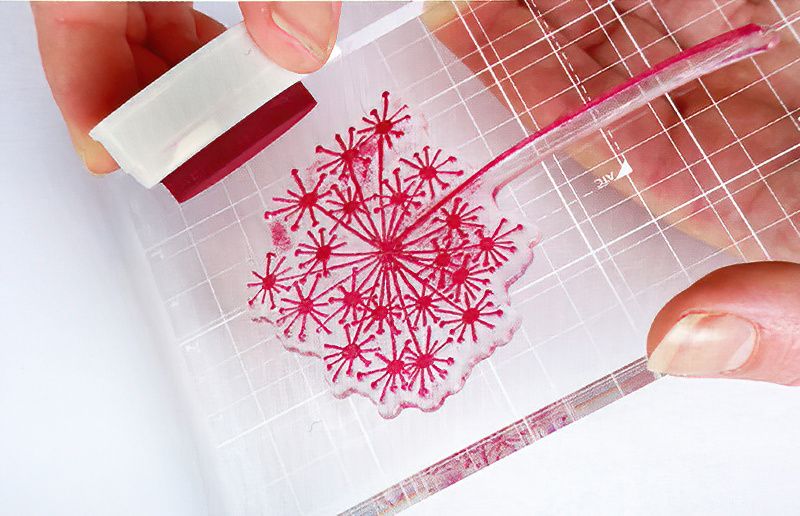
Step Three
We now need to make up our stamp. Most stamps come a piece of floppy rubber and need to be mounted to support piece. Some stamps you can buy already mounted to wood. But here we are mounting my grass stamp to a piece of acrylic.
if you need to mount the stamp simply place the rubber stamp onto a piece of acrylic. It will not even need glue as it will usually just stick freely.
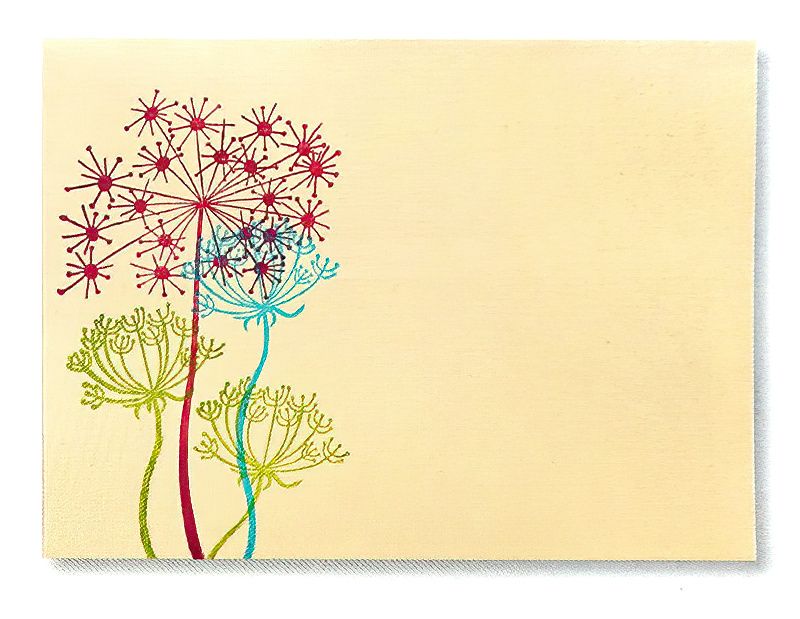
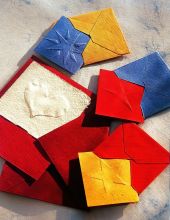
Ink up the stamp by dabbing the ink block over the raised stamp details. Make sure all of the details are covered in a layer of ink. If we are making envelopes, adding stamped patterns and details will make our envelopes extra special and each one can be unique.
I ink the largest stamp with the burgundy ink.
You Can Make Any Envelope Feel Different With Various Designs
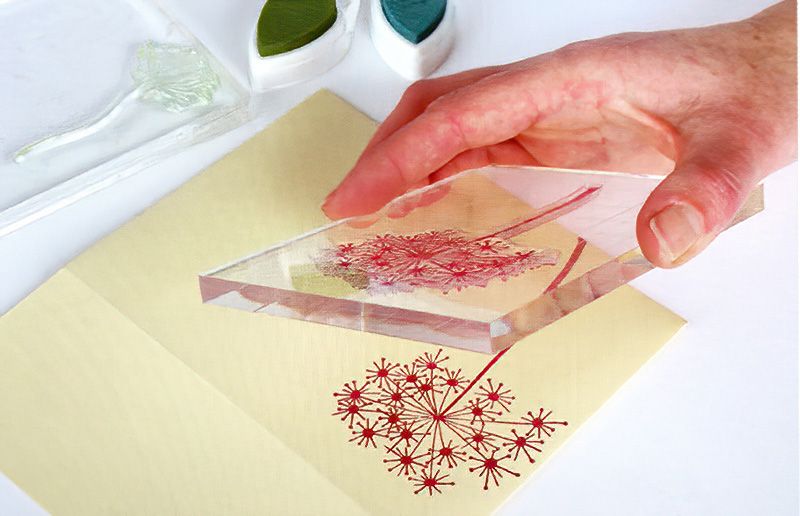
Step Four
With the front of our newly created envelope facing up, press the inked rubber stamp block firmly onto the envelope in the correct position. Work where you can stamp over edge to create a professional look. Make sure to life the stamp directly upwards when removing to avoid any smudges.
The rubber stamp can be cleaned with a damp paper towel and removed from the acrylic block.
Press another grass rubber stamp onto the acrylic block and then ink it up thoroughly with green ink. How much ink you apply to the stamp will only come from experience and the effect you are going for. Don't be too hard on yourself and have fun with the process.
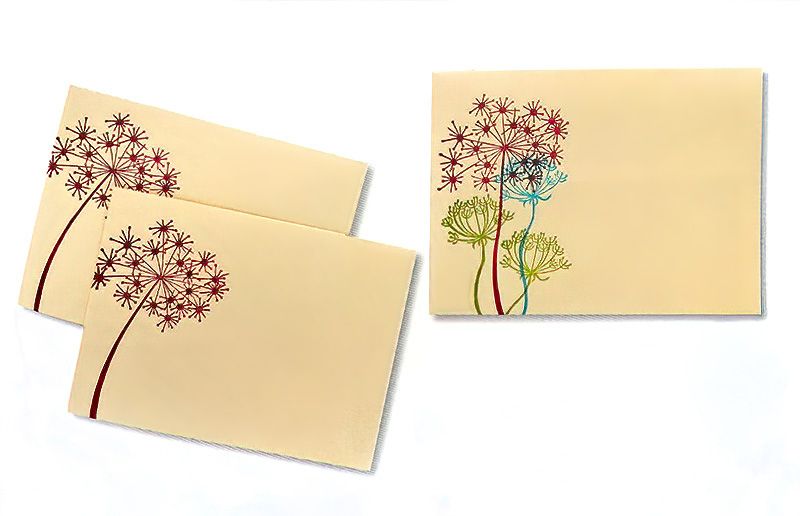
Now get creative with making envelopes. Clean the last stamp and ink it with a different colour. Take time to visualise its placement for the best results.
Making Envelopes Conclusion
And it's that simple to make envelopes as personal as you like. Tailor them for that special person. Make big envelopes and tiny, little ones. Experiment with making matching printed notepaper to go into the envelopes.
And maybe find some little stickers to seal close the envelope flap when you are ready to present that lucky person with a truly special gift.
Making envelopes is really fun. And as one last tip. Consider making envelopes in batches and leaving them blank. Then when you are ready for them, you can customise them at that moment.