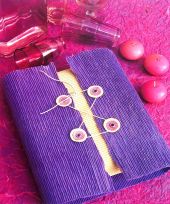
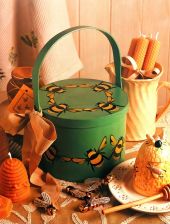
Actually Easier Than A Square Box, A Decorative Oval Bandbox
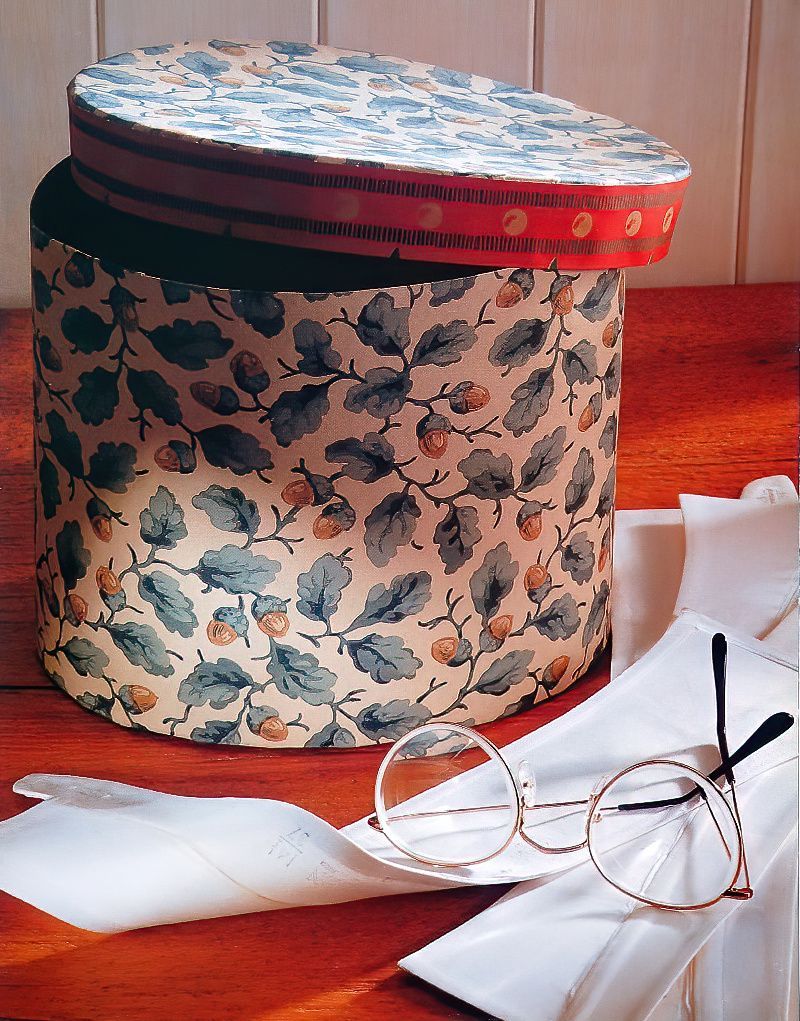
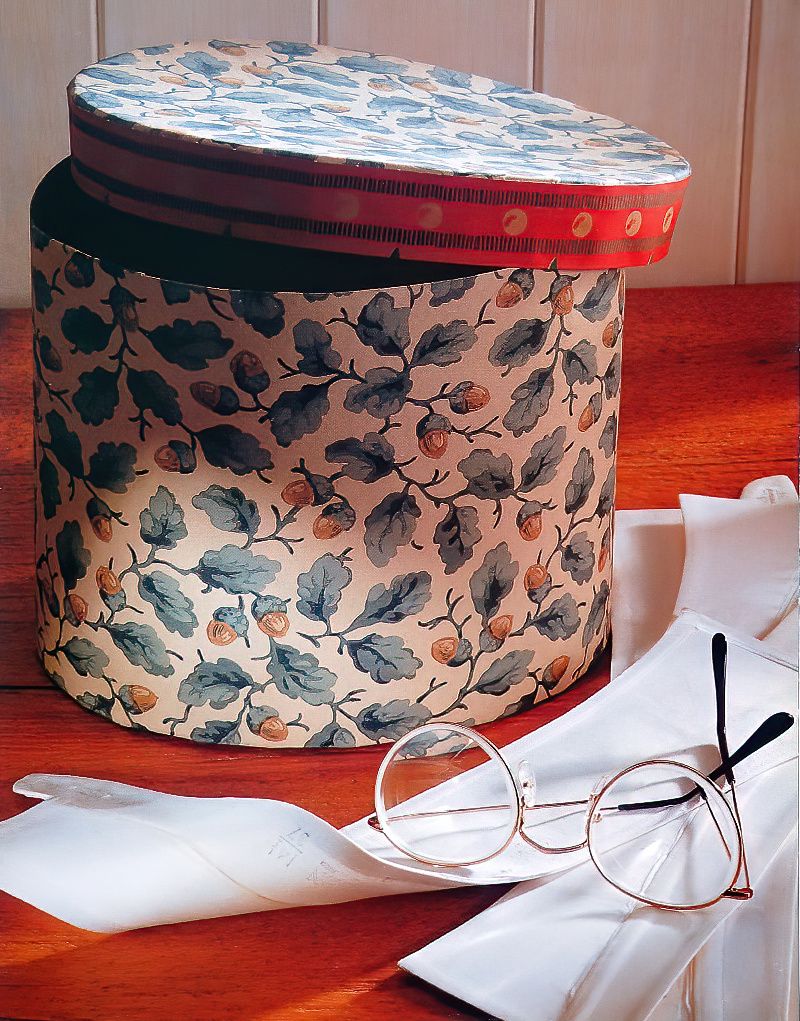
I really love making decorative boxes to use for storage of my craft materials, cosmetics, and to put gifts inside for family and friends. I would like to show you how to make an oval bandbox. Bandboxes were used in the nineteenth century as hand luggage cases are used today for trips.
They are very simple to make and you can choose any colours, pattern and design that you wish. Free wallpaper samples work well for covering your box, then you can embellish the box with anything that you like, ribbons, buttons, broken parts from jewellery, etc.
List Of Items Needed For A Decorative Oval Bandbox
- 2 Sheets of Corrugated Cardboard of 38cm X 38cm
- 2 Sheets of Thin Cardboard of 38cm X 38cm
- Drawing Pins
- Cotton Thread
- Paperclip
- Strong Matt Finish Sticky Tape
- PVA Glue
- Wallpaper Paste
- Wallpaper
- Braid
- Gift Wrap
- Ruler
- Pen
- Craft Knife
- Cutting Mat
- Small Decorators Paintbrush
- Scissors
- Clothes Pegs
Making A Cardboard Box Base And Lid
1st Step
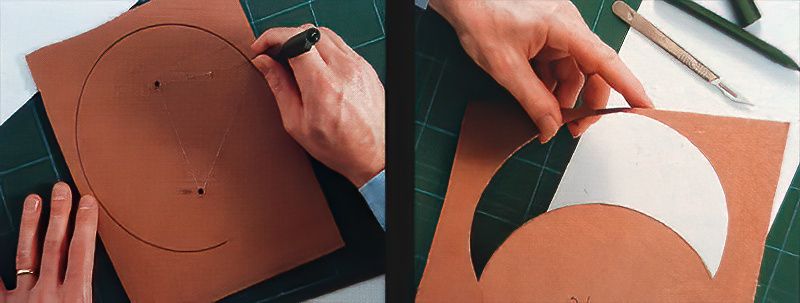
Begin by drawing an oval shape onto one of the corrugated cardboard pieces to make the base of the box. Do this by drawing a central line, and then placing two drawing pins 10cm apart along the middle section of the cardboard. Then measure out a 30cm length of cotton and join the ends of the thread together.
Next, loop the cotton around the two drawing pins, and hold the thread tightly to one side by putting a pen within the same thread loop. Use the pen in a clockwise motion to draw, keeping the tightness of the tread constant. Now you can carefully cut out the oval shape using a craft knife and cutting mat.
2nd Step
Next, place the cut base piece onto the other piece of corrugated cardboard sheet and draw around the oval shape. Make sure that you cut around the outside line to make the box lid slightly bigger than the base piece.
We are on our way to making a decorative oval bandbox.
Covering A Hand Made Decorative Oval BandBox
3rd Step
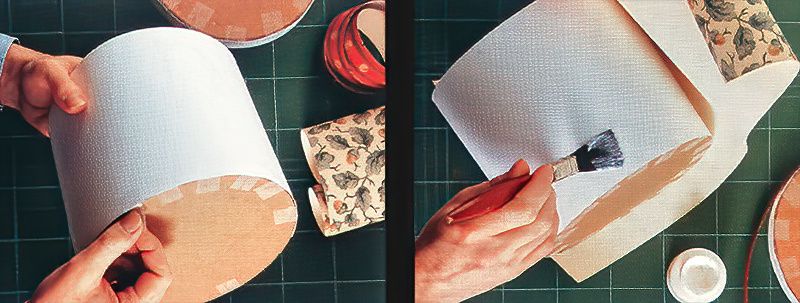
Now to wrap a piece of the thin card around the base that you have made to create an oval shaped box. Secure it with a paperclip while you use strips of the matt sticky tape to join the card around the base. Ensure that you make each strip at least 7.5cm in length and space them evenly around the base to create a firm join that will stay stuck. Once done, join the seam with some glue.
4th Step
Next, apply the wallpaper paste to the box and roll the wallpaper onto it, making sure that you carefully smooth out any air bubbles as you go. Also, ensure that you allow a 1.5cm overlap at the top and at least 2.5cm at the base of the box. Then snip the overlap with sharp scissors, apply glue and turn it in at the top. You can hold it in place with the clothes pegs until it has fully dried.
Embellishing A Homemade Decorative Oval Bandbox
5th Step
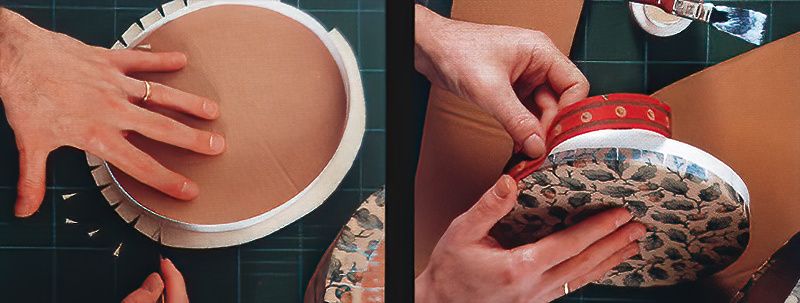
Next, place the box lid onto the second piece of thin cardboard and cut around it allowing a 2.5cm overlap. Now make the lid in the same way that you made the main part of the box, but use a 4cm wide strip of card, and secure it at the top with tape.
Then glue down the side seam and paste the wallpaper to the box lid. Snip wedges out of the wallpaper that is overlapping the edges and glue them down. Do the same for the base of the decorative oval bandbox box.
6th Step
To finish the lid, glue some braid or ribbon of your choice around the edge of the sides of the lid. Again you can hold it in position with clothes pegs until it dries. Then lastly, if you wish to, you can line your box with wrapping paper. This can be done by measuring and sticking the paper on the inside, the same way that you did the outside.
The Decorative Oval Bandbox Conclusion
A really nice looking box when you complete it. And actually, like so many crafting projects, often the ones that look the hardest to make, are not that hard. I really hope you will give this a try. A decorative oval bandbox really makes a lovely gift box, but also adds a really interesting decorative feature to a room. Maybe make a few of different sizes and stack them up in an interesting way.

