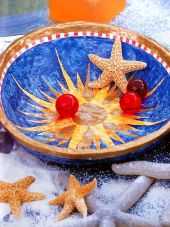
A Simple Papier Mache Plate With A Decoupage Design
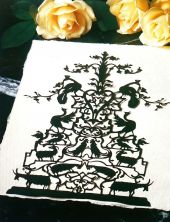
Here is a really fun craft to do using papier mache and lino cutting techniques. I remember doing lino cutting for the first time when I was at art college years ago. I really enjoyed it.
I would highly recommend being very careful with the lino cutting tool. As I managed to cut myself a couple of times when I first did it. You can create any design that you like with lino cutting, and make your own unique lino stamp that you can use over and over again.
To Make This Papier Mache Print You Will Need
Materials
- White Paper
- Lino
- Acrylic Paints
- Newspaper
- Wallpaper Paste
- White Emulsion Paint
- PVA Glue
- Acrylic Spray Varnish
Equipment
- Marker Pen
- Tracing Paper
- Hard and Soft Pencils
- Lino Cutting Tool
- Containers for Paint Mixing
- Medium and Fine Artists Paint Brushes
- Scissors
- Dinner Plate for a Mould
- Cling Film
- Container for Wallpaper Paste
- Fine Grade Sandpaper
Lino Cutting Your Own Design
Step 1
Start by coming up with your design. You can either get inspiration from somewhere or draw your own freehand design. It is entirely up to you.
Make sure that when you draw it onto the paper, you use bold lines, as the lino cutting tool will create bold lines when cutting. Then trace the design and rub the back of the tracing with a soft pencil. And transfer your design onto the piece of lino.
Step 2
Next, use the lino cutting tool to cut out the lines of your design. Be careful not to gouge too deeply into the lino as it could ruin your design.
Printing With Lino And Acrylic Paint
Step 3
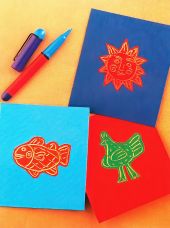
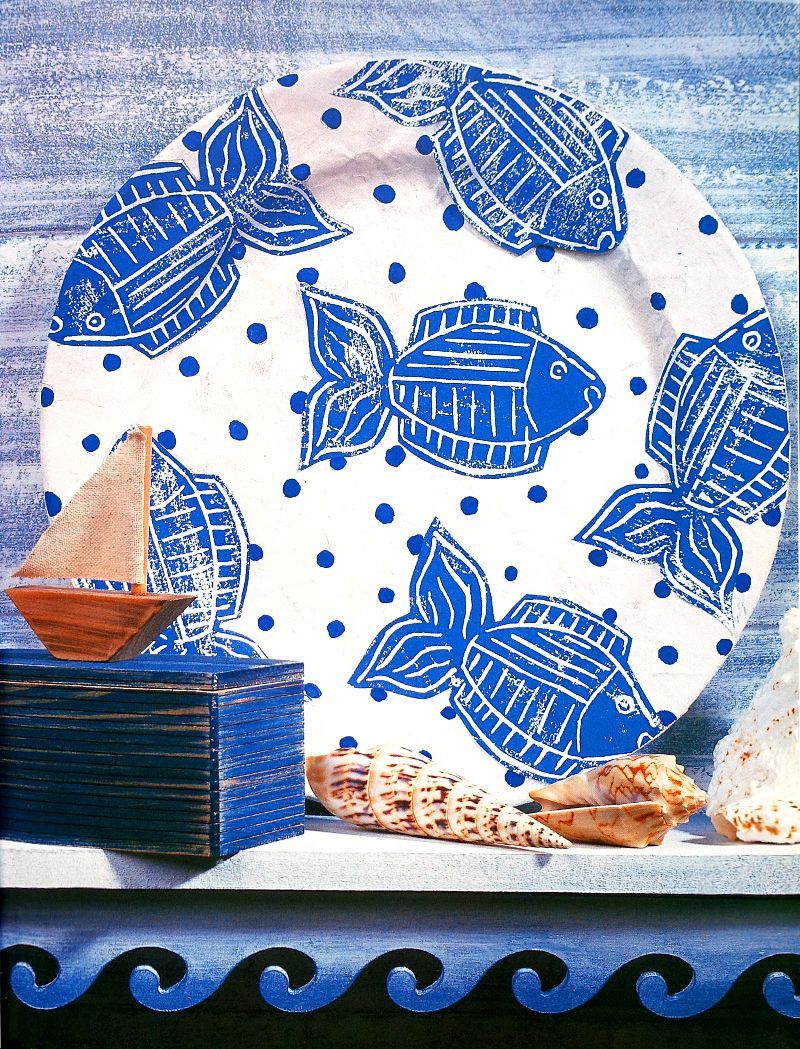
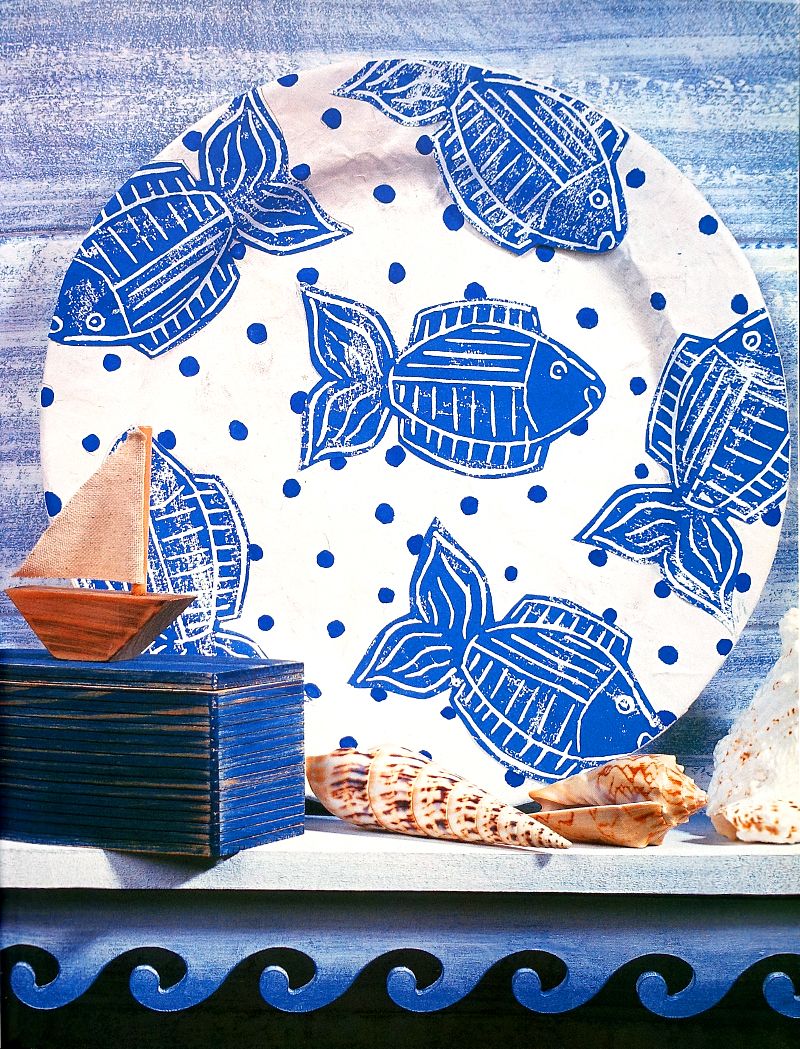
Now, cover the lino with the acrylic paint in a colour of your choice, I have chosen blue for my design. Use broad light strokes to apply the acrylic paint. Try not to overload the brush or let the paint flood into the grooves of your design.
Step 4
Next, carefully lay a piece of plain white paper over the lino design and press it down evenly. Then repeat the process as many times as you need, to get a good amount of prints to cover your plate.
Making A Papier Mache Plate
Step 5
Once all of the paint is completely dry, cut out all of your prints using sharp scissors. Then put them safely to one side while you are making your papier mache plate.
Step 6
Take your dinner plate and cover it with cling film. Then tear the newspaper into strips and soak them in wallpaper paste. You will need to cover the plate in at least 5 layers of papier mache. Then leave it to dry thoroughly.
Adding Lino Prints To The Papier Mache Plate
Step 7
Once dry, remove the papier mache plate from the plate mould and cling film. Then trim the edges of the plate. You can finish the edges off further by wrapping papier mache strips around the edge if you wish.
Step 8
When the plate is again completely dry, smooth it over with the fine grade sandpaper. Then paint the whole plate, on both sides with two coats of white emulsion paint. Leave it to dry again, then stick on your paper prints with PVA glue.
Decorating The Papier Mache Plate
Step 9
You may wish to add more detail to your design. Take a fine paint brush and an acrylic paint colour of your choice to add random spots or other patterns to the white space within your plate design. Allow the whole thing to dry before spraying acrylic spray varnish to the plate.
Papier Mache Plate Design
We learn a lot of skills with this project and that's one of the reasons it's so fun. Then end result is really a creation we have made entirely. If you get to the end, be proud of yourself. Even if you project does not turn out exactly the way you hoped, you have done amazingly well.
Think of more project you can make with these skills and have fun.




.jpg)
