Easy Pompom are Fun, Full Stop!
Making pompoms has been a fun little project for children for many, many years. A great way to use up old wool. They are quick and fun to make. And great for decorating other projects or for creating your own pompom characters all on their own.
Easy to make in different sizes and colours. Easy pompoms are fun for bags, jewellery, fashion and toys.
Things We Need To Make Easy Pompoms
- Cardboard
- Pencil
- Scissors
- Assorted colours of wool
Make A Pompom Template
First, we need to make a pompom template. Really this is just a ring donut shape. Draw a circle on some cardboard, maybe an cereal box. Then make another circle in the centre. The first circle could be around the size of a drinking glass. And then the central circle around the size of a coin.
Draw this ring donut shape on the cardboard and cut out. Then repeat. We need two of these ring donut, circle shapes.
Next we need to hold the circle discs together and start weaving. You can cut a long length of wool and tie one end around the edge of the two ring donut templates. Then weave the wool through the hole and around the edge and back through the hole again. Slowly moving around the edge.
Continue weaving the wool in and around the cardboard discs. Until you have covered the whole disc. If you come to the end of your wool. Tie the next length of wool on and keep weaving in and out until the disc looks really full.
Cutting The Easy Pompom
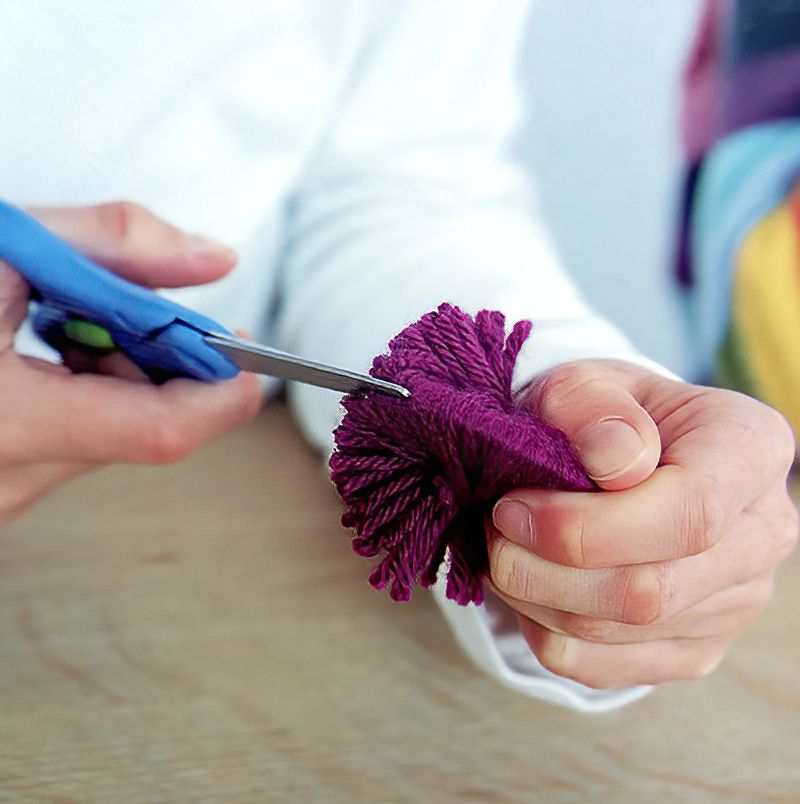
Now with the sharp scissors, very carefully start cutting the wool at the edge. Be careful not to pull any wool through the hole. Carefully and slowly continue to cut around the edge of the cardboard rings.
Make sure to hold the cardboard discs firmly and cut all the way around, so all the wool is held with just the hole.
If the wool is falling out, don't worry. Just consider making new cardboard templates with a smaller hole. Or maybe wind more wool around next time. A fluffier pompom, needs a good amount of wool.
Tie The Pompom
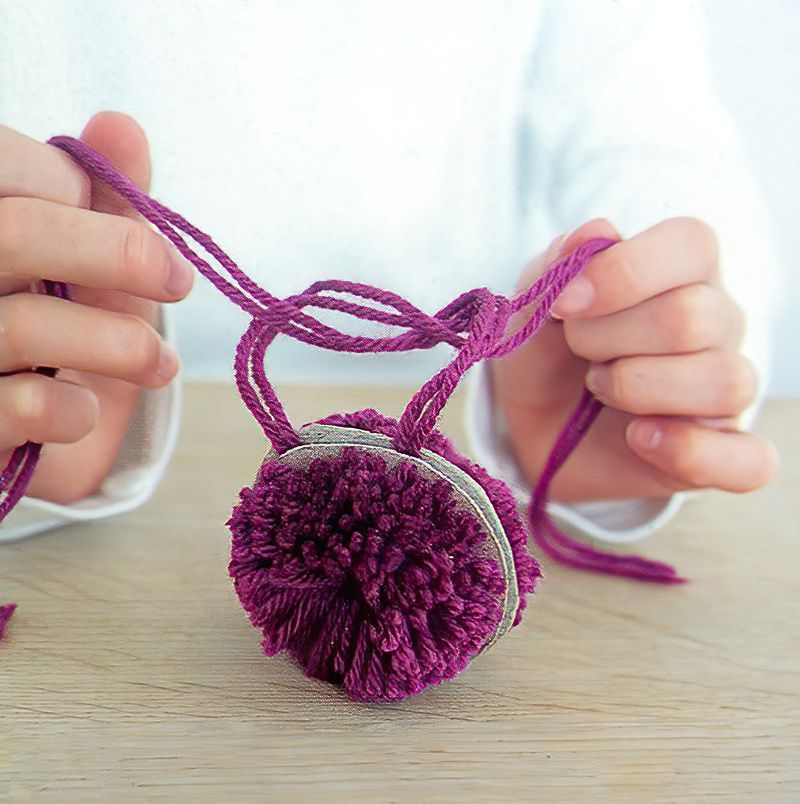
Now we can see why we needed two cardboard discs. Once the wool is cut all the way around. Take another shorter length of wool and slide it in the slot between the cardboard discs. Pull the wool tighter and tighter and then tie the ends in a knot.
Repeat this with more wool and tie another knot around the centre. We are securing all the strand of wool here. So if you feel your pompom is a bit loose, you can just tie another piece of wool again, around the centre.
It needs to be relatively tight or your pompom will slowly start to fall to pieces over time.
Finishing The Easy Pompom
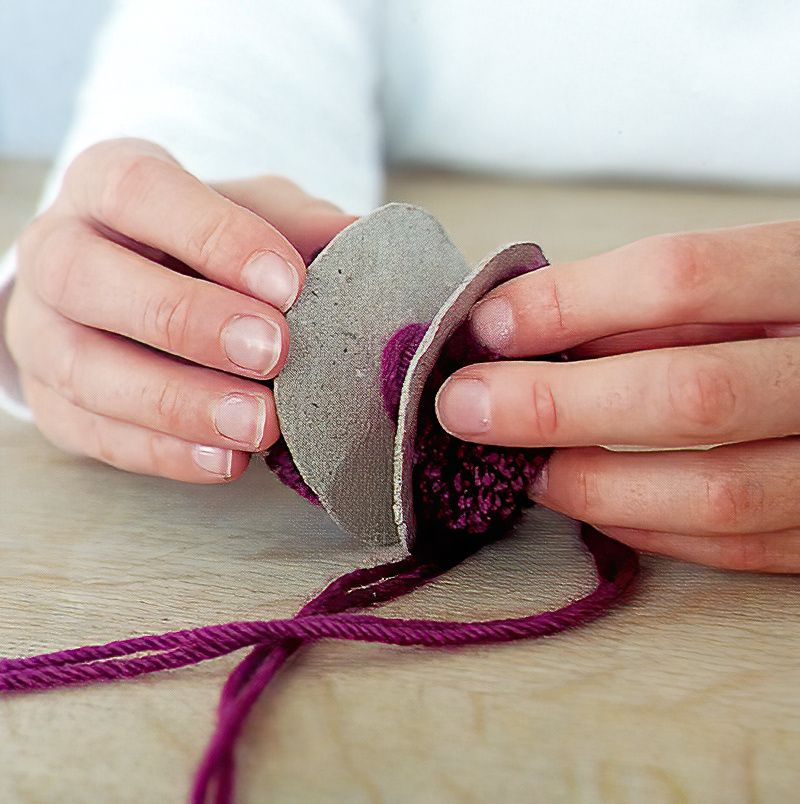
Now we are nearly done. Carefully start pulling the cardboard discs apart. We are basically now just trying to gently pull the cardboard discs off the pompom. If you need to cut the cardboard discs it is ok, we can make more discs for the next pompom.
Remove the wool pompom from the cardboards discs and we are nearly finished.
Once the pompom is separated from the cardboard. Squeeze and squish it in your hands to make it into a lovely ball shape. Cut off any dangly bits to make your pompom look neat and tidy. And you are done.
Congratulations you are a master of the easy pompoms.
What else can you make with your new pompom creations?
Pompom Characters
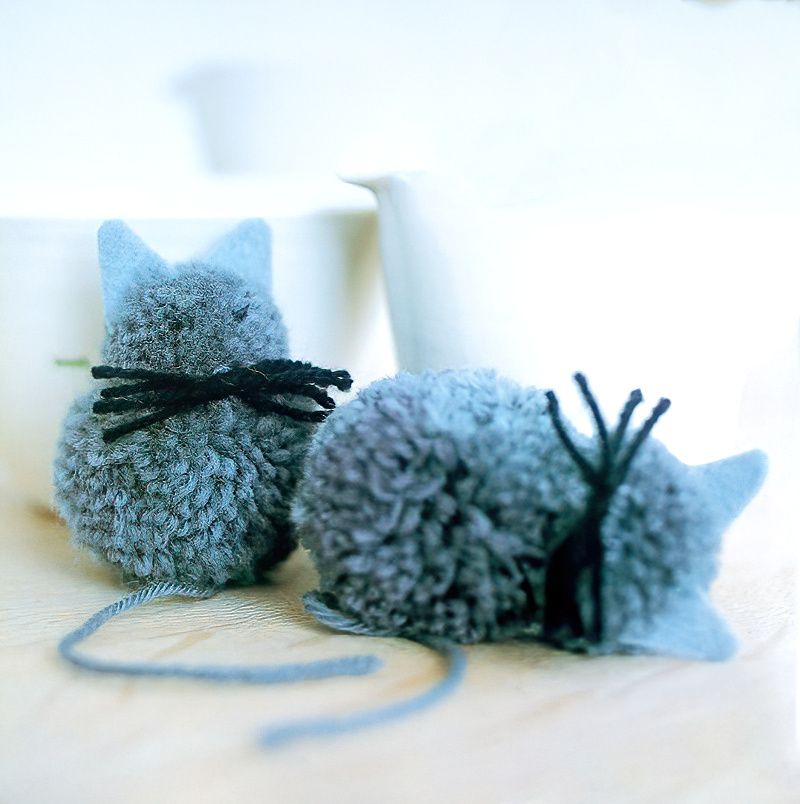
Make a number of different sized pompoms and you can join them together to make little characters. Join two pompoms using the wool from the centres.
Add whiskers and little ears to make cute cat characters.
Interior Design Pompom Ideas
Embellish your interior design decorations with fun little pompom details. Make pompoms that match the fabric in colour. Or add contrasting colours to make your pompom details really stand out.
Additional Pompom Ideas
Add pompoms to your fashion items. Maybe a bag or your slippers or a woolly hat would look super fun with a touch of pompom magic. Use your imagination and see what else you can add fun little easy pompoms to.













.jpg)
