You Can Make Beads Out of Paper, Yes Really!
Paper beads evaded me for years and years. I just didn't connect that you can actually make beads out of paper. Now it seems so obvious.
Paper bead necklaces are super easy to make, and can actually be created from materials you can find laying around your own home.
Like a lot of crafting projects, the making looks tricky, but actually it turns out to be reasonably easy. So all we are left with is the creativity. So everything is good. And if you are anything like me. Once you learn how it's done, you will probably have a hundred necklaces and bracelets in every drawer.
Obviously patterned or brightly coloured papers are a good place to start. But more sophisticated finishes can be achieved using more subtly coloured papers.
To make your beads more durable and semi waterproof, you can give them a coat of varnish or shiny glue. Make note of the thickness of the paper you are using to make your beads. Thinner paper may require a few stripes to build up the thickness you want. For bigger beads use the thickest paper you can.
Things Needed To Make a Paper Bead Necklace
- Basic papercraft tools
- Paper, here we are using music paper
- Diamond Glaze or similar varnish adhesive
- Small paint brush
- Length of thin wire
- Memory wire, this is just wire you can bend and it holds it shape
- Round nose pliers or similar
How To Make Paper Beads
Step One
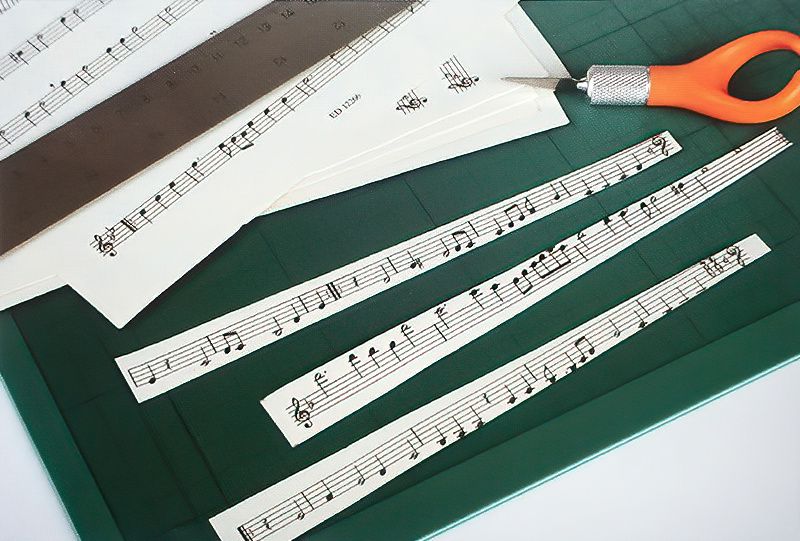
Cut a page of sheet music into strips. We want to create a very slight taper along the length of the strip. So use a craft knife and cut the strips, but make the cut at a very slight angle. Then the next strip make a very slight angle going the other way.
Make the strips as wide as you want your beads to be. Here my beads are 1.7cms wide or eleven sixteenths of an inch wide tapering to 1cm wide or three eighths of an inch wide. The strips are also approximately 20cms long or 7 and three quarter inches long.
But you can make the beads wider or thinner if you want longer or smaller beads. And just wrap more paper to have larger beads.
Once you line up the strips with the wider end towards you, you will see the taper. I hope this makes sense. See the above image again to see the taper.
The reason for the taper is because, when we wind the bead, we will start with the wider end and so as we wind the bead, the taper means we will produce a nice shape. The shape will be more like a tapered capsule, rather than a cylinder. A paper bead necklace with cylinders might work, give it a go.
Make Paper Beads From Strips Of Paper
Step Two
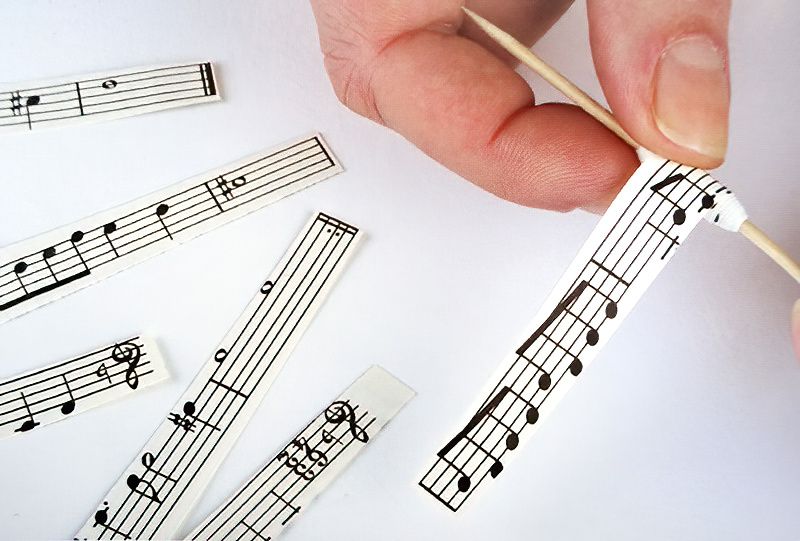
So to start a paper bead necklace, take one of your strips and place the wider end around a cocktail stick. Roll the paper tightly and keep going. Continue to roll and take your time. Make sure the roll looks even and there are no crinkles or gaps in the layers.
The Basic Paper Bead Principles
Step Three
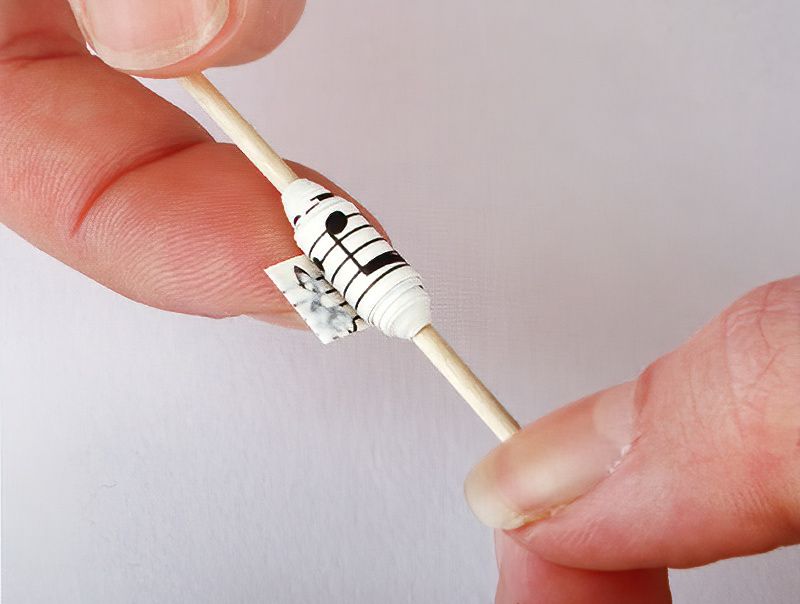
Keep carefully rolling the bead all the way to the end of the strip. Once you get the end of the strip and your bead looks neat and tidy, place some glue on the last wrap and glue it down to finish the bead.
Paper Bead Assembly
Step Four
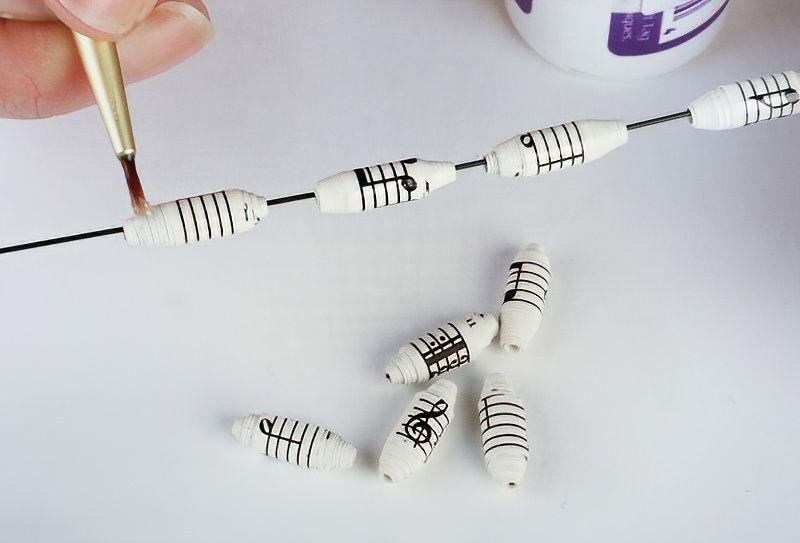
Now the bead is glued down, remove the cocktail stick and let the glue thoroughly dry. Once you have a number of beads made, you can thread them onto some thin wire. Gardening wire works well. This is just to support the beads while we varnish them.
Thread the beads and support the wire and give them a coat of suitable varnish. Leave then to dry again. Then we can assemble our paper bead necklace.
Start A Paper Bead Production Line
Step Five
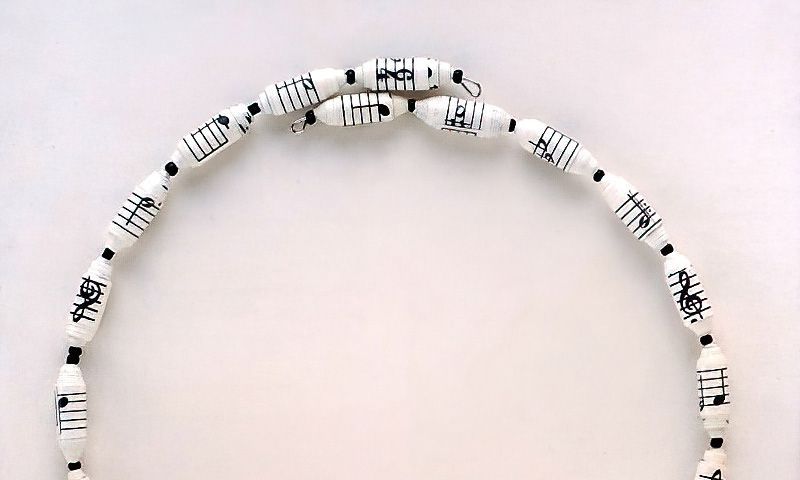
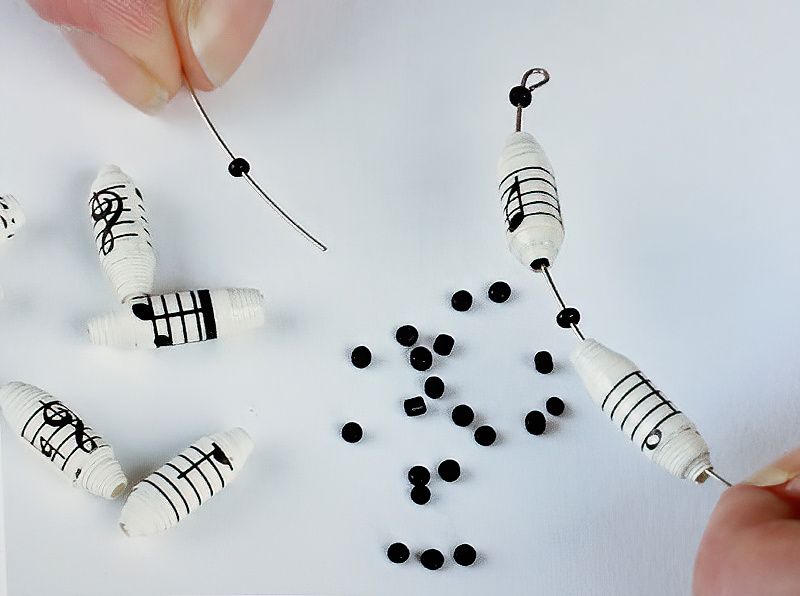
Once you feel you have enough beads and the beads are all dry. Now you can thread them onto the silver memory wire. Memory wire is just wire that will hold its shape once bent. Here for our paper bead necklace I am using smaller black beads just to add some separation between the paper beads.
But have fun making your own paper bead necklace designs and styles the way you like it.
Final Assembly Of The Paper Bead Necklace
Step Six
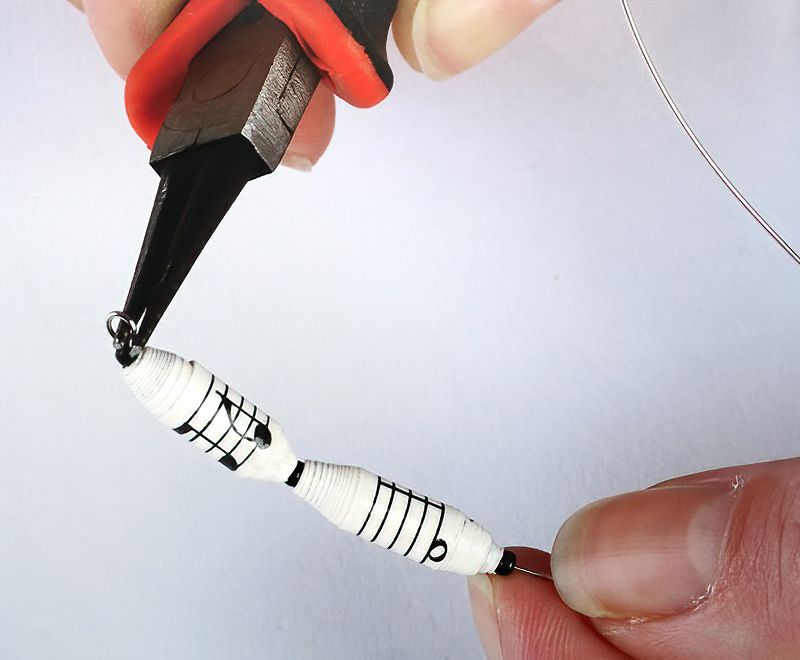
To finish we use the round nose pliers to create a little loop in the end of each wire. Pull the beads relatively tight and then create the loop. This will stop the beads from falling off.
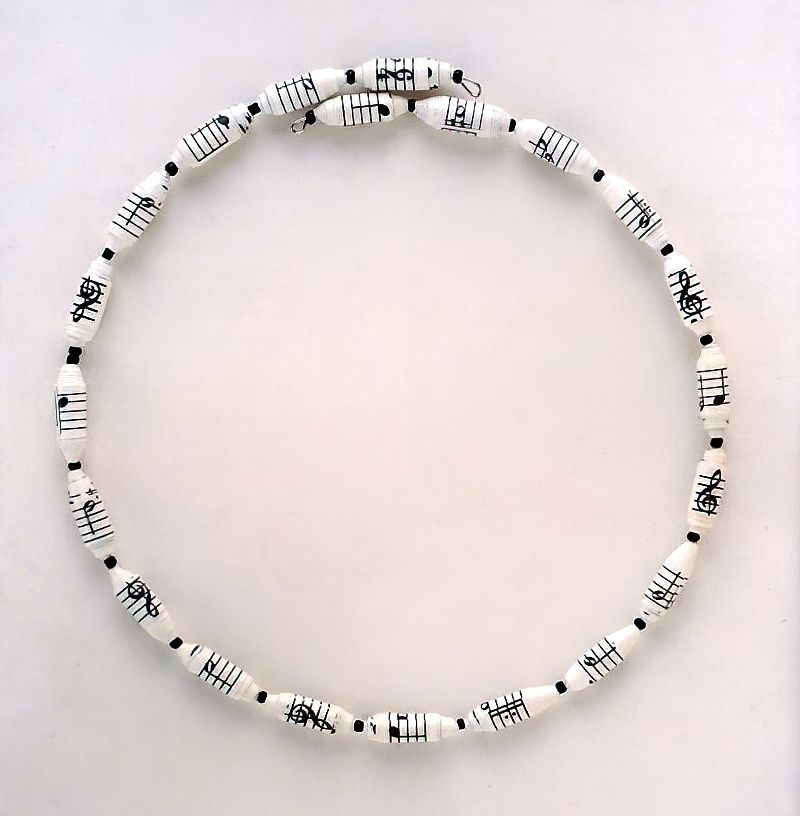
Memory wire is stiff and holds it shape so I do not even have a fastener here. The wire is pulled apart and springs back to grasp around the next.
You can upgrade my design with your own clasp or simple hooks or simply make a necklace larger than your head so no clasp is needed.
And that's it, we have finished our first paper bead necklace. I hope you can see how simple it really is. And actually how addictively fun it can be once you realise, oh I can make beads out of anything. Materials just lying around my house.
So have fun and be creative and I can't wait to see your own paper bead necklaces.

