How To Make A Toy Town
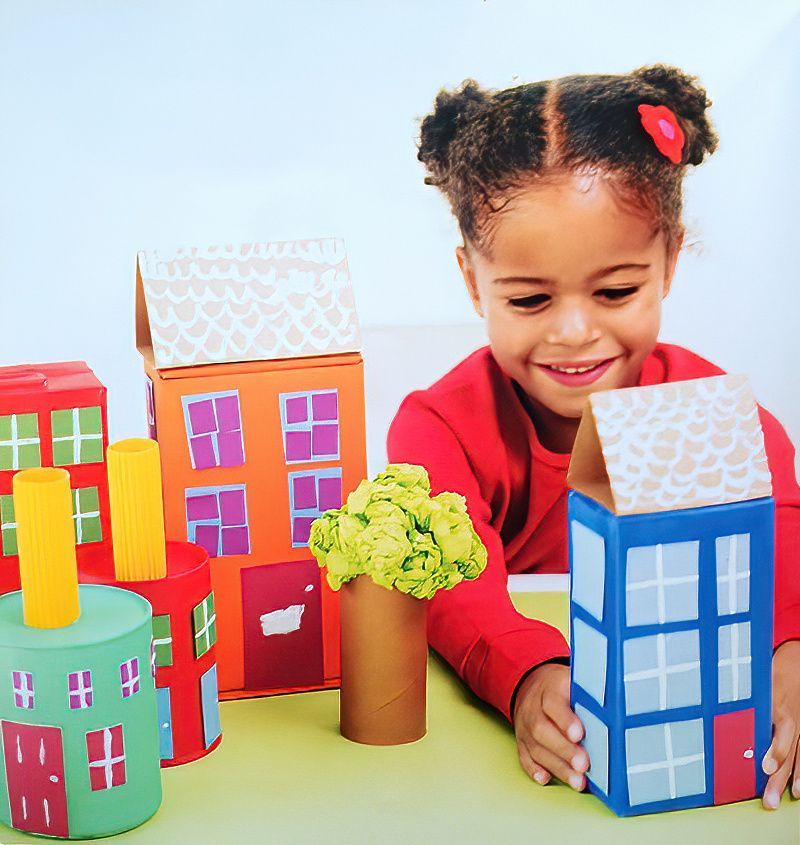
This is a great project because it is really a lot of fun. And we can also do some recycling too. We can use some used juice boxes and old cereal boxes and cardboard tubes to make a fun little village. An easy project to get started, that can just go on and on. You may end up with a toy town city.
Keep other scraps of cardboard packaging to cut up for windows and doors and use scrunched up tissue paper for trees.
What do we need to make a toy town
- Cardboard packaging to make the basic houses
- White paint
- Paintbrushes
- Scissors
- Other scraps of paper for window and doors
- PVA glue
- Card for roof
- Sticky paper
Let's Start To Make A Toy Town
Step One
Oh this is going to be fun!
When we make a toy town, the whole idea is not worry too much about it being perfect. Wobbly windows and doors and details are fun. Bright colours are best. And when we have a few houses made and laid out together. Our wobbly, fun little toy town will be super fun to play with.
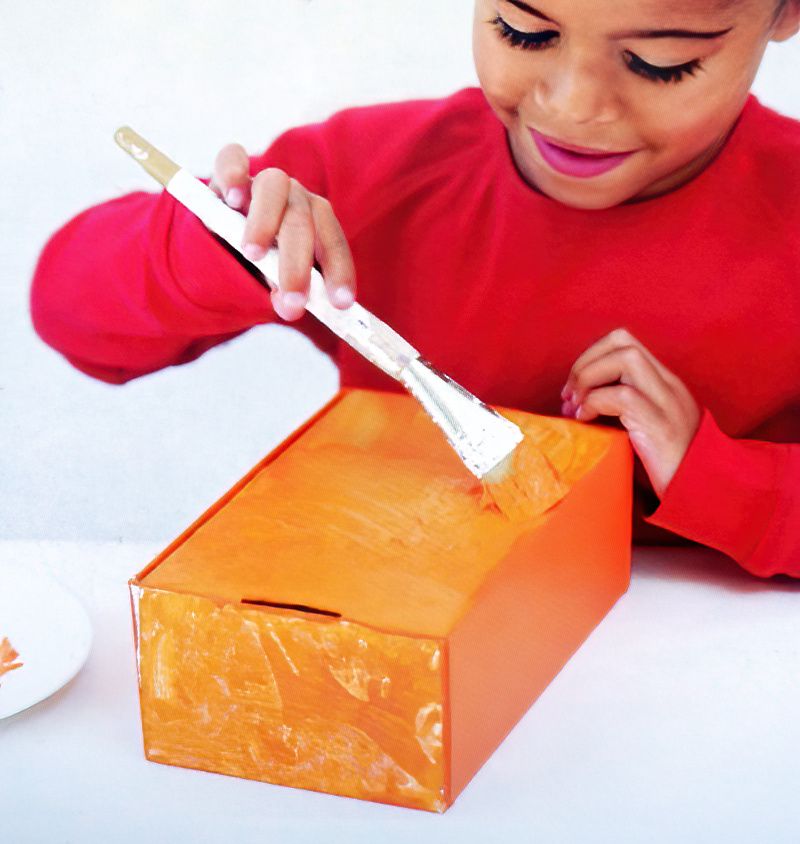
So select your first box and pick a paint colour. Use a thicker brush to speed up your painting. Paint the whole box a bright colour. Let the paint dry. Paint it again, if you can still see some of the original box design coming through the paint.
Let all the paint dry.
Now We Need To Add Some Windows And Doors
Step Two
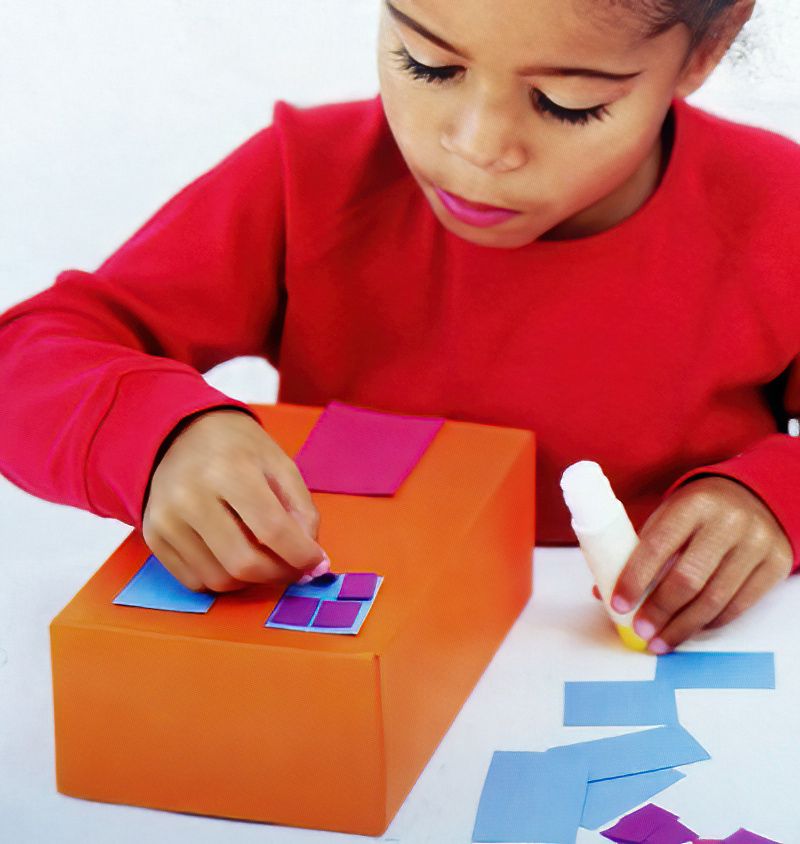
Once the paint is dry, we can cut out some bright coloured squares and rectangles for the windows and doors. Use bright coloured paper and card. Use different colours that contrast.
For a window, cut one shape for the whole window. Then cut four smaller shapes for the window panes. For the doors, cut a bigger rectangle of card or paper.
Before gluing, lay out your doors and windows on the box. Move them around and arrange them the way you think looks nicest. Don't worry if you have cut too many shapes for windows. We will use them on the next model.
Once you are happy, glue all the windows and doors in place.
Now Let's Add Detail To Our Toy Town House
Step Three
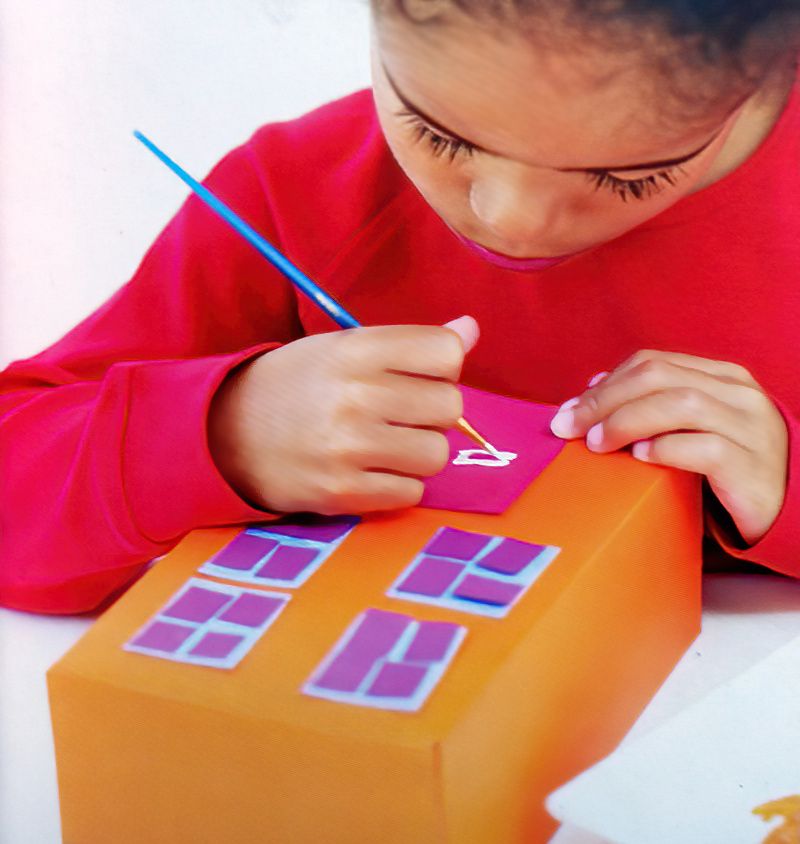
Now we can use paint and a small paintbrush to add some smaller details. Add details like a letterbox and a door handle. Add any other details you like. This is your toy town, you can make it the way you like.
Finish The Make A Toy Town Project
Step Four
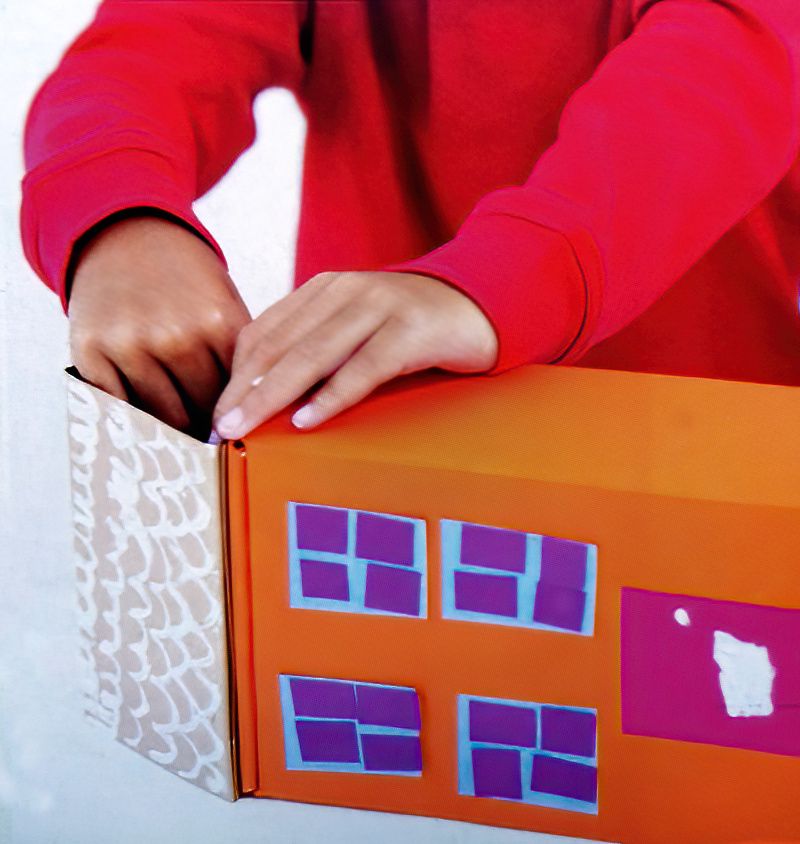
Now we can make a simple roof. Cut a piece of card that is around 22cms long or 9 inches long and as wide as your house box you are making.
Now we need to fold the card in the centre to make the peak of the toy house roof. Then make two more folds on either side of the centre, towards the edges. This will make flaps so we can fold underneath and stick the roof to the top of the house.
Now you know the basic idea of how to make the roof, you can make adjustments to where you fold the card. If you make the second folds further out from the centre, your roof will be higher. Further in and the roof will be shallower.
Finally to finish the roof, use double sided tape or glue to stick the roof to the top of your box. Paint the roof the colour you want. Let it dry. Then use a smaller paintbrush to paint little tiles on the roof.
Congratulations!
This is the basic idea of how to make a toy town. You can weigh down the boxes by popping something inside them, like plasticine or rice or anything you like.
We would love to see how you make a toy town. Take some pictures and add them to your own studio, then please comment below telling us your studio name so we can search for you.









.jpg)
