Leaf Wall Panels Are Decorative And Add Interest
I really love working with papier mache. I still get just as messy as I did when I was a child. As do my children now, but that is all part of the fun.
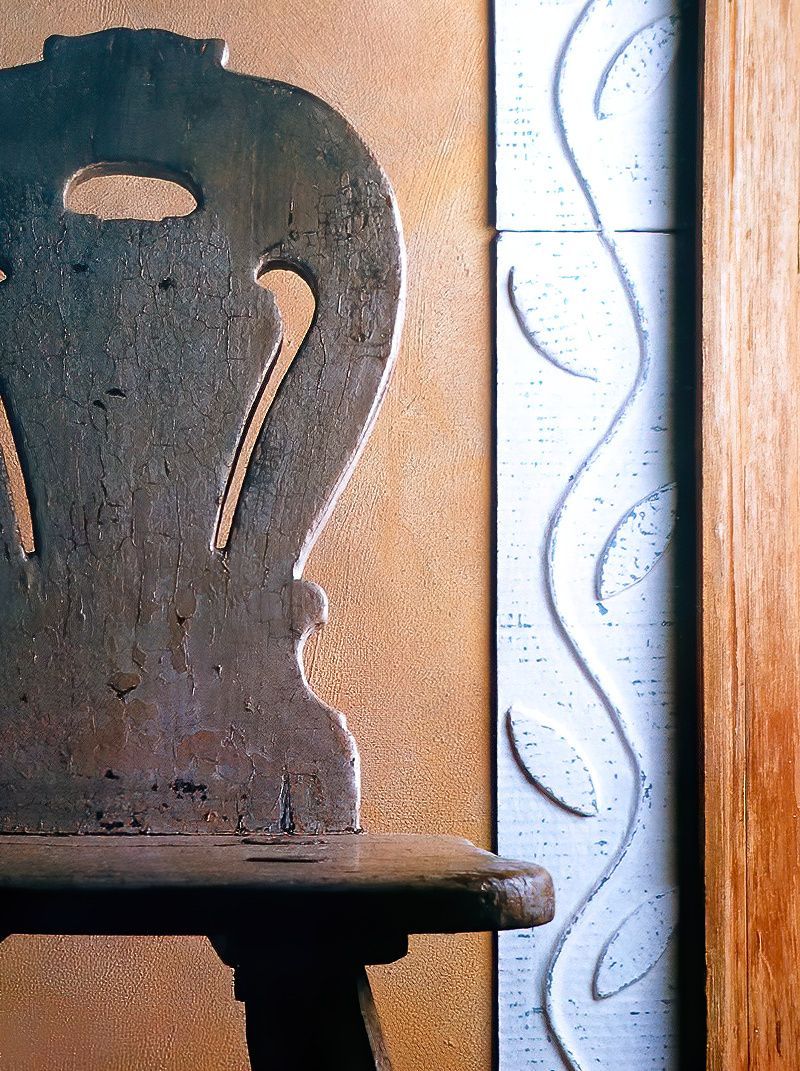
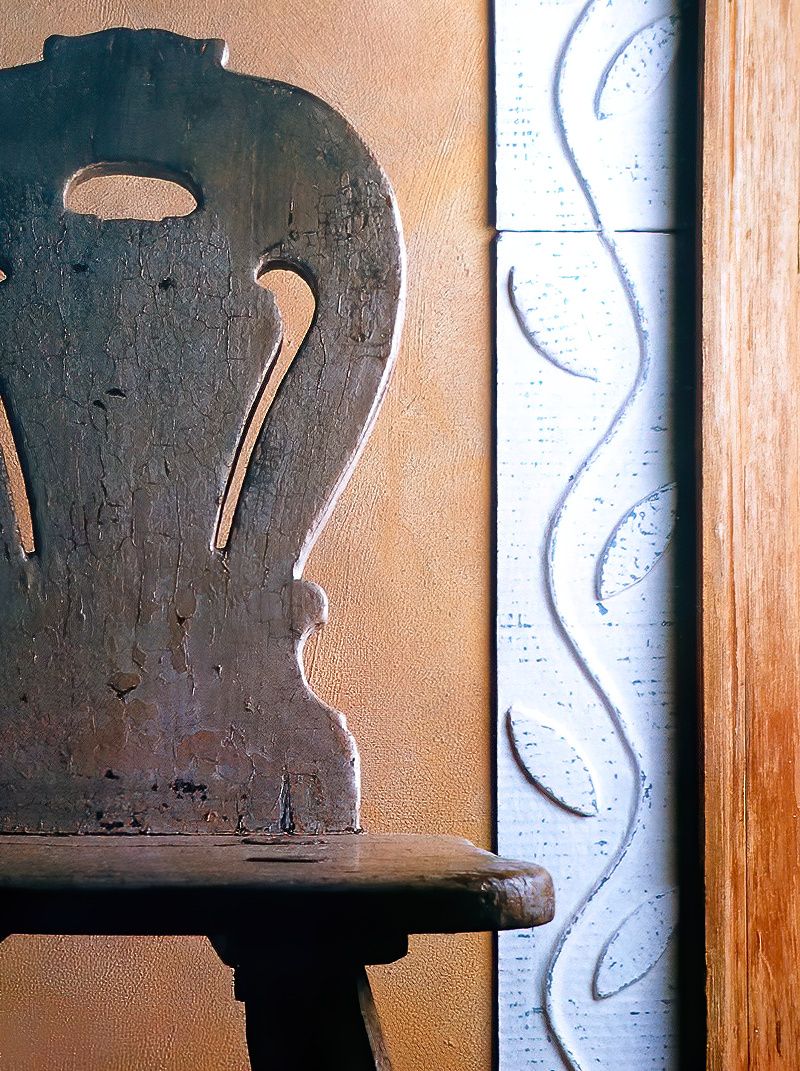
These decorative leaf wall panels are really fun to make. You can actually make any design that you wish, in any colours that you like. I have chosen blue emulsion paint for the base colour and white emulsion paint for the top colour.
To Make These Decorative Leaf Wall Panels You Will Need
Materials
- Heavy Corrugated Cardboard
- PVA Glue
- Thick Cotton Cord
- Masking Tape
- Newspaper
- Emulsion Paint
- Petroleum Jelly
Equipment
- Scissors
- Small Decorators Paint Brushes
- Sheet of Plastic
- Metal Ruler
- Pencil
- Hole Punch
- Tracing Paper
- Cutting Mat
- Craft Knife
- Fine Grade Sandpaper
- Soft Cloth
Making The Top And Side Panel Of The Door
Step 1
Start by making the top and side of the door by cutting out three panels of cardboard to fit correctly around your chosen door. Then brush each panel with a coating of diluted PVA glue. And then leave it to dry thoroughly on a flat surface protected by plastic.
Step 2
Next, draw a line down the centre of each panel. And measure and mark every 15cm all the way down the line.
Making A Leaf Design For The Decorative Leaf Door Panels
Step 3
Now, dab a small amount of undiluted PVA glue onto each of the 15cm marks. Then cut a length of cotton cord for each of the panels. Attach it in a wavy line, or however you would like it to look. If you are going with the wavy line, make sure that you curve it in and out between the 15cm dabs of glue.
It is best to use some small pieces of masking tape to keep the cord in place. Then line the panels up, ensuring that the cords on each form a continuous wavy line.
Step 4
Next, make a tracing of a leaf shape. This can be any type or shape leaf that you wish. Transfer it on to a piece of cardboard, four times for each panel or as many times as you need. It is best to cut around the leaf shapes carefully using a craft knife and cutting mat.
Then glue each leaf at equal distances around the panels. Then tear some newspaper into 2.5cm wide strips and dip them into a diluted PVA glue mixture. Cover each of the panels with three layers of papier mache. Then leave to dry thoroughly on a flat surface.
Painting Papier Mache Leaf Wall Panels
Step 5
Once the papier mache is completely dry, gently rub down each of the panels using fine grade sandpaper. Then prime all of the leaf wall panels with two coats of white emulsion paint, and again, leave to dry thoroughly.
Step 6
Now, paint the front of each panel with a coating of blue emulsion paint, or any colour of your choosing. Then leave it to dry.
Layering Paint On To Papier Mache
Step 7
Once completely dry, use a soft cloth to apply a thin coating of petroleum jelly to the whole front surface of the panels.
Step 8
Then paint the front of all of the panels again using two coats of white emulsion paint. Make sure that you completely cover the blue paint before leaving it to dry.
Giving A Distressed Look To The Papier Mache Leaf Wall Panels
Step 9
To finish off your decorative leaf wall panels, rub down the surface of each with the fine grade sandpaper. So that small amounts of the blue paint show through, giving it a distressed look. Then finally, attach the panels to your chosen door frame using PVA glue.



.jpg)

