Making Collages Is Super Fun and You Can Animate This One
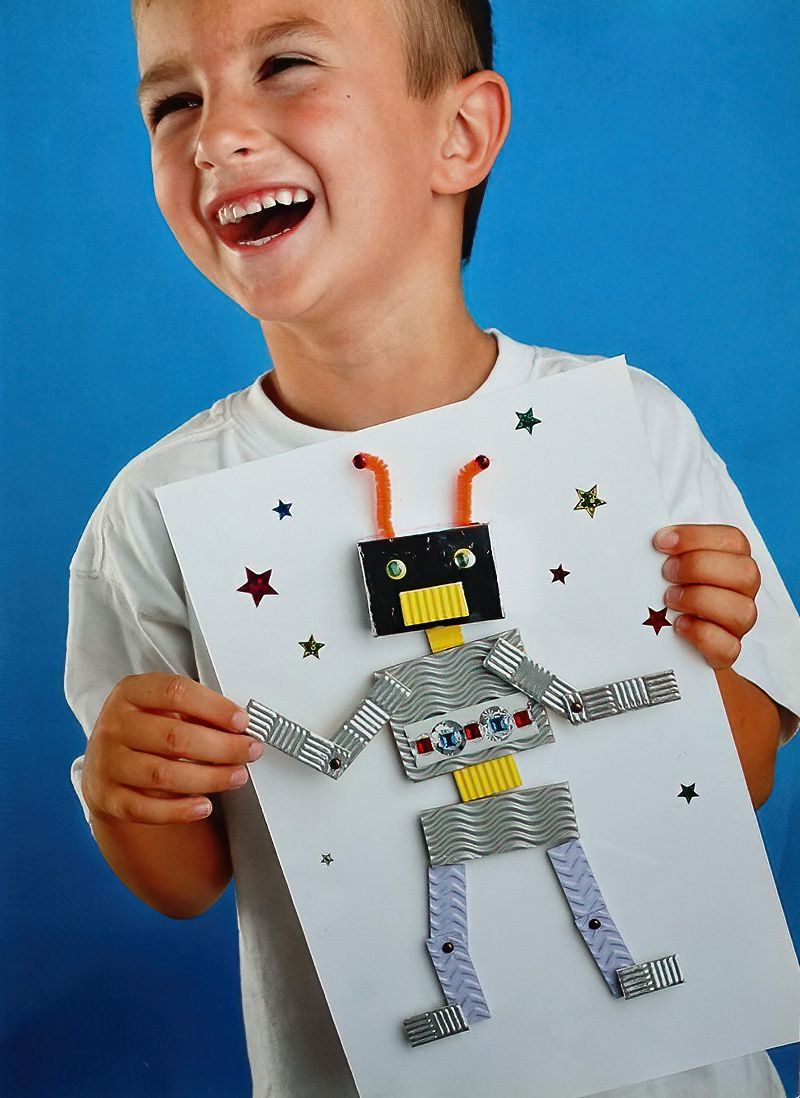
Our fun robot character is brilliant to make and really adds a cool decoration to anyone's room. But this robot collage is special because we use split pins in the joints. Now we can animate our robot collage and make him or her stand and pose how we want.
Maybe our robot collage can point at something. Or hold up a sign. Maybe he has his arms down and is calm. Or has his arms up and is shouting!
A variety of robot looking things can be collected before hand. Think of shiny sweet wrappers and other robotic parts that will make your model look more interesting.
What do we need to make a robot collage?
- Small cardboard box lid
- Aluminium foil
- Pipe cleaners
- A4 card or thick paper
- Sticky foam pads
- Metal paper scraps or textured card
- Paper fasteners or split pins
- Glitter glue
- Gemstones or sequins
- Hole punch
- Scissors
How To Make A Cardboard Robot Picture
Step One
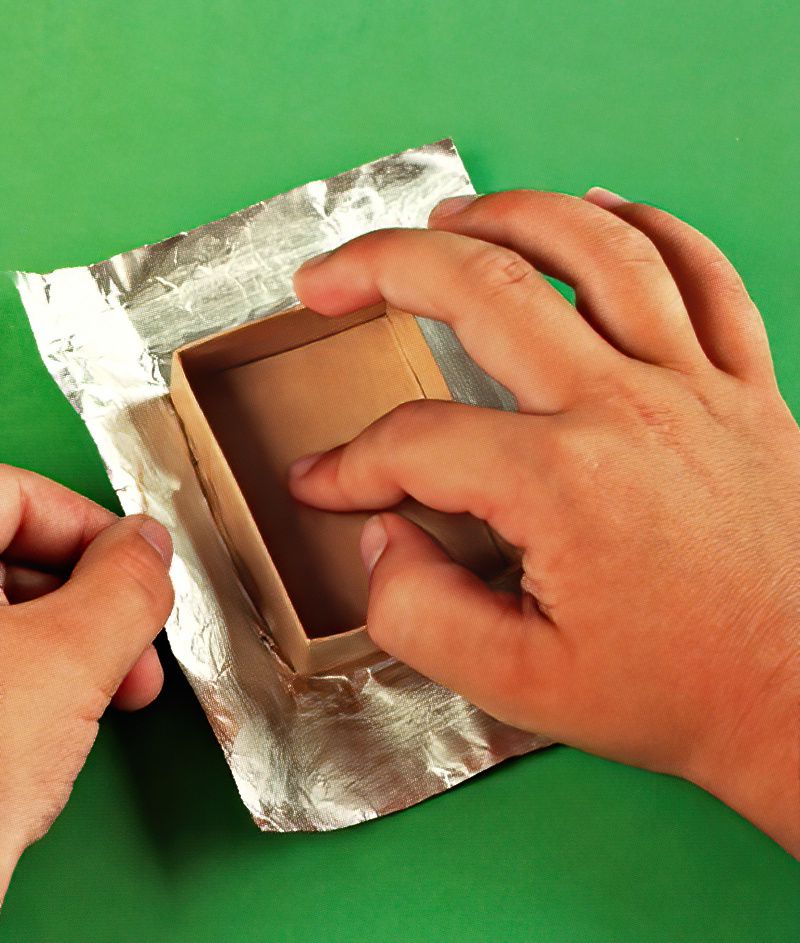
We start with the robot head. Any small box will do. Maybe a matchbox or some old packaging. Everyone will make a robot collage picture that is different and that is great. So don't worry too much about getting exactly the right box lid.
Maybe your robot has a big head or maybe they have a small head. It's fun to make a few robot pictures so they can have a chat on your shelf.
So once you have a box, cover it in the tin foil. You can use a glue stick to help stick it, if you need to.
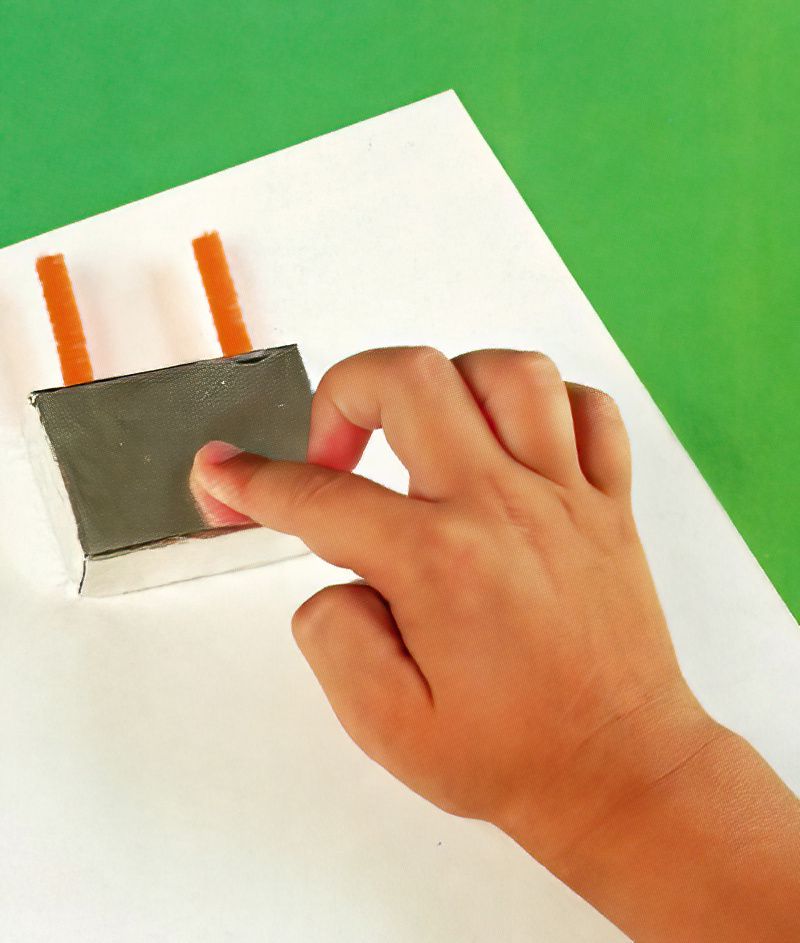
Then, once it is wrapped, use the hold punch to punch two holes in one of the longer sides. Then poke through the pipe cleaner. Bend it into position as antennas.
Make The Cardboard Robot Head
Step Two
Now we can stick the head in the correct position on the card. Use the sticky foam pads to attach the box to the card background.
Now we can cut out a rectangle of textured card for the body of our robot collage.
Make The Cardboard Robot Arms And Legs
Step Three
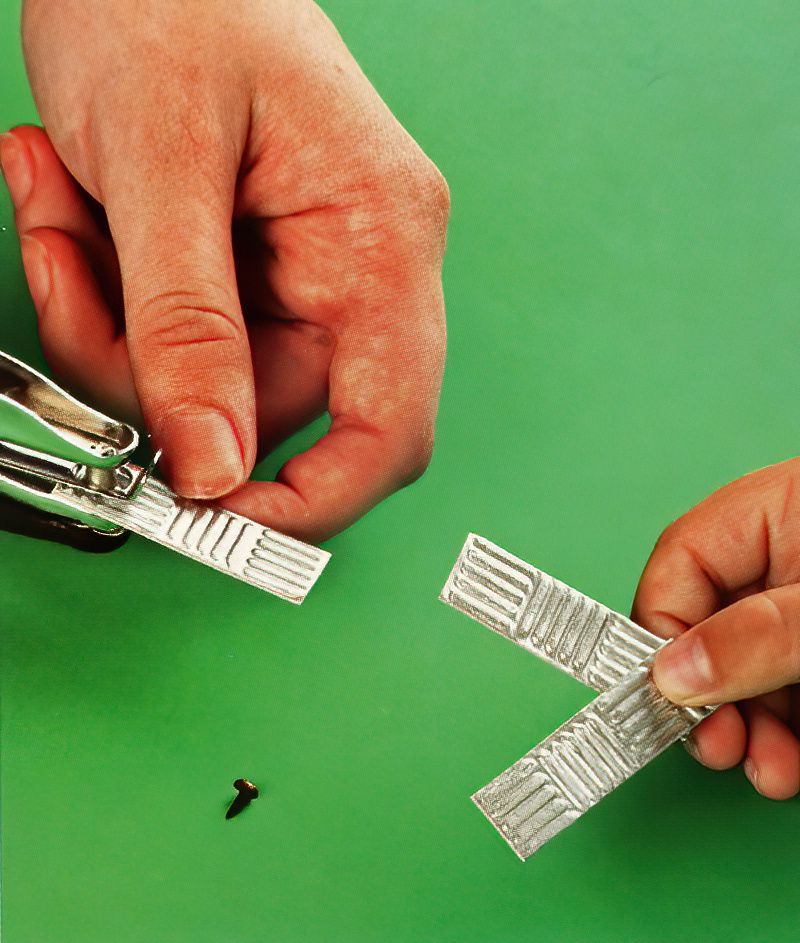
Cut strips of textured card for the arms and legs. Use the hole punch to punch holes in the ends of the arm and leg pieces.
Then we can start making the arms and legs by using the paper fasteners or split pins in the holes. Bend the back of the split pins to hold them in place.
Finish Making The Robot Picture With Decorations
Step Four
The final stage of making our robot collage is to decorate them.
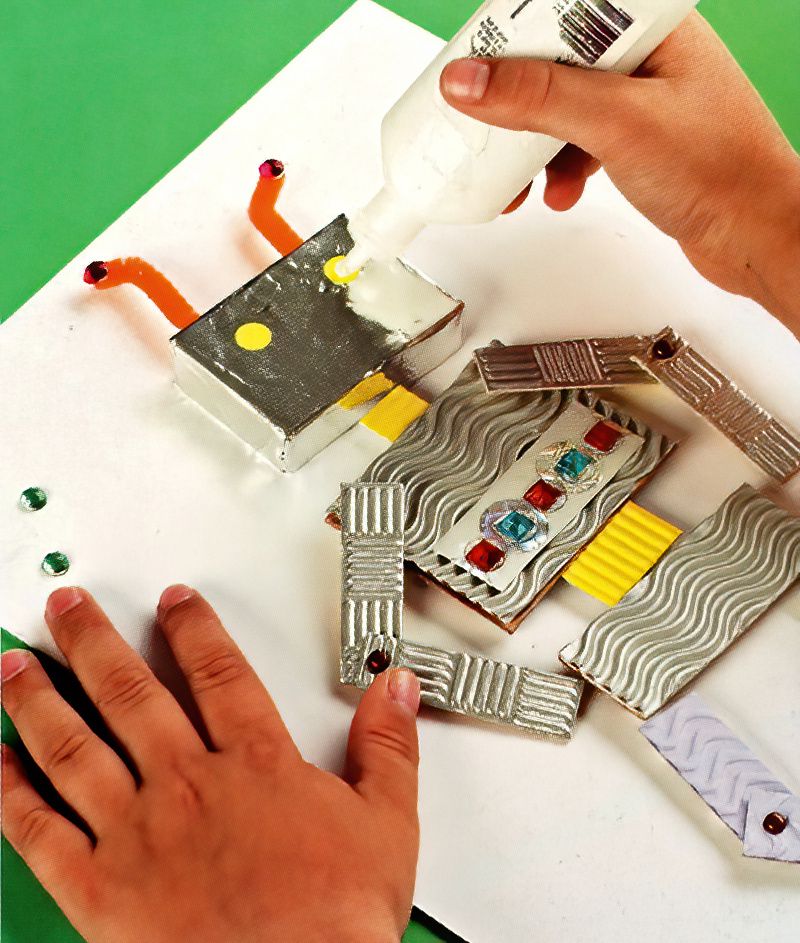
Glue the body parts down in the correct positions, using the foam pads. Then glue the arms and legs to the body using more of the foam pads. Then we can use the glitter glue to stick on gems and sequins and anything robot like.
Try and make them look like lights and buttons and robot things.
Decorate your robot exactly the way you like. Your robot collage will look very different to ours and that is brilliant.
It's fun to be creative and make your own designs. If you enjoyed making a robot collage, think about how you could make one even more different.
Maybe they are bigger or a weird shape or have four arms and three legs, or two heads and wheels. We can't wait to see what you make.












.jpg)
