Here Is My Easy Bead Necklace Tutorial
Beading is such a wonderful hobby to start. On the surface beads and beading is very simple. Thread some pretty beads onto some thread, wire or elastic and you have yourself a pretty and unique piece of jewellery.
However, the more you look into beading, the more you will soon realise it can get more and more complex. And there really is no end to the amazing designs and ideas people come up with. This is what makes beading so addictive.
Endless bead designs, endless ideas and endless excitement putting it all together.
So here is my easy bead necklace tutorial for the absolute beginner.
What We Need For Our Easy Bead Necklace Tutorial
- Strong thread or embroidery thread
- 1 small wooden bead
- Large needle for threading
- 35 wooden beads
- 9 felt flowers
- 5 felt beads
- Scissors
- 15cms or 6inches of narrow velvet ribbon
Let's Start With Our Bead Necklace Tutorial
Step One
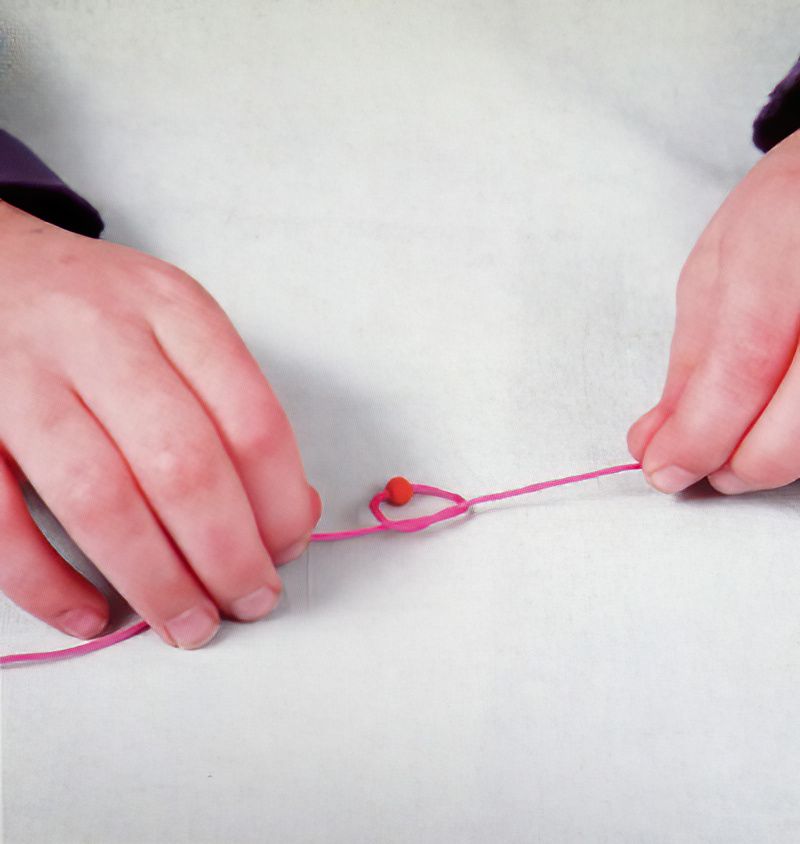
So to start with our bead necklace tutorial we need to take our strong thread or embroidery thread and pop on the small wooden bead. This will be our stopper. Basically it will stop all the other beads from falling off.
So first cut a length of the thread. To measure the length, gently hang the thread around your neck and imagine how long you want your necklace to be. Now add about 15cms or 6 inches extra of thread.
Next take the small wooden bead and tie it onto the end of your thread. But don't tie it right at the end. Tie the wooden bead about 8cms or 3 inches in from the end of the thread. This is because we need to tie the ends together later.
Tie a double knot so it won't budge.
Start Threading Beads On Our Easy Bead Necklace
Step Two
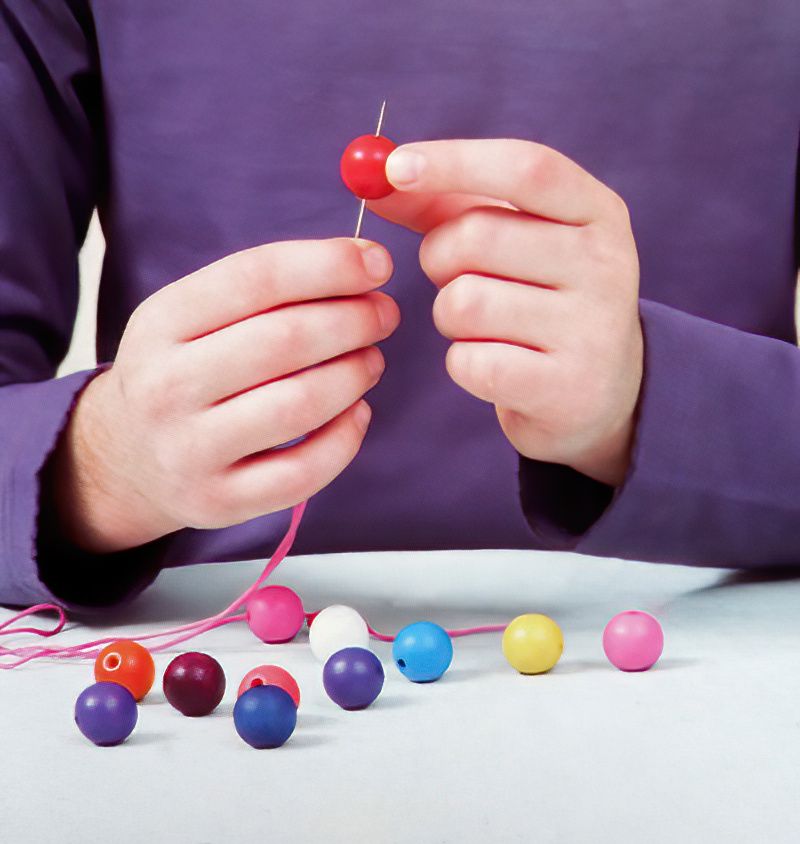
Now we can thread the other end of the thread through our needle. So we should have a long piece of strong thread with the small wooden bead tied on one end and the needle on the other.
Now we can think a little about colours and designs or just have fun and start popping your beads onto the necklace.
If you want to think about a design, it helps to lay out the beads in a line in front of you on the table. To stop them rolling away, put down a tea towel or similar. Once your beads are in a row, swap them around to get a nice even design.
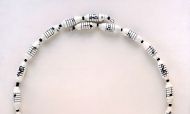
Thread some of the beads onto the necklace. Here we are threading five bead on first.
Continue Threading Beads For Our Easy Bead Necklace Tutorial
Step Three
If you have laid all your beads out in a line on a tea towel, you can just simply pop them onto your thread now. Otherwise experiment as you go along. We can always unthread the beads.
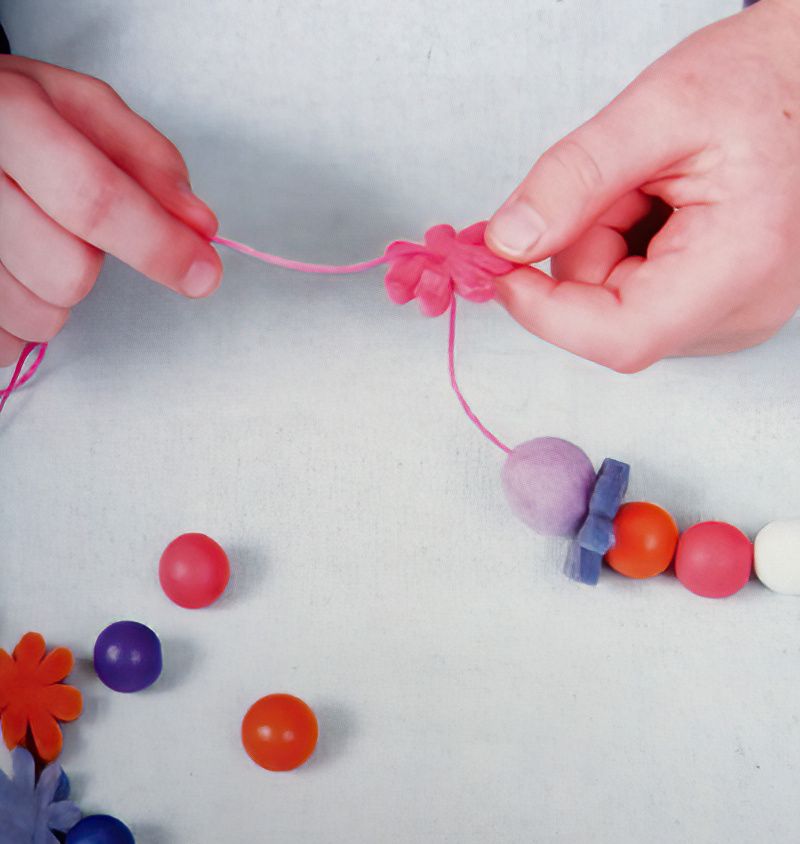
Here we are going to add some felt flowers after our first five beads. Then a felt bead.
Repeat again, with five wooden beads and then a felt flower and another felt bead.
Don't worry if your necklace is a bit mismatched or you missed a bead in your pattern. I think odd necklaces look very interesting and unique.
Continue until we get close to the end. We need at least 8cms or 3 inches of thread at the end to tie off our necklace.
To Finish Our Easy Bead Necklace Tutorial
Step Four
Now let's finish our easy bead necklace tutorial. Finally, carefully remove the needle, holding tight to the thread. Make sure the beads are sitting on your table so they are not pulling the thread too hard.
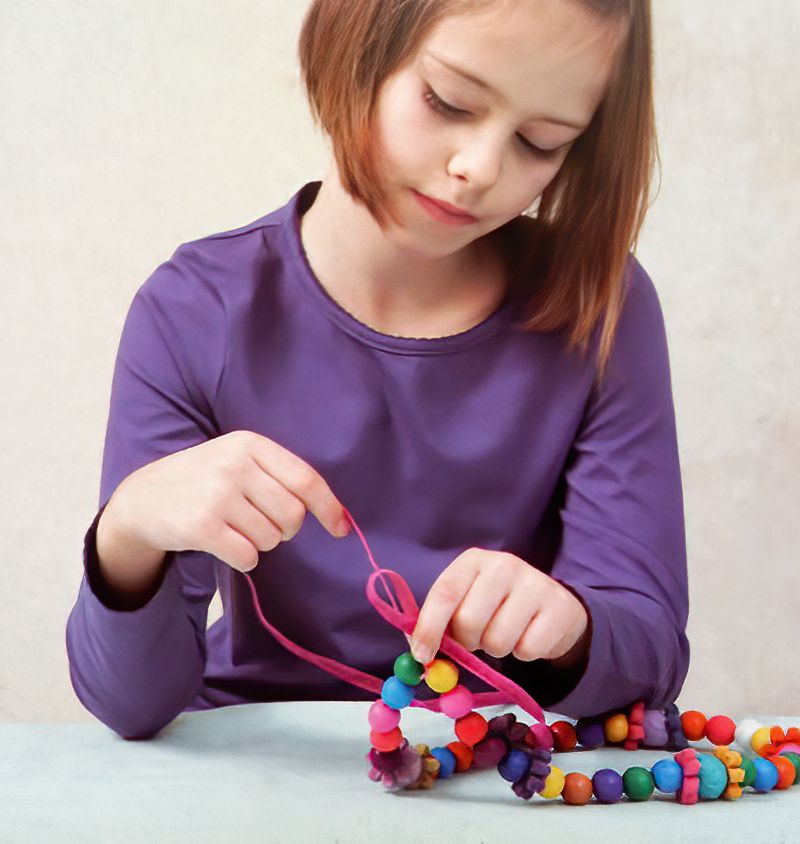
Now we want to simply tie this end to the end with the small wooden bead. Tie the ends together. Tie a few knots and pull the thread tight so it won't come undone.
Now we can trim off any dangly bits of thread.
Last, it is likely there is a little bare piece of thread where we tied the knots. Even though this piece will be behind our neck, we can still finish it off nicely. We can use some of the ribbon to tie around the knots. Tie it in a nice small bow. Then cut the ribbon ends at an angle to stop them fraying.
Well done, you have completed your first easy bead necklace tutorial. Beading is a wonderful hobby that appeals to all ages. Jewellery makes wonderful gifts for others or even just for yourself. So have fun and don't forget to show off your necklaces on your own studio on Society of Makers.

