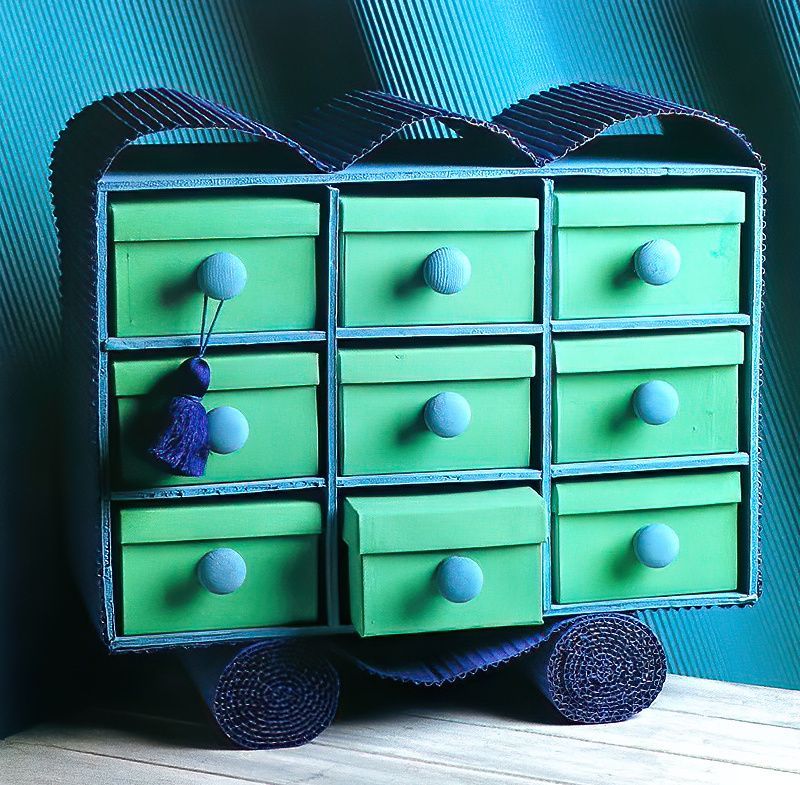
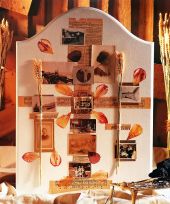
A Mini Chest Of Drawers Is Really Useful
This lovely mini chest of drawers is made from small children's shoe boxes, you can also make them using adults shoe boxes or larger boxes if you wish. Or you can make an even bigger chest of drawers with more drawers in if you prefer.
These are great for kids to keep things in. My children use theirs to keep coloured pens, paints and other craft materials inside. However, they are also great for sewing accessories, DIY accessories, etc.
Time to make a mini chest of drawers.
List Of Items Needed To Make A Mini Chest Of Drawers
- 9 Shoe Boxes
- Polyboard
- Wood Glue
- Dressmakers Pins
- Water Based Paints in 3 Colours
- 9 Wooden Knobs and Screws
- Single Walled Corrugated Cardboard
- Metal Ruler
- Pencil
- Craft Knife
- Cutting Mat
- Small Decorators Paintbrush
- Bradawl
- Screwdriver
Making The Polyboard Frame
1st Step
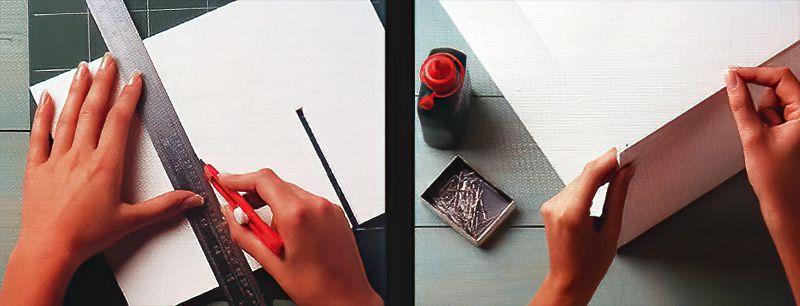
Begin by measuring the height and width of one of the shoe boxes that you wish to use. Then multiply each of the measurements by three. Then measure the length of one of the boxes. And add an additional 1cm to each of these three measurements.
Next cut out eight pieces of polyboard, two for the top and the base (which are the length by the width, and the thickness of the two pieces of polyboard), two for the horizontal struts (which are the length by the width, and the thickness of the two pieces of polyboard), and then four for the vertical struts (which are the length by the height, and the thickness of the two pieces of polyboard).
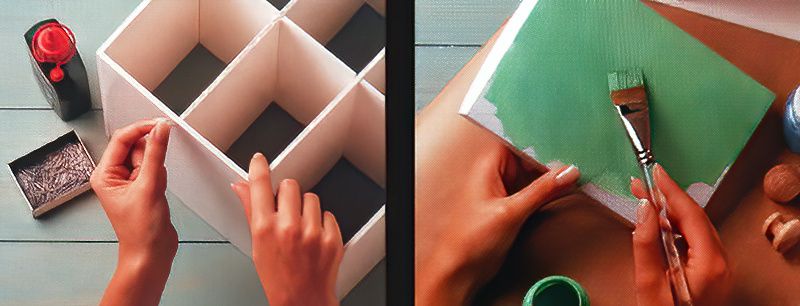
Next, cut some slits that are wide enough to take the thickness of a piece of polyboard and two thirds of the way along two of the horizontal strut pieces and two of the vertical strut pieces. Then slot the polyboard pieces together at right angles, then put to one side.
2nd Step
Next, lay out one of the polyboard pieces that you cut out for the top and base of the drawers. This piece will be the base.
Then glue down the remaining vertical strut pieces at right angles at both ends of the base piece. I would recommend pinning them in place to secure them. Once the glue has dried, glue the top pieces on and pin securely in place also. Leave the whole thing to dry thoroughly.
Assembling And Painting The Drawers
3rd Step
Now, lay out the open box shape on a flat worksurface. Then apply glue to all of the ends of the polyboard grid pieces, then secure it inside the box frame that you just made. And then pin from the outside through to the inner polyboard so that it is secured nicely in place.
Next, cut a piece of the polyboard that measures the width and height of the whole box. Glue it and pin it to the back of the frame so that it is well fixed together.
4th Step
Now for the really fun part, paint the shoe boxes with some water based paint, in a colour of your choice. Make sure that you paint the lid as well. If you choose to, you can paint the inside as well in a matching or contrasting paint colour. Alternatively, lining the drawers with wallpaper can be a good option also.
Adding Drawer Knobs and Feet
5th Step
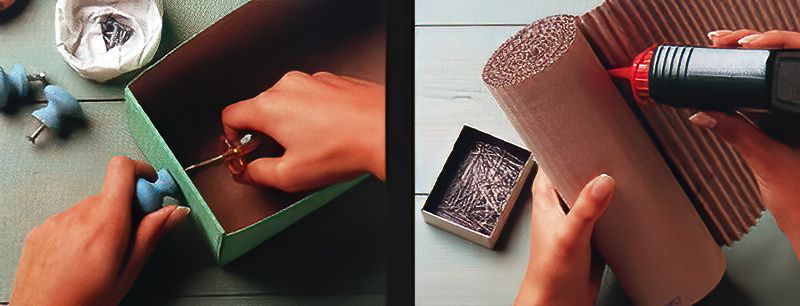
Now you can paint the wooden knobs with the same colour paint that you used to paint the chest frame. Once the shoe boxes and knobs are all dry, make a small hole using the bradawl tool in the front of each of the shoe boxes. Then fix a knob to each of the drawer fronts.
6th Step
Next, cut out a long piece of corrugated cardboard to fit the width of the mini chest of drawers and long enough to make a decorative scroll shape that will create the feet of the chest. To do this, roll it up at both ends until the rolls are equal and the desired size. Then glue them in place.
Adding Corrugated Cardboard Details
7th Step
Next, cut out another strip of corrugated cardboard at the same width as the chest, then long enough to create a wavy shape for the top of the box chest. Choose another paint colour and paint both the wavy top and scrolled feet in this colour.
8th Step
Now, stick the long strip of corrugated cardboard up the side of the mini chest of drawers and turning it under the bottom. Then glue three waves across the top. Glue down the other side in the same way and leave it to dry completely. Pin it in place down the sides to make sure that it is secure.
Mini Chest Of Drawers Conclusion
And there we have our mini chest of drawers completed. What a fun make and one of the projects that will get loads of use after you having finished the making.
Have a go at making your own mini chest of drawers. And post a comment below to let us see them.


.jpg)