Use A Colourful Bandana To Wrap A Notebook
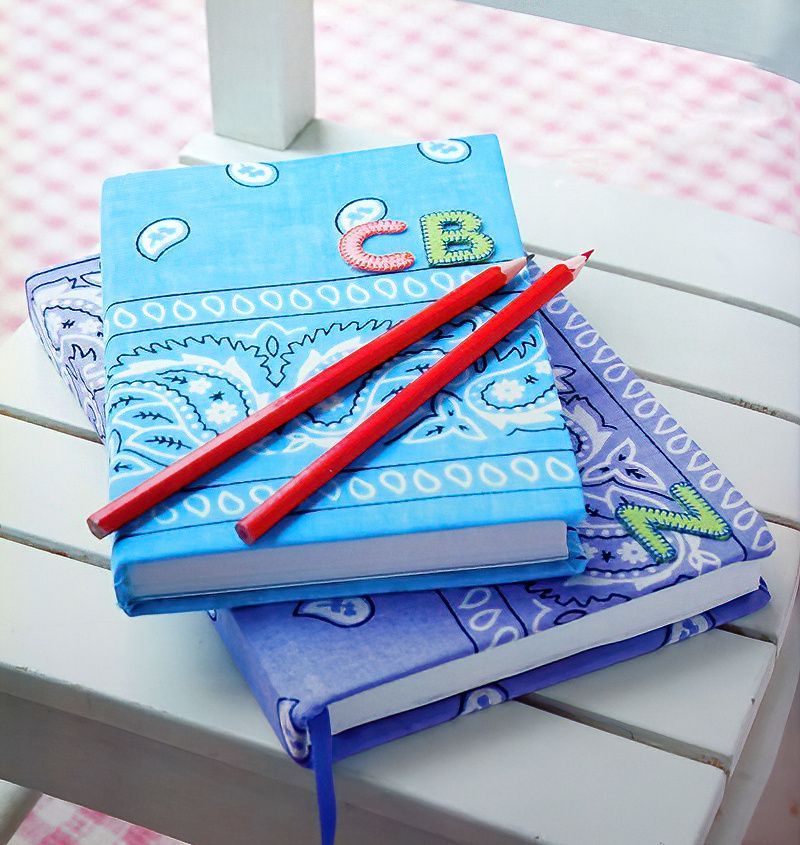
Making a bandana covered notebook is a fantastic way to make an easy present for someone you like. Or keep it for yourself. Bandanas always have really interesting designs. So it is easy to change a boring notebook into something really amazing looking.
Add personalised embroidered letters and you will be able to identify each notebook you wrap in a bandana.
Things We Need To Make A Bandana Covered Notebook
- Plain notebook
- Bandana
- Scissors
- PVA glue
- Embroidered letters
Start Making A Bandana Wrapped Notebook
Step One
First we want to cut our bandana to be slightly larger than our notebook cover. Lay down the bandana on a table top. Lay it down with the nice side facing down. Then place the notebook on top of the bandana.
Cut the bandana using the notebook as a template. Allow an extra 3cms of 1 and one quarter inch margin around each side.
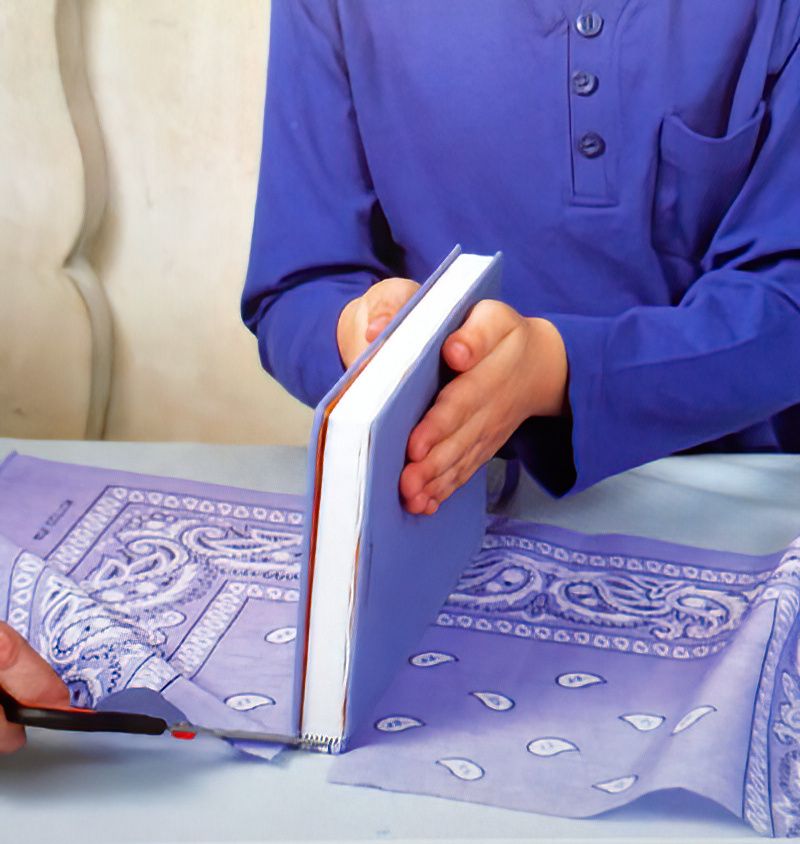
Now close the book and stand it on its spine. Place the spine at the centre of the bandana. Get some help with the next part. Cut two slits in from the edge to the top of the spline. Cut the slits level with the sides of the spine. This will make a flap at the top and bottom of the spine.
Now we can fold these flaps inside the spine and glue them in place.
Start Gluing Our Bandana Covered Notebook
Step Two
Now we have the spine part glued in place we can continue with each side. We can't just glue it with the book lying open. Because when we close the notebook, it will pull the cover so tight, we won't be able to close the notebook.
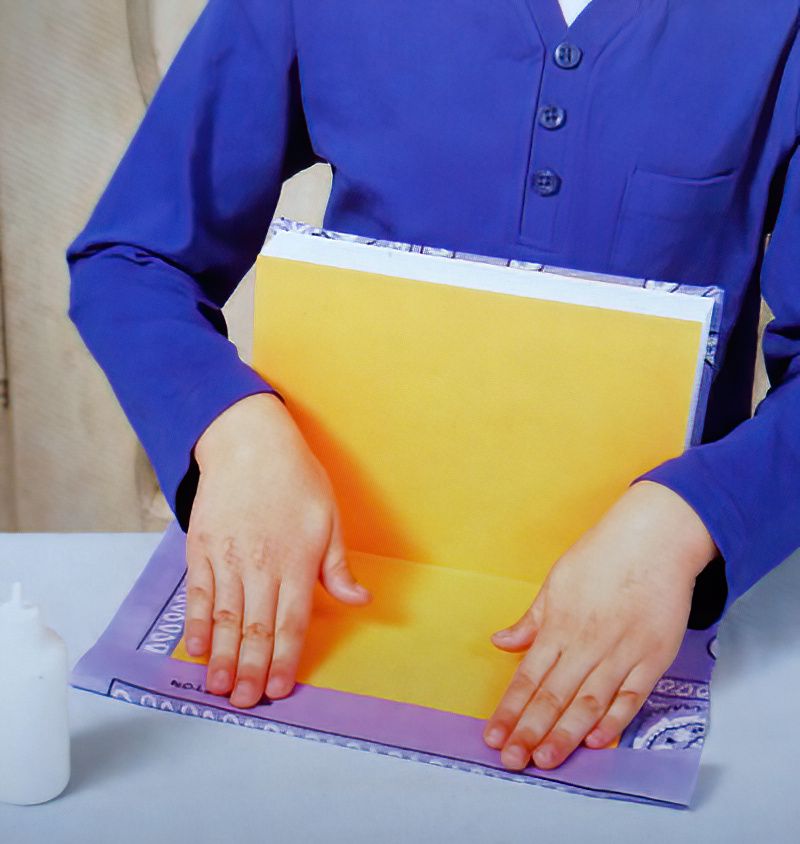
So we need to glue each side with the book upright, leaning against our body.
Position the book against your body with the cover in front of you. Fold the bandana over the end to the inside. Glue the first fold down. Gently check you can still close the notebook. Then open the book again and hold it until the glue starts to set.
Repeat this process on the other side of the book. Check again the book still closes and the bandana cover is not too tight when closed.
Now Fold The Corners Of Our Bandana Covered Notebook
Step Three
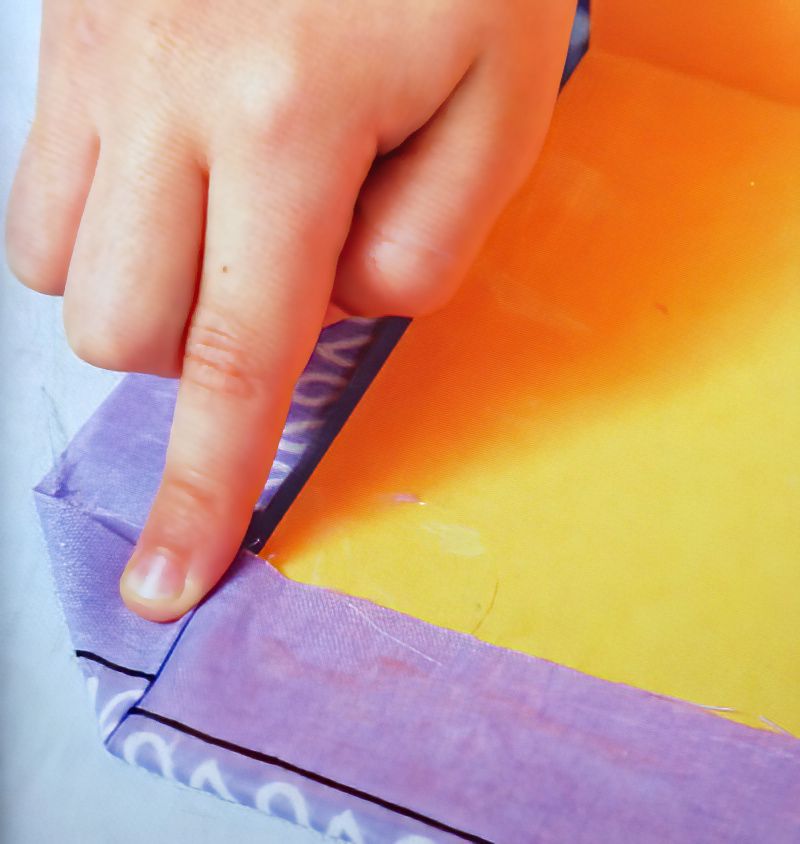
When the outside edge is dried, we can do the top and bottom edges of the covers. To make a nice corner to our bandana covered notebook, we can carefully fold the corner point towards the inside of the book cover.
Then fold over the top edge and glue it down. Repeat for the bottom edge. Then let the glue dry before closing the book. Then repeat again for the other side of the book cover.
Finish Our Bandana Wrapped Notebook
Step Four
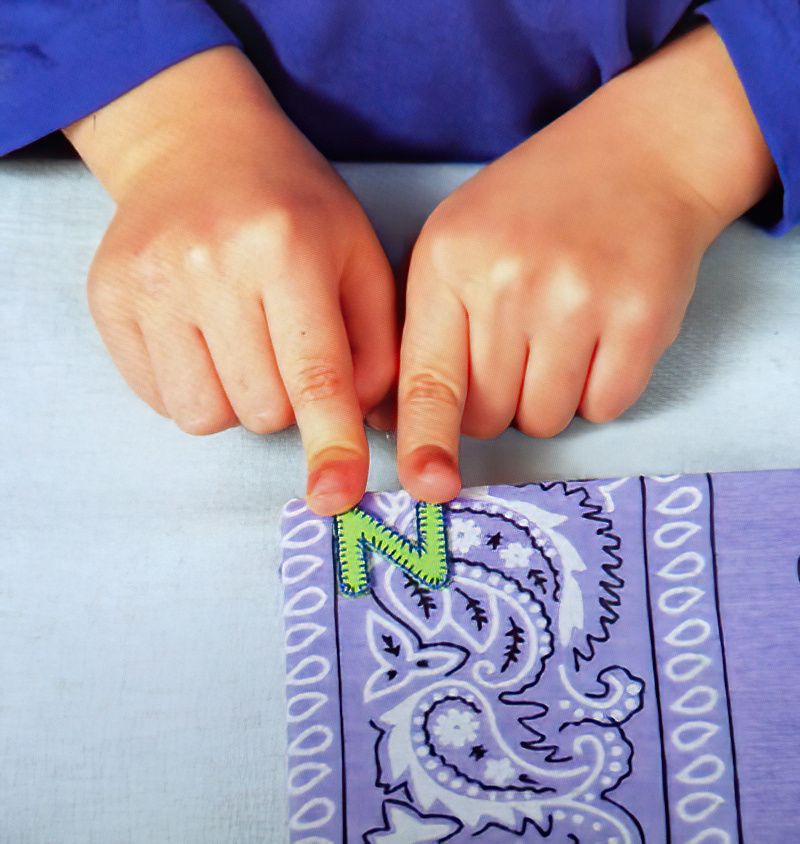
Once all the glue has dried, we can finish our scrapbooking notebook with some embellishments. Stick some embroidered letters onto the front of the book. You can, of course, decorate your notebook any way you like.
Maybe use letters that are your initials. Or maybe use letters that tell you what the book is used for. This way you can wrap more books with bandanas and you will know what each book is used for.
Finally, allow all the glue to dry and start making some fun notes and drawings in your new bandana covered notebook.






.jpg)


